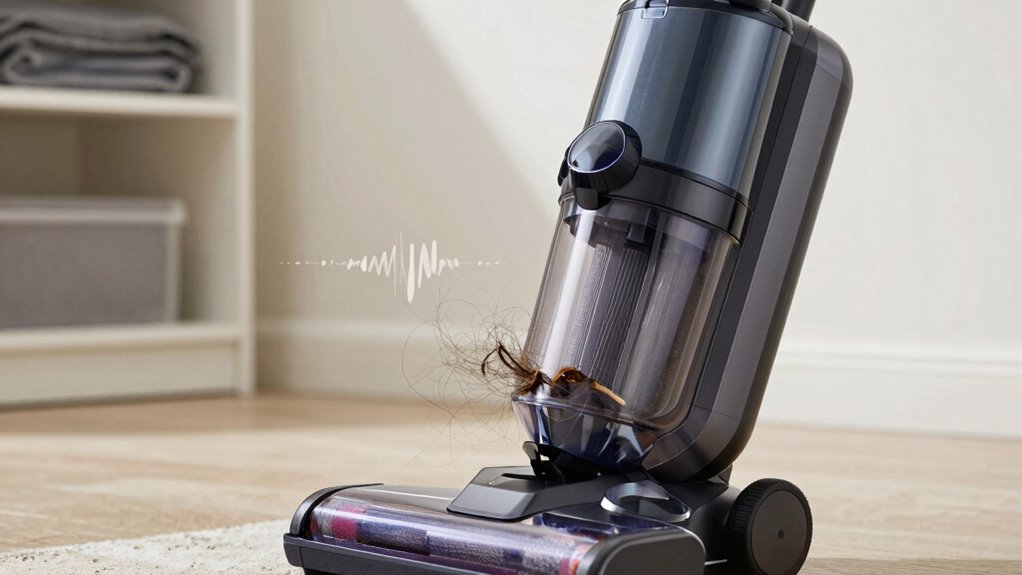
A high-pitched whine in your vacuum often comes from hidden clogs or blockages inside hoses, vents, or around filters that you might overlook. These obstructions restrict airflow and cause the motor to strain, resulting in noise. To fix this, inspect and clear debris or hair lodged deep inside hoses and vents. Keep in mind, sometimes the culprit isn’t obvious, so if you want to find out exactly where the issue hides, there’s more to uncover.
Key Takeaways
- Internal hose blockages often cause high-pitched whines that are hard to spot externally; inspect hoses thoroughly.
- Dust buildup inside air vents and around filters can restrict airflow, leading to high-frequency noise.
- Worn or misaligned belts may produce a high-pitched sound without obvious external signs.
- Internal obstructions or debris lodged in the airflow pathway can cause strain and whine, often hidden from view.
- Regularly checking and cleaning hidden internal components prevents overlooked clogs that cause high-frequency noise.
Why Is My Vacuum Making a High-Pitched Noise?
A high-pitched whine from your vacuum often indicates a problem with one of its moving parts or a blockage. When your vacuum starts making this noise, it’s a sign to check your vacuum maintenance routines. Often, the noise results from worn belts, loose parts, or motor strain caused by debris or obstructions. To troubleshoot, listen closely to identify where the sound originates—this helps pinpoint the issue. Regular noise troubleshooting can prevent further damage and extend your vacuum’s lifespan. Confirm the brush rolls are spinning freely, and check for any loose screws or belts. If the noise persists after basic checks, it may be time to consult a professional. Proper vacuum maintenance and prompt noise troubleshooting keep your vacuum running smoothly and quietly. Additionally, ensuring that all moving parts are properly calibrated can significantly reduce unwanted noise and improve efficiency. Staying aware of clog spots in your vacuum can also help prevent high-pitched noises from recurring. Recognizing the importance of component wear can guide timely repairs and avoid costly replacements. Regularly inspecting for signs of wear and tear can help catch issues early before they become major problems.
The Hidden Clog That Causes Vacuum Whines

A hidden clog could be the cause of that high-pitched whine, even if your vacuum looks clear. You might have blockages inside the hose, blocked air vents, or dust and debris buildup that you can’t see easily. These obstructions restrict airflow and make your vacuum work harder, creating that annoying noise. Understanding affiliate disclosure can help you recognize how product recommendations are made if you’re considering repairs or replacements. Additionally, knowing about airflow obstruction is crucial to diagnosing and resolving the issue effectively. Recognizing how energetic alignment influences your environment can also help you maintain a more harmonious space, reducing the likelihood of equipment issues. Checking for clog spots regularly can prevent these issues from worsening over time.
Hidden Blockages Inside Hose
Sometimes, a vacuum’s high-pitched whine isn’t due to an obvious issue like a broken belt or clogged filter. Hidden blockages inside the hose could be the culprit. To identify these, start with a thorough hose inspection. Look for internal obstructions that block airflow and cause the noise. Here are steps to follow:
- Detach the hose from the vacuum.
- Shine a light inside to spot debris or clogs.
- Run a long, flexible brush through the hose.
- Clear out any debris or obstructions you find. Additionally, understanding how airflow management relates to water flow can help troubleshoot issues with vacuum hoses that involve trapped air or blockages. Proper airflow management is essential for maintaining optimal vacuum performance and avoiding high-pitched whines. Ensuring the hose is free of airflow obstructions can significantly improve the vacuum’s operation and reduce noise.
Blocked Air Vents
Have you checked the vacuum’s air vents lately? Blocked air vents cause airflow restrictions, leading to that annoying high-pitched whine. Dust, debris, or obstructions can hide inside, reducing suction and straining the motor. Regularly inspect and clear vents to maintain proper airflow and eliminate whines. For ongoing maintenance, ensure you follow the recommended air purifier maintenance dos and don’ts to keep your device functioning smoothly. Remember, proper ventilation is essential for optimal vacuum performance and safety. Ensuring adequate European cloud infrastructure can also help prevent overheating and equipment issues in professional settings. Additionally, maintaining good digital asset management practices can prevent unexpected issues with connected smart devices. Proper airflow is a key factor in preventing vacuum malfunctions and prolonging the lifespan of your appliance.
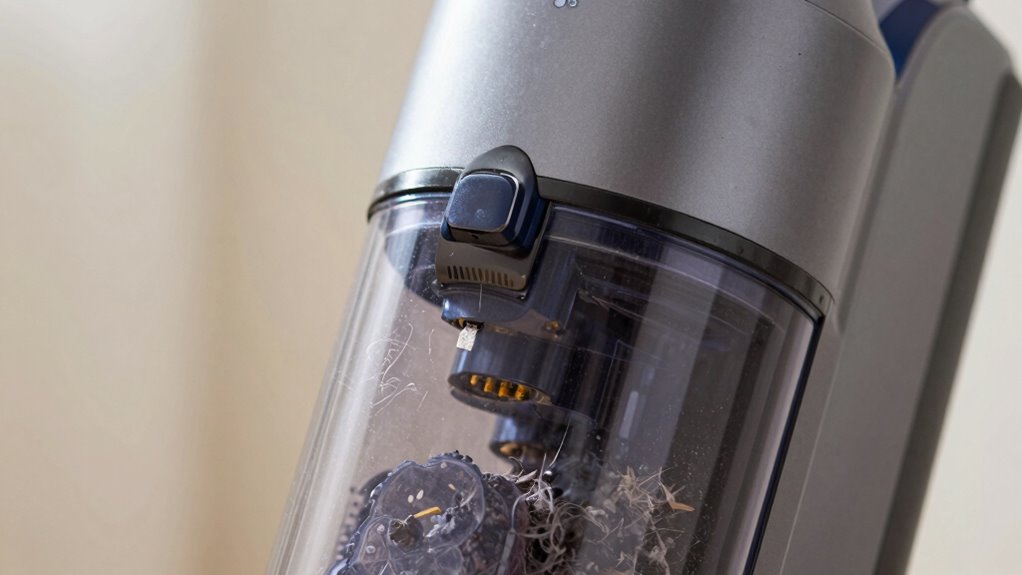
Dust and Debris Buildup
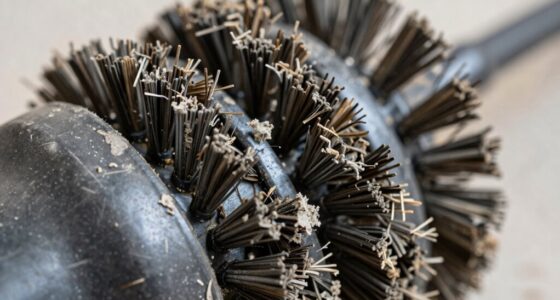
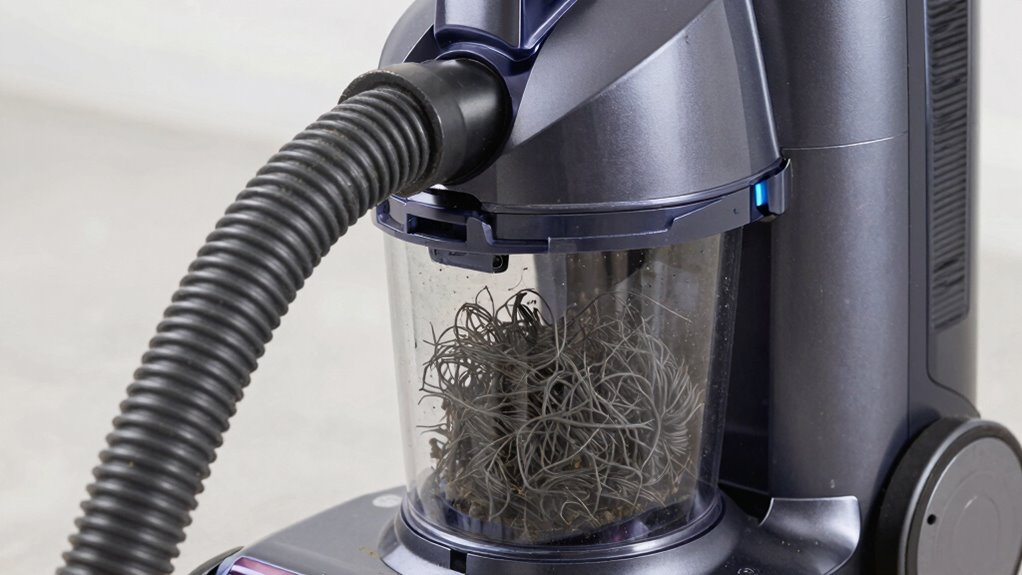
Dust and debris can secretly clog your vacuum’s air vents, causing it to emit that bothersome high-pitched whine. Over time, dirt builds up in places like vacuum filters and around brush rollers, restricting airflow. To fix this:
- Remove and clean or replace vacuum filters regularly.
- Clear debris from brush rollers to prevent blockages.
- Check for dust buildup inside the air vents and wipe them down.
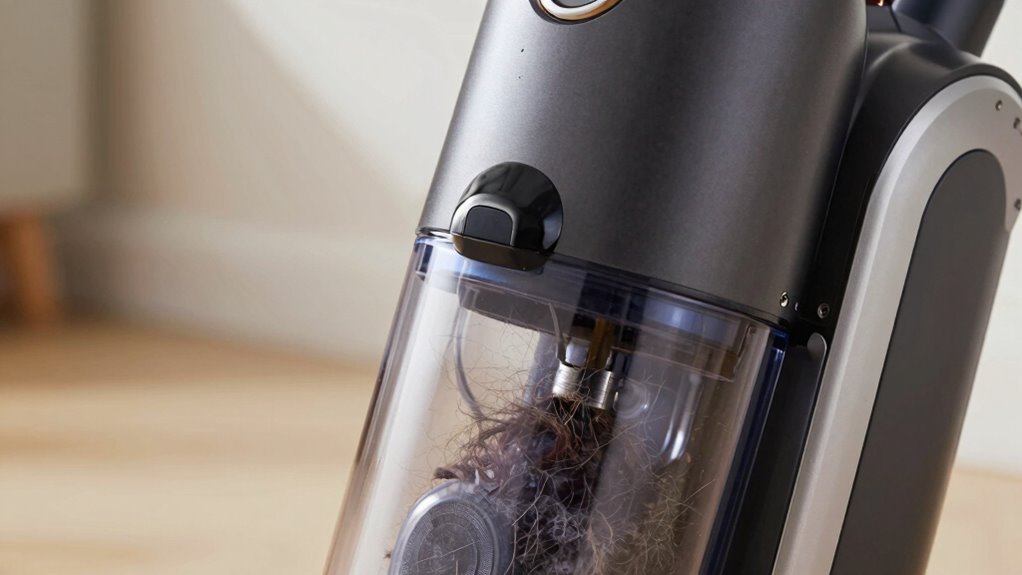
- Inspect for tangled hair or fibers around the brush roller that can cause strain.
- Regular maintenance of airflow pathways helps prevent the high-pitched whine from recurring.
How to Find the Clog in Your Vacuum
A high-pitched whine from your vacuum often indicates a clog somewhere in the system. To find it, start with basic vacuum maintenance. Turn off the vacuum and disconnect it from power. Check the hose for blockages by detaching and inspecting it thoroughly; use your hand or a broomstick to push through any debris. Next, examine the wand and brush roll for obstructions. Look inside the filter area for debris buildup as well. During noise troubleshooting, listen carefully to identify where the sound is loudest—this often pinpoints the clog’s location. Be systematic: clear each section one at a time to isolate the problem. Additionally, understanding the vacuum’s airflow can help you identify restriction points more effectively, especially in modern models equipped with sensors. Regularly inspecting and cleaning airflow pathways can prevent future clogs and maintain optimal performance. By methodically inspecting these areas, you’ll locate the clog and understand where your vacuum’s high-pitched noise originates.
How to Clear the Clog and Quiet Your Vacuum
To quiet your vacuum, start by checking for blockages in the hose and filters. Next, remove and clean all parts that might be clogged or dirty. Finally, reassemble everything carefully to guarantee proper airflow and reduce noise.
Check for Blockages
When your vacuum starts making a high-pitched whine, a common cause is a blockage somewhere in the airflow path. To fix this, check these key areas:
- Inspect vacuum filters for dirt buildup or clogs, and clean or replace them if needed.
- Examine the brush rollers for tangled hair, strings, or debris that can restrict movement.
- Clear any obstructions in the hose or wand that could be blocking airflow.
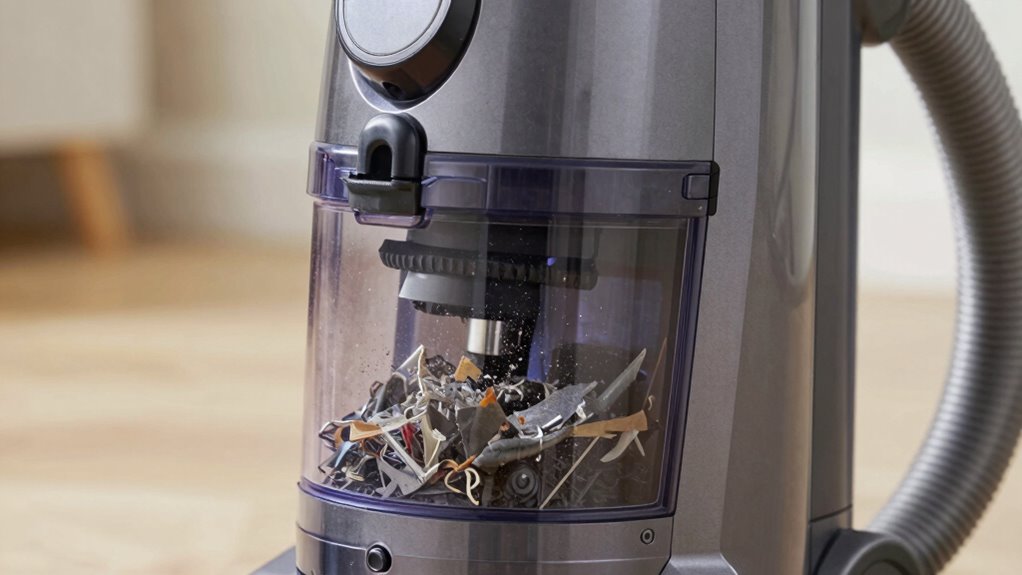
- Make certain no debris is lodged in the inlet or around the vacuum’s vents.
Remove and Clean Parts
If you’ve checked for blockages and still hear that high-pitched whine, removing and cleaning certain vacuum parts can often resolve the issue. Start by inspecting and cleaning the filter; a dirty filter hampers airflow and causes noise. Remove the filter, wash it thoroughly, and let it dry completely before reinstalling. Next, check the belt for signs of wear or slipping—if it’s loose or frayed, replace it. While the vacuum is open, wipe down the brush roll and surrounding areas to remove dust and debris. Regular filter maintenance improves suction and reduces noise, and inspecting the belt ensures smooth operation. Taking these steps helps eliminate the clog spot and quiets your vacuum effectively.
Ensure Proper Reassembly
After cleaning the parts, carefully reassemble your vacuum, ensuring all components fit snugly and securely. Proper maintenance depends on thorough component inspection during reassembly. To do this effectively:
- Check that all hoses and filters are correctly aligned and seated.
- Ensure no debris or blockages remain in the intake or exhaust areas.
- Verify that the brush roll and belts are properly positioned and functioning.
- Confirm that screws and connectors are tightened without over-tightening, preventing damage.
Taking these steps guarantees that your vacuum is reassembled correctly, reducing the chance of high-pitched whines caused by improper assembly. Proper maintenance not only quiets your vacuum but also prolongs its lifespan and maintains ideal performance. Always double-check each component before finalizing reassembly.
Tips to Keep Your Vacuum Running Smoothly and Quietly
To keep your vacuum running smoothly and quietly, regular maintenance is essential. Start by checking and cleaning filters, as clogged filters can cause noise issues and reduce suction. Inspect the brush roll for hair and debris, and remove any obstructions. You should also examine the vacuum’s belts and replace them if they appear worn or loose, which can contribute to high-pitched whines. Performing routine vacuum maintenance helps prevent parts from wearing out prematurely and minimizes noise troubleshooting. Keep an eye on the hose and attachments for blockages that could strain the motor. Additionally, verify all connections are secure, and avoid overloading the vacuum. Regular upkeep not only prolongs its lifespan but also ensures quiet, efficient operation every time you clean.
When Should You Call a Professional for Vacuum Noises?
Sometimes, despite your best maintenance efforts, your vacuum may start making unusual noises that you can’t resolve on your own. If you notice a persistent high-pitched whine, it’s time to call a professional repair. Consider contacting a technician if:
- The noise continues even after clearing clogs or replacing filters.
- Your vacuum smells burnt or overheats.
- It starts making loud, unfamiliar sounds during operation.
- The noise indicates a potential motor or belt issue, which requires expert diagnosis.
Avoid attempting major repairs yourself, as it could void your warranty service. When in doubt, a professional can ensure the problem’s fixed correctly, keeping your vacuum functioning smoothly. Recognizing these signs helps you avoid further damage and prolongs your vacuum’s lifespan.
Frequently Asked Questions
Can a Blocked Filter Cause a High-Pitched Vacuum Noise?
Yes, a blocked filter can cause a high-pitched vacuum noise. When you’re doing vacuum maintenance, check the filter for clogs or dirt buildup, as these restrict airflow and create noise issues. During noise troubleshooting, a dirty or clogged filter often leads to high-pitched sounds. Regularly cleaning or replacing the filter helps restore proper airflow, reduces noise, and keeps your vacuum running efficiently.
Does the Age of the Vacuum Affect the Likelihood of Clog-Related Whines?
Yes, the age of your vacuum affects the likelihood of clog-related whines. As your vacuum ages, its components wear down, and dust or debris can accumulate more easily, increasing clog risks. Regular maintenance, following your vacuum’s maintenance schedule, helps minimize these issues. A longer vacuum lifespan means you’ll need to stay vigilant about cleaning filters and hoses to prevent high-pitched noises caused by clogs.
Are Certain Vacuum Models More Prone to High-Pitched Noises From Clogs?
Ever wonder if certain vacuum models are more prone to high-pitched noises from clogs? You might find that vacuum design plays a vital role—some models have narrow pathways or complex parts that trap debris, causing the whine. Brands with a strong reputation often engineer their vacuums to resist clogging, reducing noise issues. So, choose wisely, and you’ll enjoy quieter cleaning and fewer frustrating interruptions.
How Often Should I Check for Clogs to Prevent Noise Issues?
You should check for clogs at least once a month to keep your vacuum running smoothly and prevent noise issues. Incorporate a regular maintenance schedule that includes inspecting the hose, filters, and brush roll. By doing so, you’ll catch potential clog spots early, reducing the chances of a high-pitched whine. Staying proactive with clog prevention guarantees your vacuum operates quietly and efficiently over time.
Can Using the Wrong Attachments Lead to High-Pitched Vacuum Sounds?
Using the wrong attachments can turn your vacuum into a high-pitched siren. When there’s an attachment mismatch or incompatible nozzle, airflow gets disrupted, causing that annoying squeal. Just like fitting a puzzle piece that doesn’t quite belong, incompatible attachments block airflow, leading to noise issues. Always check nozzle compatibility and use the right attachments to keep your vacuum running smoothly and quietly, avoiding that piercing high-pitched whine.
Conclusion
Remember, a squeaking vacuum isn’t just an annoyance—it’s a sign to check for hidden clogs. By staying attentive and addressing problems early, you can keep your vacuum running smoothly and quietly. Don’t forget, “A stitch in time saves nine,” so tackle issues promptly before they become bigger headaches. With a little care, your vacuum will serve you well, quietly and efficiently, for years to come.