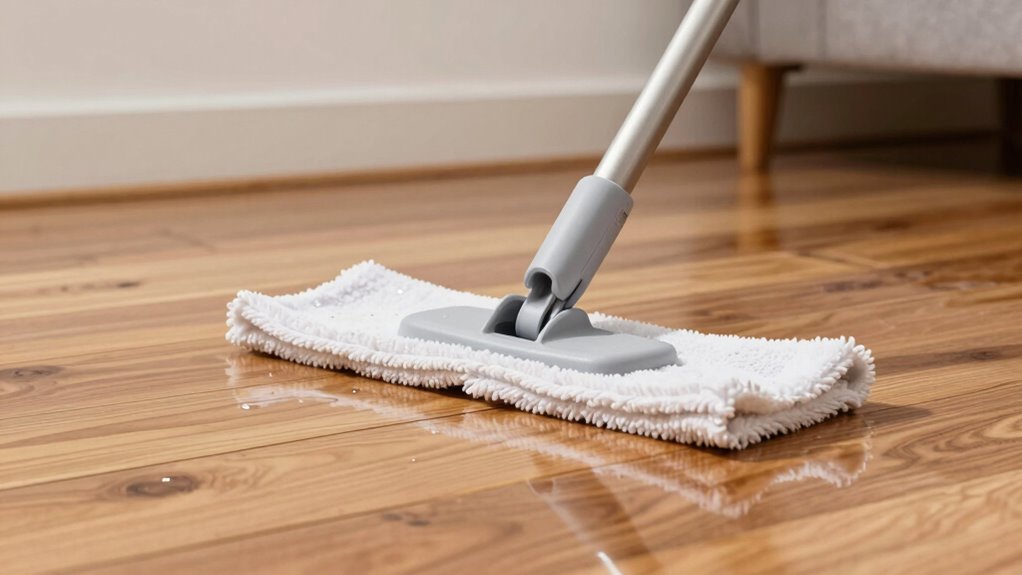
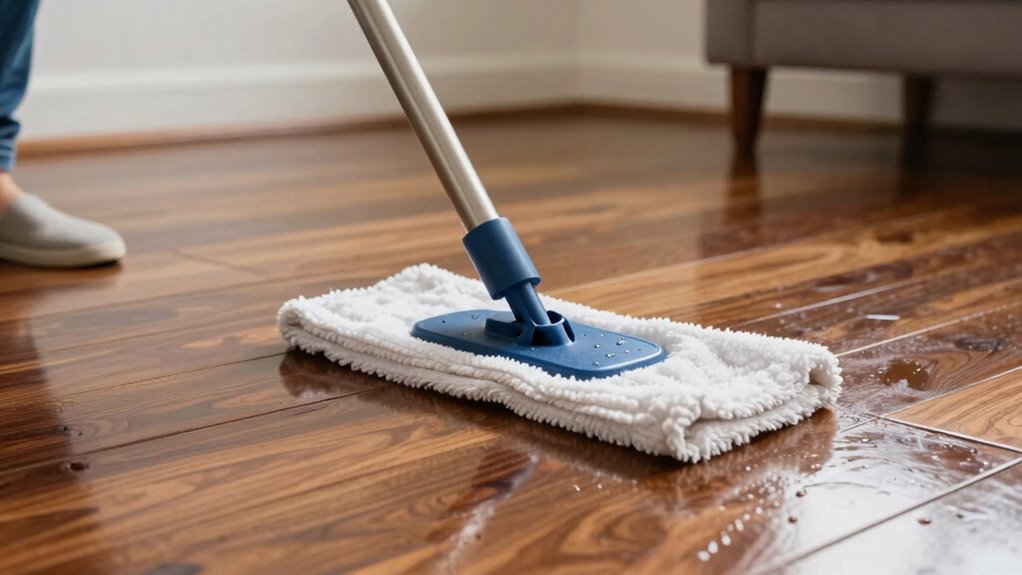
To mop sealed hardwood without overwetting, use a microfiber mop dampened with a small amount of pH-neutral cleaner, then wring it out thoroughly so it’s just slightly moist. Focus on working in small sections along the grain and avoid pooling water. Always dry the floor immediately after mopping with a clean, dry cloth or mop. If you want more tips to protect your floors and keep them looking shiny, keep exploring.
Key Takeaways
- Use a well-wrung microfiber mop to control moisture and prevent pooling on the floor.
- Mop in small sections along the grain with light, even pressure to avoid over-saturating areas.
- Choose pH-neutral, water-based cleaners designed for sealed hardwood floors and avoid harsh chemicals.
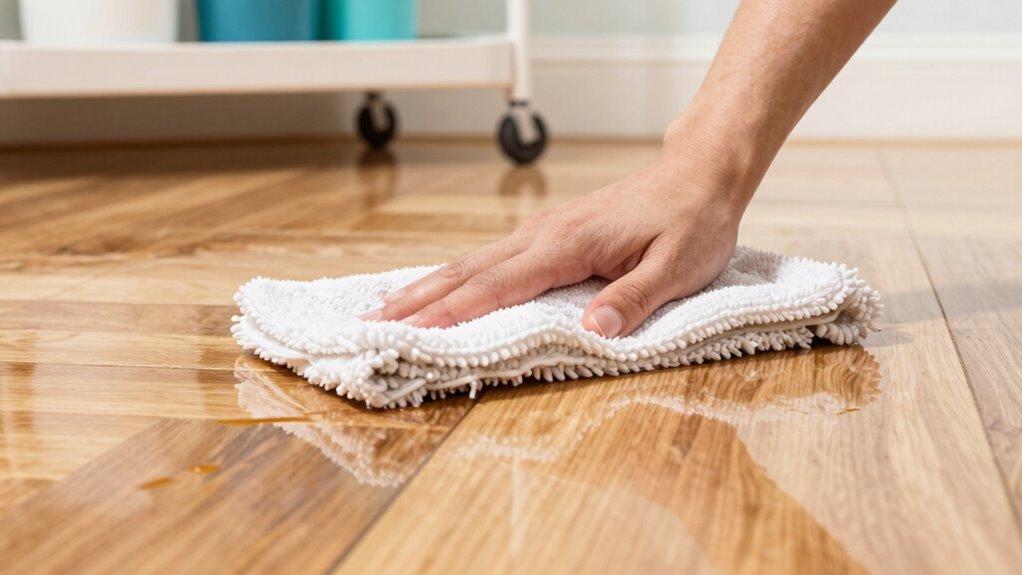
- Dry the floor immediately after mopping with a clean, dry microfiber cloth or towel.
- Incorporate low-moisture techniques, like dry dusting beforehand and proper ventilation, to reduce excess moisture.

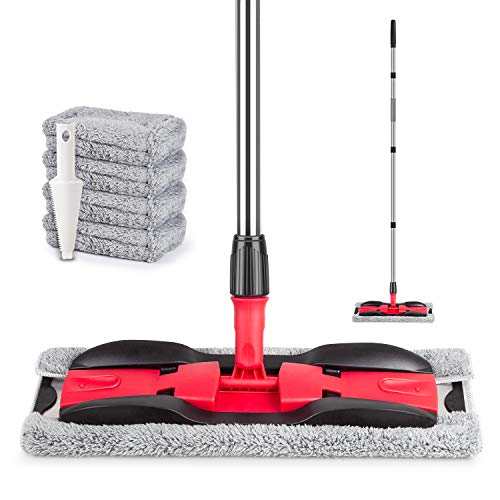
Microfiber Mops for Hardwood Floor Cleaning – BPAWA Flat Floor Mop with 4 Washable Pads for Laminate Wood Tile Vinyl Home Kitchen Bathroom – 59" Adjustable Handle
Microfiber Mops for Floor Cleaning: Flat floor mop with adjustable long handle, flexible lightweight but sturdy, great for…
As an affiliate, we earn on qualifying purchases.
As an affiliate, we earn on qualifying purchases.
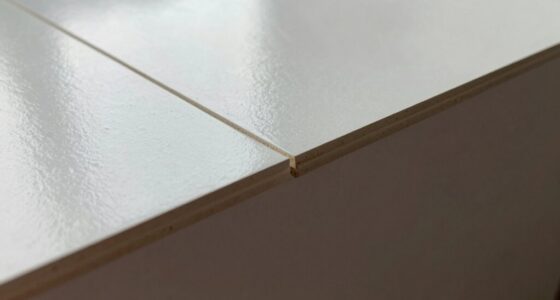
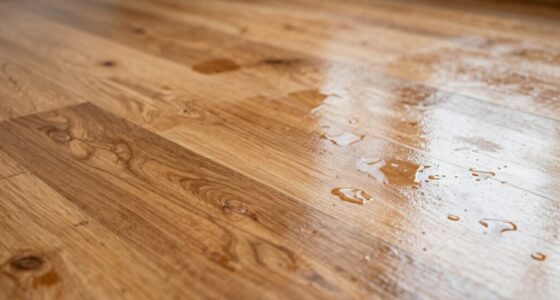
Why Overwetting Can Damage Your Hardwood Floors

Overwetting your hardwood floors can cause serious damage, even if you’re just trying to clean them thoroughly. Excess water can seep into the wood, especially if the wood floor sealing isn’t perfect, leading to moisture damage. When moisture gets trapped beneath the surface, it causes the wood to swell, warp, or develop cracks over time. This deterioration weakens the floor’s structure and diminishes its appearance. Using too much water during mopping increases the risk of moisture seeping into the seams and unsealed areas. To prevent this, always use a damp, not soaked, mop and ensure your wood floor sealing is intact. Proper maintenance practices can help maintain the integrity of your floors and prevent long-term issues. Additionally, understanding the importance of AI ethicist jobs can inspire innovative solutions for smart flooring systems that monitor moisture levels and prevent damage. Incorporating moisture detection technology is especially valuable in preventing moisture damage, as it provides real-time data to guide cleaning practices and protect your floors, aligning with safe electrical practices that ensure your home remains protected from electrical hazards.

Bona Hardwood Floor Cleaner Refill – 128 fl oz – Unscented – Refill for Bona Spray Mops and Spray Bottles – Residue-Free Floor Cleaning Solution for Wood Floors
Easily refill any Bona floor cleaner spray bottle or mop cartridge
As an affiliate, we earn on qualifying purchases.
As an affiliate, we earn on qualifying purchases.
Getting Your Supplies Ready for Safe Mopping
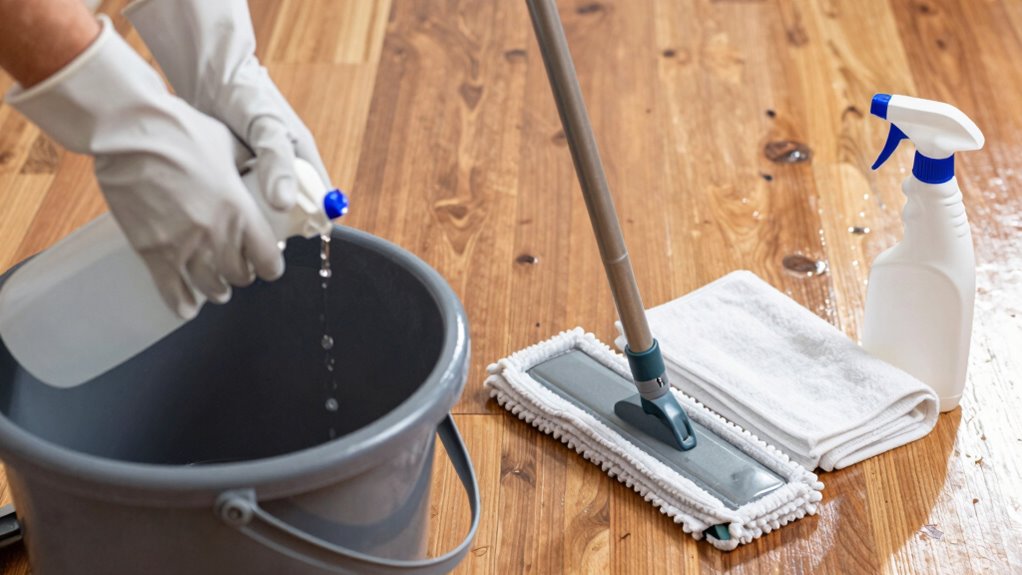
Before you begin mopping, gather all necessary supplies to guarantee a safe and effective cleaning process. Start by selecting a clean mop with a well-maintained mop storage to prevent dirt transfer and contamination. Prepare a suitable cleaning solution specifically designed for sealed hardwood floors, avoiding excess water. Check your cleaning schedule to determine the best time for mopping, ensuring floors are not cleaned too frequently or infrequently. Keep your cleaning tools organized and ready to use, so you’re not scrambling mid-mop. Having everything prepared beforehand reduces the risk of overwetting the floor and ensures you work efficiently. Proper mopping techniques can help prevent water damage and maintain the integrity of your sealed hardwood. Additionally, understanding the importance of indoor air quality can guide you to avoid overly damp cleaning methods that might harm your indoor environment. Using the correct cleaning tools ensures that your hardwood stays protected from scratches and excess moisture. Being aware of Gold IRA markets and their reputation can serve as a reminder to choose reliable and reputable cleaning products, ensuring your hardwood remains in top condition. Incorporating AI-powered cleaning devices can further optimize your mopping process by providing consistent and efficient cleaning results. By setting up your supplies correctly, you’ll protect your hardwood and make the mopping process smooth and safe.
Microfiber Mops for Hardwood Floor Cleaning: MEXERRIS Flat Floor Mop with 4 Washable Pads 59" Adjustable Handle – Dust Dry Mops for Kitchen Bathroom Tile Laminate Wood Vinyl – Home Commercial Mop
✓ Hardwood floor mop is great for housewives,househusband, pet owners, cleaners,office workers, the elderly, children, students, janitors &…
As an affiliate, we earn on qualifying purchases.
As an affiliate, we earn on qualifying purchases.
How to Choose the Best Cleaner for Sealed Hardwood Floors

Choosing the right cleaner for your sealed hardwood floors is essential to keep them looking their best without causing damage. Many floor cleaning myths suggest harsh chemicals are necessary, but gentle, pH-neutral cleaners are best. Avoid using abrasive hardwood cleaning tools that can scratch the surface. Instead, select products specifically formulated for sealed wood floors to prevent overcleaning or residue buildup. Consider these options:
| Cleaner Type | Benefits |
|---|---|
| pH-neutral cleaners | Gentle, prevent damage, safe for sealed wood |
| Vinegar and water mix | Natural, effective, but dilute properly |
| Hardwood floor sprays | Quick, easy, designed for sealed surfaces |
| Avoid bleach or ammonia | Can damage finish and cause discoloration |
| Commercial hardwood cleaners | Formulated for safety and effectiveness |
Choosing the right cleaner helps maintain your floors’ integrity and shine. Regular cleaning with the appropriate products preserves the durability of your sealed hardwood floors and keeps them looking their best for years to come.

General Tools Digital Moisture Meter MMD7NP – Humidity Sensor- Pinless and Non-Invasive
WOOD MOISTURE METER: Prevent water and moisture build-up with our humidity reader. It can quickly determine what level…
As an affiliate, we earn on qualifying purchases.
As an affiliate, we earn on qualifying purchases.
Step-by-Step Techniques for Mopping Without Excess Water
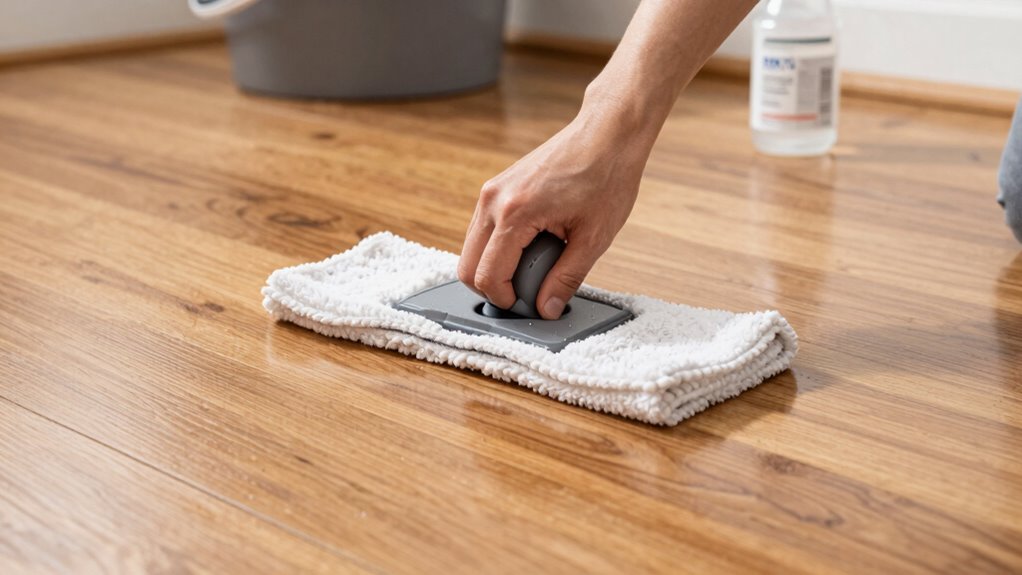
Have you ever noticed how using too much water can leave your hardwood floors streaky or damaged? To avoid this, follow these step-by-step techniques for mopping without excess water:
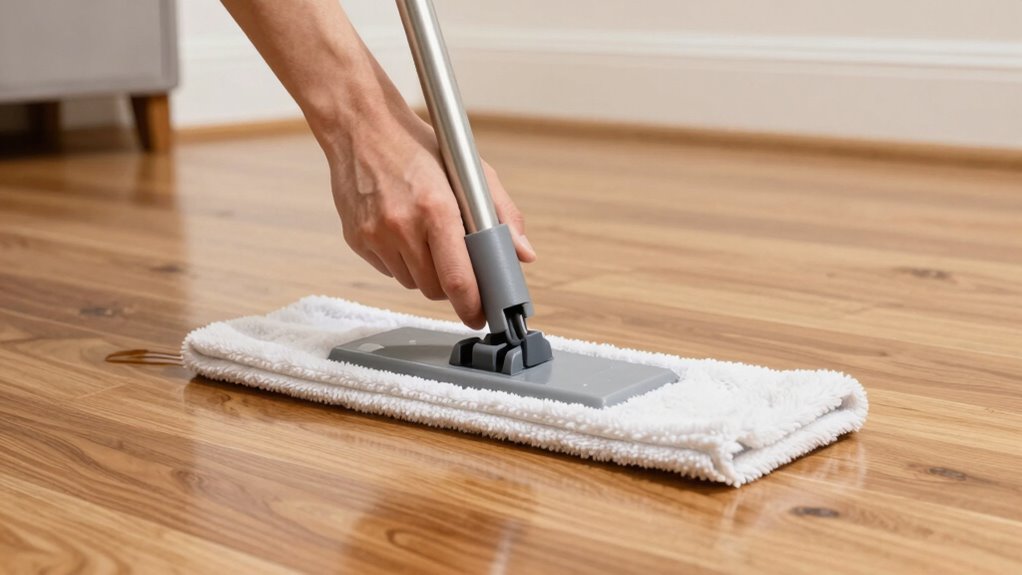
- Use a damp microfiber mop rather than a soaked one.
- Wring out your mop thoroughly before cleaning.
- Opt for alternative cleaning tools like soft cloths or dusters for light dirt.
- Clean in small sections to control moisture levels.
- Finish with gentle floor polishing techniques to restore shine without overwatering.
- Remember that proper mopping technique ensures your hardwood flooring remains pristine and undamaged.
- Additionally, understanding proper hardwood maintenance can help extend the life and beauty of your floors.
- Employing the correct cleaning tools can further reduce the risk of overwatering and damage.
- Incorporating connected cleaning devices that monitor moisture levels can help ensure optimal care of your hardwood floors.
- Using moisture monitoring devices provides real-time feedback, helping you prevent overwatering during cleaning.
How to Keep Your Floors Low-Moisture During Cleaning
To keep your floors low-moisture during cleaning, use only a small amount of water on your mop. Make sure to wring out excess water thoroughly before mopping. Proper mopping techniques help prevent excess moisture and protect your sealed hardwood floors. Additionally, using appropriate cleaning tools can further reduce the risk of over-wetting during your cleaning routine. Employing seasonal maintenance practices can also help maintain your floors’ condition over time. Being aware of floor safety considerations ensures you avoid damaging the finish or causing warping due to overexposure to moisture. Incorporating proper ventilation considerations can help dissipate residual humidity and protect your flooring.
Use Minimal Water
Keeping your hardwood floors low-moisture during cleaning starts with using as little water as possible. Begin with dry mopping to pick up dust and debris, which helps prevent scratches and keeps dust from settling into the finish. When you do mop, dampen your cloth or mop lightly—never soak it. This minimizes excess water that can seep into seams or damage the wood. Remember, less water equals less risk of warping or staining. To stay on track, consider these tips:
- Use a microfiber cloth or mop for better moisture control
- Regularly rinse and wring out your mop or cloth
- Focus on high-traffic areas frequently
- Always follow with a quick dry wipe
- Prioritize dust prevention through regular dry mopping
- Additionally, employing low-moisture cleaning techniques is essential for hardwood floor preservation.
Incorporating proper mopping techniques and choosing the right cleaning tools can further prevent water damage and extend the life of your hardwood. These practices help maintain your floors’ beauty while avoiding overwetting.
Employ Proper Mopping Technique
Using the right mopping technique is key to maintaining low moisture levels on your hardwood floors. You should focus on consistent mopping patterns, such as working in small sections and moving along the grain to avoid oversaturating the wood. Keeping your cleaning frequency appropriate—about once a week—prevents buildup without excessive wetting. Use a well-wrung mop to control moisture and prevent pooling. Here’s a quick guide:
| Mopping Pattern | Frequency | Mop Type |
|---|---|---|
| Long strokes | Once weekly | Microfiber mop |
| Circular motion | After spills or stains | Flat mop |
| Straight lines | Regular maintenance | Spray mop |
| Back-and-forth | When floors look dull | Damp cloth |
| Edge cleaning | Monthly deep cleaning | Sponge mop |
Stick to these techniques to keep your floors low-moisture and protected. Proper floor care also involves inspecting your hardwood for any signs of damage or wear to ensure longevity.
Common Mopping Mistakes That Can Damage Your Floors
Many common mopping mistakes can inadvertently damage your sealed hardwood floors. Using a wet mop, for example, is a major wet mop danger that can cause excessive moisture, leading to warping or swelling. Additionally, cleaning product hazards arise when you choose harsh or inappropriate cleaners, which can strip the finish or cause discoloration. Other mistakes include:
- Over-wetting the floor with too much water
- Skipping proper floor preparation before mopping
- Using abrasive scrubbers that scratch the surface
- Applying too much cleaning solution
- Forgetting to rinse the mop frequently
Avoid these pitfalls to keep your floors safe. Being mindful of wet mop dangers and cleaning product hazards helps maintain your hardwood’s beauty and longevity. Proper technique prevents costly damage and preserves the floor’s finish.
Tips for Regularly Keeping Your Hardwood Floors Shiny
To maintain a glossy, attractive finish on your hardwood floors, establishing a regular cleaning routine is essential. Consistently removing dust accumulation and pet hair prevents scratches and keeps your floors looking their best. Use a microfiber broom or vacuum designed for hardwood to pick up debris daily. For deeper shine, lightly dampen a microfiber mop with a hardwood floor cleaner weekly. When pet hair builds up, use a soft brush attachment to quickly remove it without scratching. Incorporate the following practices:
| Cleaning Frequency | Tools Used | Focus Areas |
|---|---|---|
| Daily | Microfiber broom/vacuum | Dust and pet hair removal |
| Weekly | Damp microfiber mop | Dirt, stains, and shine upkeep |
| Monthly | Polishing treatment | Restoring gloss and protection |
This routine keeps your floors shiny and well-maintained.
Frequently Asked Questions
How Often Should I Mop My Sealed Hardwood Floors?
You should mop your sealed hardwood floors once every one to two weeks, depending on your cleaning schedule and foot traffic. Regular mopping helps keep your floors looking their best and prevents dirt buildup. If you have pets or high traffic areas, consider mopping more frequently. Use a damp mop, not wet, to avoid overwetting. Stick to your cleaning routine to maintain the finish and prolong the life of your hardwood floors.
Can I Use a Steam Mop on Sealed Hardwood?
Yes, you can use a steam mop for hardwood cleaning on sealed hardwood floors, but do so carefully. Use a steam mop with a low or no steam setting, and avoid leaving it in one spot too long. Always test a small area first to make certain the heat and moisture won’t damage your floor. This method effectively cleans without overwetting, keeping your sealed hardwood looking its best.
What Signs Indicate My Floors Need Cleaning?
Your floors are practically begging for a clean when you notice visible dirt smudges, sticky spots, or a dull, grimy sheen. These signs mean it’s time to break out your mopping techniques and cleaning solutions. Don’t wait until it’s an emergency—regularly inspecting for grime and using gentle cleansers guarantees your sealed hardwood stays beautiful. If you see dust or streaks, it’s your cue to mop carefully and maintain that pristine shine!
Are There Specific Drying Techniques After Mopping?
After mopping your sealed hardwood, you should use effective drying techniques to prevent damage. Quickly dry the floor with a clean, dry microfiber cloth or mop to absorb excess moisture. Increase air circulation by opening windows or turning on fans, which helps speed up drying. Avoid walking on the wet surface, and make certain the floor is completely dry before using it again. Proper drying techniques protect your hardwood’s finish and keep it looking its best.
How Can I Prevent Future Water Damage During Cleaning?
Think of your hardwood as a delicate boat sailing on a lake; to prevent water damage, you must keep it afloat. Use waterproofing tips like applying a protective finish regularly and avoid excessive water during cleaning. Stick to a consistent cleaning frequency, and always use a damp mop rather than soaking it. This way, you safeguard your floors, ensuring they stay beautiful and dry for years to come.
Conclusion
Remember, overwatering your hardwood is like giving your floors a soggy bath—sure to ruin their shine. Stick to the right cleaning methods, and you’ll keep them gleaming like a mirror, not a swamp. So, resist the urge to douse them like a rainstorm—your floors will thank you with a long, scratch-free life. After all, nobody wants their beautiful hardwood to turn into a soggy sponge, right? Stay dry, stay happy!