If your battery vacuum won’t turn on, try a simple reset first. Turn off the vacuum, remove the battery, and wait for about 30 seconds. Then, reinsert the battery firmly and turn the vacuum back on. This process resets the electronic system and can fix minor glitches. If it still doesn’t work, check for charging issues or internal motor problems. For detailed steps, keep exploring to get your vacuum working again swiftly.
Key Takeaways
- Perform a full power reset by turning off the vacuum, removing the battery, waiting a few minutes, then reinserting and turning it on.
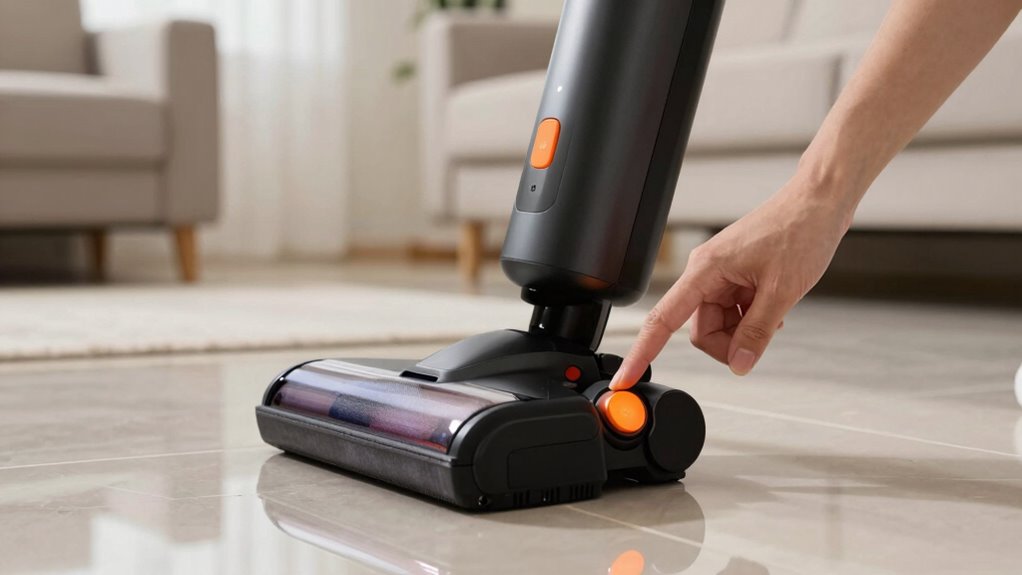
- Check the power button for proper functioning and press it firmly to ensure activation.
- Inspect the battery contacts and charging port for dirt, debris, or corrosion, and clean if necessary.
- Confirm the battery is fully charged and properly connected; replace if the battery appears faulty.
- If the vacuum still won’t turn on, seek professional repair for internal motor or electronic issues.
If your vacuum still refuses to turn on after charging, consider whether there could be a charging issue or a fault in the battery itself. Check for any visible damage or corrosion on the charging port and the connector pins. Dirt or debris can prevent proper contact, so clean these areas gently with a dry cloth or a soft brush. If the charger or battery seems faulty, replacing the charger or battery may resolve the problem. Some models allow for easy battery replacement, so consult your user manual for specific instructions. Additionally, understanding the battery charging process can help you identify if your vacuum is not receiving power correctly. Motor malfunctions are another common culprit when a vacuum won’t turn on. If the motor is faulty or has burned out, the vacuum won’t operate even if the battery appears fully charged. Listen for any unusual sounds when attempting to turn it on, such as a humming or clicking noise, which can indicate motor issues. In some cases, debris or a jammed brush roll can cause the motor to overheat or shut down as a protective measure. Clear out any obstructions and ensure the brush roll spins freely. Overheating or motor burnout can also be caused by prolonged use or internal component failure, which typically requires professional repair or replacement. Finally, always verify that your vacuum’s power button is functioning correctly. Sometimes, a simple reset can fix minor electronic glitches. Turn off the vacuum, remove the battery if possible, wait a few seconds, then reinsert the battery and power it back on. This reset process can clear minor electronic hiccups, restoring normal operation. If these steps don’t work, it might be time to contact a professional or check if your vacuum is still under warranty for further assistance. In most cases, thoroughly inspecting the charging system and addressing potential motor issues can get your vacuum back in action quickly.

MAMNV Robot Vacuum and Mop, 11500 Pa Suction, 3-in-1 Robotic Vacuum with Smart LiDAR Navigation, 90 Day Self-Emptying,160 Min Runtime,App/Alexa/Voice Control, Ideal for Pet Hair, Carpet & Hard Floor
3-in-1 Robot Vacuum, Vacuums, Sweeps, and Mops in One Pass: Experience a new level of clean with 11500Pa...
As an affiliate, we earn on qualifying purchases.
Frequently Asked Questions
How Long Should I Charge the Battery Before Attempting to Turn on the Vacuum?
You should charge the vacuum’s battery for at least 3 to 4 hours before trying to turn it on. This allows enough time for the battery to reach a full or near-full capacity, ensuring peak performance. Keep in mind that charging time may vary depending on the battery capacity; larger batteries generally need more time. Always check your vacuum’s manual for specific charging recommendations to avoid overcharging.
Can a Damaged Battery Cause the Vacuum to Not Power On?
Yes, a damaged battery can prevent your vacuum from powering on. If your battery’s lifespan is near its end, it may no longer hold a charge, even if charging indicators show power. This can result in the vacuum not turning on, despite proper charging. Check the battery’s health and consider replacing it if it’s old or damaged. A healthy battery is essential for reliable operation and proper power delivery.
Is There a Way to Reset the Vacuum Without Removing the Battery?
You might find a remote reset works without removing the battery, especially if the vacuum has a software update feature. Sometimes, pressing and holding the reset button or using the app can restart the system coincidentally when the vacuum encounters a glitch. Check your user manual for specific instructions, but this method often avoids the hassle of battery removal, helping your vacuum power back on smoothly.
What Are Signs That the Battery Needs Replacing?
You’ll know your battery needs replacing if you notice weak or inconsistent power, longer charging times, or the vacuum doesn’t hold a charge at all. Check the battery health regularly; if it shows significant decline, it’s a clear replacement indicator. Additionally, if the vacuum struggles to turn on or runs only briefly before shutting off, these are signs that your battery may be nearing the end of its lifespan and needs replacing.
How Often Should I Perform a Reset on My Vacuum?
Think of your vacuum as a trusted steed that needs regular care. You should perform a reset whenever you notice performance issues or after replacing the battery. Regular battery maintenance and troubleshooting help keep it running smoothly. Typically, resetting every few months guarantees peak function, but always follow your vacuum’s specific guidelines. This keeps your device energized and ready for action, preventing stubborn glitches and prolonging its lifespan.

roborock Qrevo Series Robot Vacuum and Mop, 8000Pa Suction, Upgraded from Qrevo S, Anti-Tangle Brushes, Smart Obstacle Avoidance, Auto Mop Washing, All-in-One Dock, 200RPM Spinning Mops, Black(QV 35A)
8000Pa HyperForce Suction: Engineered to deliver unmatched cleaning performance, the roborock QV 35A robot vacuum with 8000Pa powerful...
As an affiliate, we earn on qualifying purchases.
Conclusion
If your battery vacuum still won’t turn on after trying these reset steps, don’t give up just yet. Think of it like a car engine that needs a quick jump start—sometimes, all it takes is a simple reset to get things rolling again. Keep troubleshooting patiently, and your vacuum will be back to cleaning in no time. With a little perseverance, you’ll have it humming like a well-tuned instrument once more.

SHELIKI Robot Vacuum and Mop Combo, 3-in-1 Robotic Vacuums Cleaner with 70-Day Self-Emptying Base, LiDAR Navigation Smart Mapping & Strong 6000Pa Suction, for Pet Hair, Hard Floor, Carpet
360° LiDAR Navigation: D60S MAX robotic vacuum has built-in 360° Lidar navigation, which uses Lidar navigation to create...
As an affiliate, we earn on qualifying purchases.

Tikom Robot Vacuum and Mop, 6000Pa Robotic Vacuum Cleaner with Self-Emptying Base, 90 Days Capacity, LiDAR Navigation, Home Mapping, Ideal for Pet Hair, Hard Floors, Carpet (L8000 Plus)
90-Day Hands-Free Cleaning: The 3L self-emptying dustbag holds weeks of debris, eliminating the need for frequent emptying. Enjoy...
As an affiliate, we earn on qualifying purchases.