
If your vacuum head won’t sit flat, start by checking for misaligned or damaged parts. Inspect wheels, brushes, and attachment points, ensuring everything is secure and straight. Adjust height settings and clear debris underneath the head. Make sure the vacuum seal is tight and hoses are connected properly. Regular maintenance helps keep the head stable. For detailed steps on fixing this issue and preventing future problems, continue exploring helpful tips here.
Key Takeaways
- Inspect the vacuum head for visible damage, cracks, or warping that may prevent flat contact with the floor.
- Check and tighten all attachment points, wheels, and swivels to ensure proper alignment and free movement.
- Remove debris or tangled hair underneath the head that could lift or tilt it unevenly.
- Adjust the height settings or tilt the head to ensure it sits flush against different floor surfaces.
- Verify the vacuum seal and hose connection to maintain proper suction and prevent head wobbling or lifting.
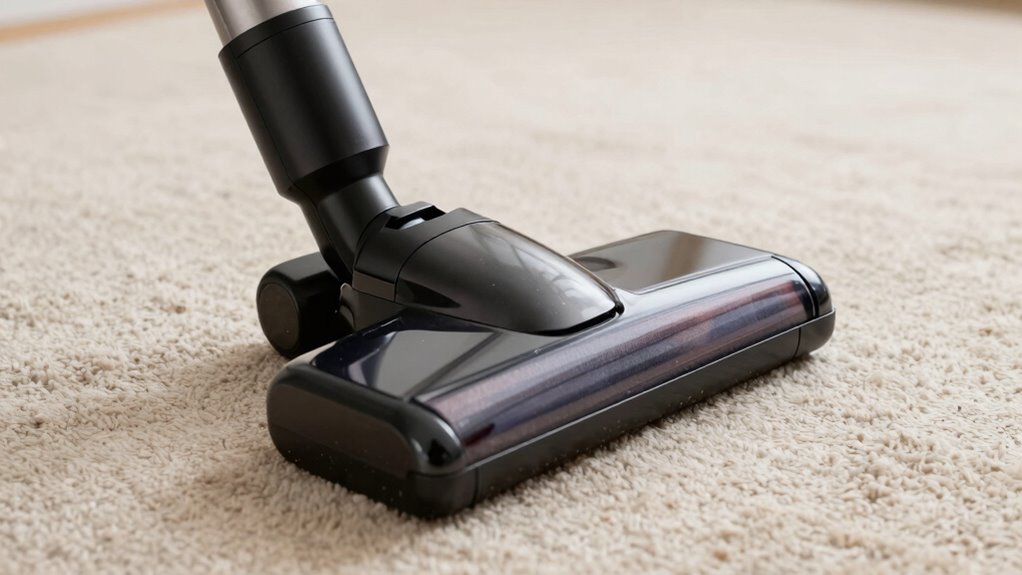
Why Won’t My Vacuum Head Sit Flat? Common Causes
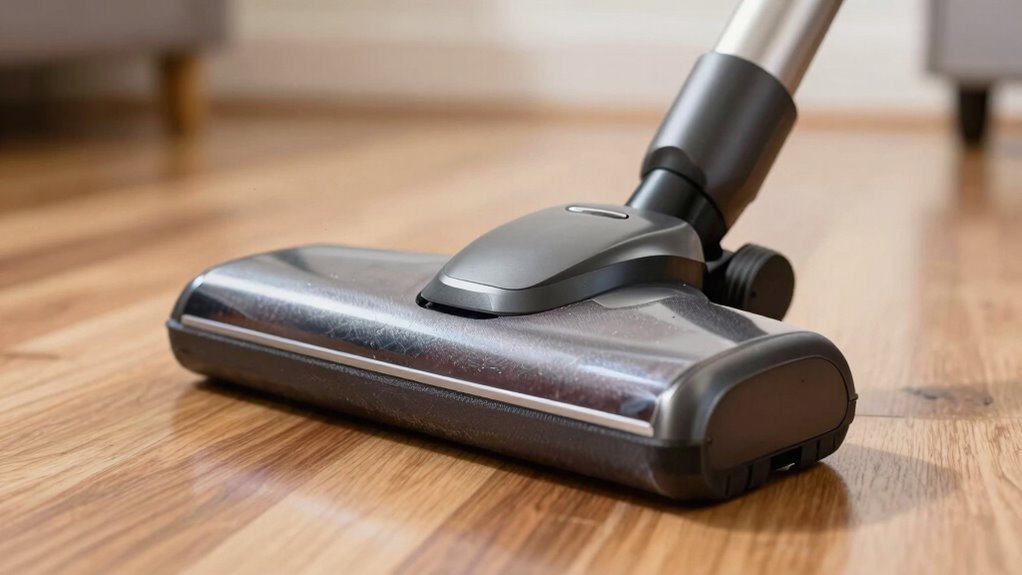
If your vacuum head isn’t sitting flat on the floor, several common issues could be causing the problem. One likely cause is the vacuum design, which might not support proper alignment or could have warped parts. Poorly designed vacuum heads can also affect user comfort, making it harder to maneuver and increasing fatigue during cleaning. Sometimes, debris or tangled hair underneath the head can lift it unevenly, disrupting its flat positioning. Additionally, worn or damaged wheels may cause uneven contact with the floor, preventing a flat sit. Ensuring your vacuum head is compatible with your vacuum model and checking for any visible damages can help identify the root cause. Regularly inspecting component alignment and parts can prevent misfits and improve performance, ultimately making your cleaning process more efficient. Moreover, wear and tear over time can lead to misalignment, so replacement parts or adjustments might be necessary. Proper maintenance routines are essential for preventing issues and extending the lifespan of your vacuum. Being aware of proper maintenance routines can also extend the lifespan of your vacuum and help maintain optimal function. Addressing these factors improves both the vacuum’s performance and your overall cleaning experience.
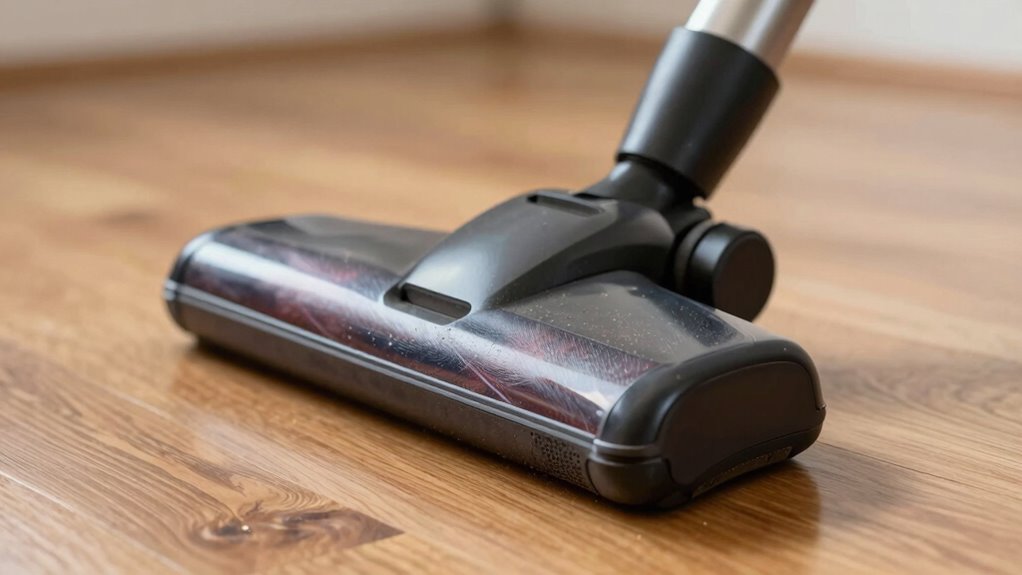
How to Inspect Your Vacuum Head for Alignment and Damage
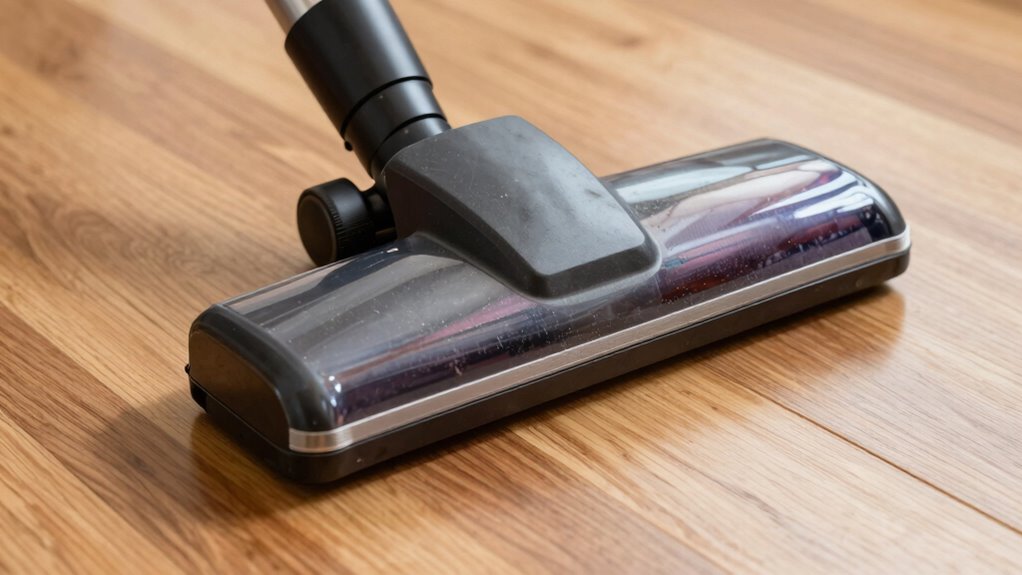
Start by checking your vacuum head’s alignment to make certain it sits evenly on the floor. Look for any visible signs of damage, such as cracks, dents, or bent parts. Identifying these issues early helps maintain proper function and prevents further wear. Additionally, inspecting the pinball machines for any loose or damaged parts can ensure optimal performance and safety. Ensuring your vacuum’s suction power is adequate can also prevent uneven sitting and improve cleaning efficiency. Regularly reviewing equipment maintenance practices can help detect problems before they escalate, especially with the latest vacuum technology enhancements. Performing proper alignment checks regularly is essential for consistent cleaning results and prolonging your vacuum’s lifespan.
Check Alignment Properly
To verify your vacuum head is functioning correctly, you need to inspect its alignment and look for any signs of damage. Proper alignment ensures your vacuum head glides smoothly across surfaces, maximizing cleaning efficiency. Start by checking that the head sits flush and straight without wobbling. Use your hand to gently adjust the position if needed. Pay attention to how the vacuum technology interacts with your cleaning accessories—misaligned heads can cause uneven wear or damage. Confirm that the wheels or swivels move freely and stay aligned during operation. If your vacuum head feels uneven or pulls to one side, it’s a sign to recheck the alignment. Regular inspections help prevent issues and keep your vacuum performing at its best. Additionally, understanding European cloud innovation can inform future upgrades for smarter, more sustainable cleaning tools. Incorporating smart technology into your vacuum system can enhance its performance and longevity. Recognizing the importance of proper maintenance can also extend the lifespan of your vacuum components, especially as modern devices often include advanced sensors that require regular calibration. Regularly performing maintenance checks ensures all parts remain aligned and function properly over time.
Identify Visible Damage
Inspecting your vacuum head for visible damage is essential to guarantee it functions properly and doesn’t cause further issues. During the damage assessment, look closely for cracks, dents, or warped parts on the head’s surface. Check the edges and corners for chips or breaks, as these can affect alignment. Examine the attachment mechanism to ensure it’s intact and secure. If you notice any bent or broken components, replace or repair them before proceeding. Damaged areas can lead to poor sealing, uneven contact with the floor, or further damage to your vacuum. Taking the time for a thorough visual inspection helps catch problems early, ensuring your vacuum head works efficiently and maintains proper alignment for best cleaning performance.
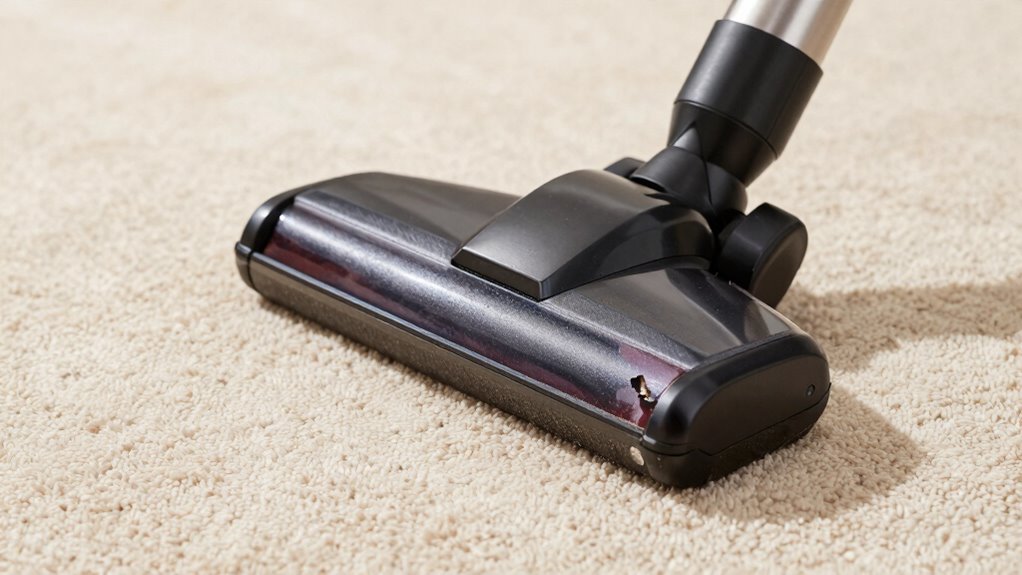
Step-by-Step: How to Adjust and Realign Your Vacuum Head
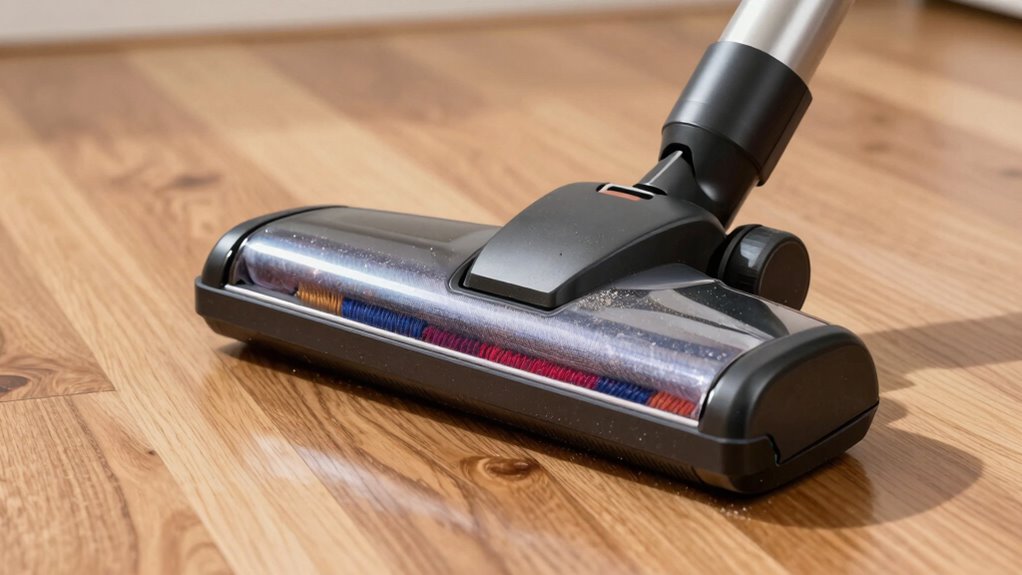
If your vacuum head isn’t making proper contact with the surface, adjusting and realigning it can restore ideal performance. Begin by inspecting the vacuum design to identify any misalignments or uneven surfaces. Remove any cleaning accessories, like brushes or skirts, to access the head more easily. Check if the wheels or swivels are loose or crooked, and tighten or reposition them as needed. Use your hands to gently tilt or lift the vacuum head, ensuring it sits flat against the floor. For stubborn misalignments, loosen mounting screws slightly, adjust the position, then tighten securely. Regularly inspecting and fine-tuning the alignment keeps your vacuum head in excellent condition, improving cleaning efficiency and preventing further damage. Additionally, reviewing your vacuum’s navigation and mapping system can help identify issues that may be affecting proper contact. Recognizing proper alignment techniques can also extend the lifespan of your equipment and maintain optimal cleaning results. Performing these adjustments periodically can prevent the buildup of debris or misalignment that could impact performance stability. Ensuring your vacuum’s adjustment mechanisms are functioning properly can also help maintain consistent contact and performance over time. Furthermore, checking the wear and tear of key components ensures continued effectiveness and reduces the likelihood of frequent readjustments.
How to Check and Replace Worn or Broken Parts
Worn or broken parts can substantially impact your vacuum’s performance, so regularly checking them is important. Start by inspecting the brush for signs of wear or damage; a worn brush won’t clean effectively and may need replacement. When checking the belt tension, ensure the belt isn’t too loose or too tight—incorrect tension can cause poor contact with the vacuum head, affecting how it sits on the floor. If the belt is stretched or frayed, replace it promptly. Also, examine the belt for cracks or missing teeth. Replacing a worn or broken brush or adjusting the belt tension can restore proper alignment. Always follow your vacuum manufacturer’s instructions for replacing parts to guarantee a secure fit and peak performance. Regular maintenance can help prevent issues with vacuum head alignment and extend the lifespan of your appliance. Additionally, understanding cosmic connections can offer a unique perspective on the importance of alignment and harmony, even in technological devices. Recognizing the interconnectedness of components and their functions can help you troubleshoot issues more effectively. Ensuring each part functions correctly contributes to the overall performance efficiency of your vacuum, leading to better cleaning results. Paying attention to these details can prevent further damage and save you time and money in the long run.
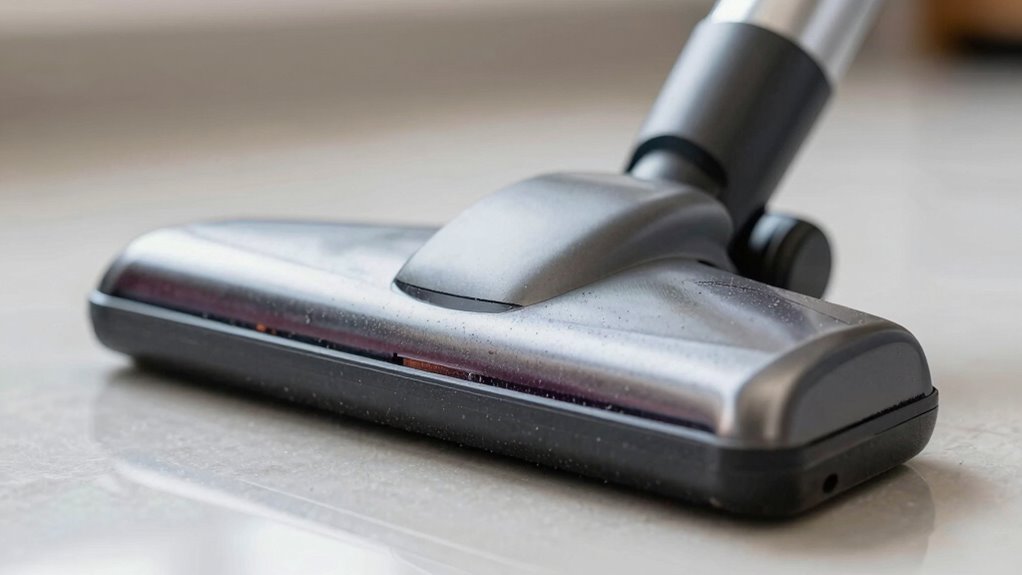
Tips to Keep Your Vacuum Head Sitting Flat During Use
To keep your vacuum head sitting flat during use, start by ensuring the wheels are clean and free of debris, as dirt buildup can cause uneven contact with the floor. Proper vacuum head ergonomics also help; adjust the height to match your floor type for optimal contact. Managing your cord effectively prevents pulling or tugging that could lift the head. Use a cord organizer or wrap the cord neatly to avoid dragging or tension that disrupts the head’s position. Additionally, check if your vacuum has adjustable features or springs that support even pressure.
| Vacuum Head Ergonomics | Tips for Maintenance |
|---|---|
| Adjust height | Regularly clean wheels |
| Use ergonomic handle | Manage cords properly |
| Check for spring tension | Ensure the head is level |
What to Do When Your Vacuum Head Still Won’t Sit Flat

Even after adjusting the height and cleaning the wheels, your vacuum head may still refuse to sit flat. In this case, check your vacuum accessories for damage or wear, as cracked or bent parts can hinder proper alignment. Also, examine your floor surface; uneven or thick carpeting can cause instability. Consider your storage solutions—storing your vacuum improperly might warp or damage the head over time. If these steps don’t work, try swapping out parts like wheels or brackets for replacements, which are often available separately. Sometimes, a simple hardware tweak or replacing worn components can restore proper contact. Remember, maintaining your vacuum head’s integrity ensures better cleaning performance and prevents future alignment issues.
Troubleshooting Obstructions and Surface Issues Affecting Alignment
Start by inspecting the pathway where the vacuum head moves to guarantee nothing is blocking or catching. Then, check that the surface beneath is even and free of bumps or debris that could cause misalignment. Addressing these issues helps your vacuum head sit properly and work efficiently.
Clear Pathway Inspection
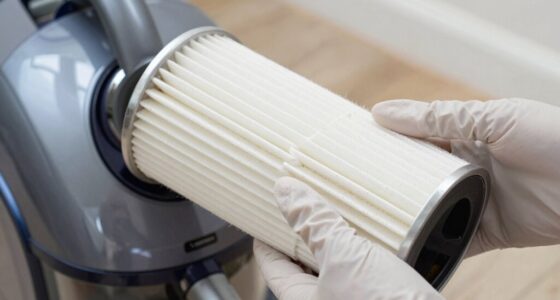
Have you checked if anything’s blocking the vacuum head’s path or causing surface irregularities? Obstructions can prevent the vacuum head from sitting flat, affecting its alignment. Inspect the area for debris, tangled cords, or uneven surfaces. Also, verify the vacuum filters are clean; clogged filters can reduce airflow and create uneven contact. Check the hose flexibility—kinks or stiff sections can hinder smooth movement and cause misalignment.
- Clear any debris or objects from the floor or surface
- Verify that vacuum filters are clean and unobstructed
- Ensure the hose is flexible and free of kinks or damage
Surface Level Assessment
To guarantee proper vacuum head alignment, you need to assess the surface level for any irregularities or obstructions that could interfere with smooth operation. Begin with a surface level assessment by inspecting the area where the vacuum head contacts the floor. Look for uneven spots, debris, or objects that might prevent the vacuum head from sitting flat. If the surface isn’t level, it can cause misalignment and hinder vacuum head positioning. Use a level tool or visual cues to identify high or low spots. Clearing obstructions and addressing surface irregularities will improve alignment and ensure the vacuum head sits properly. Taking these steps helps maintain optimal performance, reduces wear, and prevents further issues caused by uneven surfaces.
How Proper Alignment Improves Cleaning and Extends Your Vacuum’s Life
When your vacuum head is properly aligned, it cleans more effectively by maintaining consistent contact with the floor surface. This ensures debris is lifted efficiently, reducing missed spots and improving overall cleaning. Proper alignment also helps prevent unnecessary wear on parts, extending your vacuum’s lifespan. Regular vacuum maintenance, including alignment checks, keeps your machine running smoothly and minimizes costly repairs. Here are some ways alignment benefits you:
Proper vacuum head alignment enhances cleaning efficiency and prolongs your machine’s lifespan.
- Improves suction power for better dirt removal
- Reduces strain on the motor, prolonging its life
- Minimizes wear and tear on brushes and wheels
Preventative Maintenance for a Flat-Sitting Vacuum Head
A flat-sitting vacuum head can reduce cleaning efficiency and cause uneven wear if not properly maintained. To prevent this, regularly inspect your vacuum accessories, such as brushes and rollers, and clean or replace them as needed. Establish a maintenance schedule that includes checking the alignment, ensuring the head sits flat, and removing debris that may cause uneven contact. Keep the wheels and adjustment mechanisms in good condition, lubricating or tightening parts as necessary. Consistent maintenance prevents buildup that can impact head alignment, prolonging the lifespan of your vacuum. By staying proactive, you minimize the risk of a flat-sitting head developing, ensuring your vacuum performs *ideal* and maintains a flat, even contact with the floor.
FAQs About Vacuum Head Alignment and Troubleshooting
When troubleshooting vacuum head issues, start by checking the alignment to make certain it’s straight and properly positioned. Inspect the wheels and casters for wear or damage, as they can affect movement and alignment. Finally, adjust the vacuum settings if necessary to optimize performance and prevent further problems.
Check Alignment Properly
Are you confident your vacuum head is properly aligned? To verify, you need to check the alignment carefully. Misalignment can cause inefficient cleaning and damage to your equipment. Start by inspecting the vacuum head when it’s not in use, ensuring it’s clean and free of debris. Compare the head’s position to the floor, looking for uneven gaps or wobbling. Adjust the alignment if necessary, especially if your cleaning schedule involves frequent use. Proper storage techniques, like keeping the vacuum in a dry, flat place, help maintain alignment. Remember, regular checks prevent issues before they start. Consider setting a routine to inspect and realign your vacuum head periodically. This simple step ensures maximum performance and prolongs the life of your equipment.
Inspect Wheels and Casters
Inspecting the wheels and casters on your vacuum head is a key step in maintaining proper alignment. First, check for any debris or buildup that could hinder smooth movement. Look at the cushioning material around the wheels; if it’s worn or damaged, it might cause instability. Next, ensure the wheels spin freely by applying wheel lubrication if they seem stiff or squeaky. Proper lubrication prevents unnecessary strain on the casters and helps maintain a flat, even contact with the floor. Also, verify that the wheels are securely attached and aligned straight. Misaligned or damaged wheels can cause the vacuum head to sit unevenly. Regularly inspecting and maintaining these components keeps your vacuum head properly aligned and working efficiently.
Adjust Vacuum Settings
Adjusting your vacuum settings is essential for guaranteeing ideal performance and proper head alignment. Proper settings help maintain a strong vacuum seal, preventing air leaks that cause the head to lift or wobble. It also minimizes motor noise, making operation quieter and more efficient. To fine-tune your vacuum, consider these tips:
- Adjust the suction level for maximum vacuum seal without overworking the motor.
- Check the vacuum hose connection to ensure no leaks that could disrupt performance.
- Test different settings to find the balance between power and noise, reducing motor noise and preventing the head from sitting unevenly.
Frequently Asked Questions
Can I Fix My Vacuum Head Alignment Without Professional Help?
Yes, you can fix your vacuum head alignment yourself with some DIY maintenance. Start by unplugging your vacuum and inspecting the brush and wheels for any debris or obstructions. Use troubleshooting tips like adjusting the wheels or the brush height to guarantee proper alignment. Often, a simple realignment or cleaning can resolve the issue. If it persists, consult your vacuum’s manual or consider professional help.
How Often Should I Check My Vacuum Head’s Alignment?
You should check your vacuum head’s alignment every few months or whenever you notice a drop in cleaning performance. Regular maintenance tips and troubleshooting steps can prevent issues before they start. Don’t wait for trouble to knock on your door—staying proactive keeps your vacuum running smooth. A quick inspection helps catch misalignments early, saving you time and hassle down the road. Keep an eye on it for ideal cleaning results.
Will Realigning My Vacuum Head Improve Suction Power?
Yes, realigning your vacuum head can improve suction power. Proper vacuum maintenance and troubleshooting tips often include ensuring the head sits flat to maximize airflow and dirt pickup. When the vacuum head isn’t aligned correctly, suction weakens, reducing cleaning efficiency. By realigning it, you restore ideal contact with the floor, boosting suction. Regularly checking and adjusting your vacuum head helps maintain peak performance and prolongs the life of your vacuum.
Are There Specific Tools Needed for Alignment Adjustments?
Think of your vacuum’s alignment as tuning a musical instrument. You don’t need fancy tools—just simple alignment tools like a screwdriver or pliers. These help with adjustment techniques to straighten the vacuum head. Carefully use these tools to make minor tweaks, ensuring the head sits flat. Proper alignment improves suction power and makes vacuuming more effective, so don’t hesitate to give your vacuum a quick tune-up.
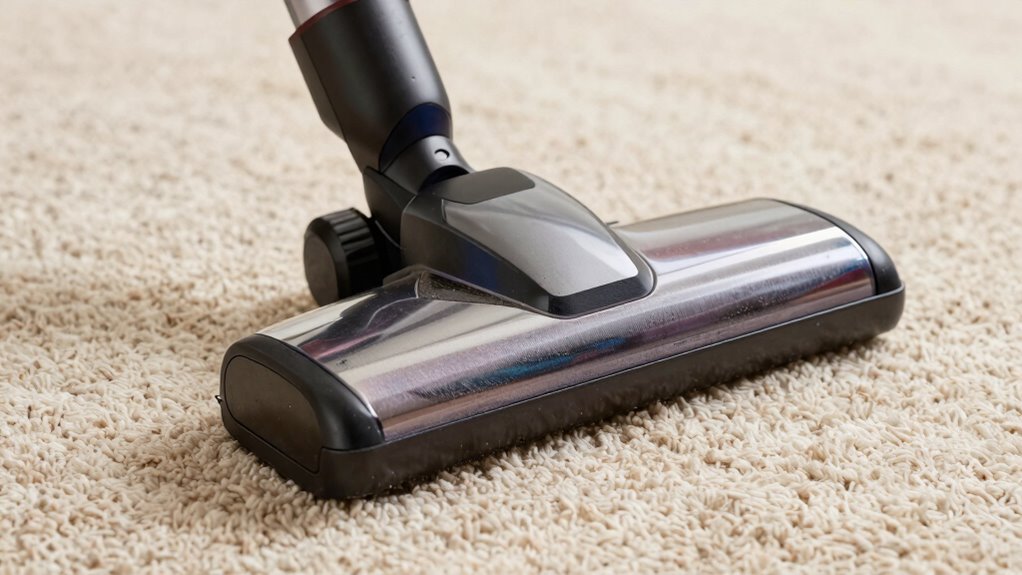
Can Surface Type Affect My Vacuum Head’s Ability to Sit Flat?
Yes, surface type can affect your vacuum head’s ability to sit flat. Different flooring materials and surface compatibility influence how well the vacuum head aligns and glides. For example, thick carpets may cause the head to lift, while smooth floors like hardwood or tile help it stay flat. Adjusting the vacuum for specific flooring materials or checking for debris can improve contact and guarantee a proper seal.
Conclusion
With a little careful checking and consistent care, you can keep your vacuum head sitting flat and functioning flawlessly. Regularly inspect, promptly repair, and practice proper positioning to prevent problems. This simple, steady maintenance maximizes your vacuum’s performance, prolongs its lifespan, and keeps your cleaning routine smooth and stress-free. So, stay vigilant, stay vigilant, and enjoy a spotless space with a perfectly aligned vacuum head always ready for action.