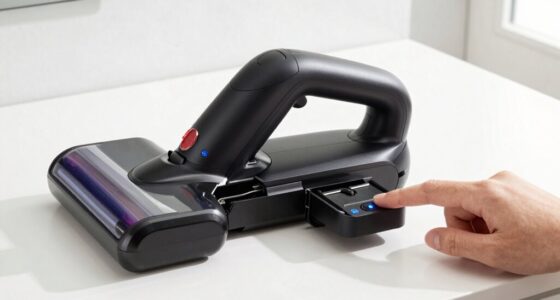

If your vacuum hose keeps falling off, start by inspecting the hose and fittings for cracks, tears, or debris that may prevent a secure fit. Make certain the connection points are clean, and use a properly sized clamp or locking mechanism to secure the hose tightly. Regularly check and tighten the connection to prevent slipping. For more effective solutions and step-by-step guidance, continue exploring ways to maintain a snug, long-lasting seal.
Key Takeaways
- Regularly inspect hoses and fittings for cracks, tears, or deformation, and replace damaged parts promptly.
- Clean connection points to remove dirt, debris, or residue that can weaken seals and cause slips.
- Use appropriate hose clamps or twist-lock fittings to secure connections tightly without damaging the hose.
- Ensure hoses are correctly aligned and free of kinks or bends that can loosen or disconnect easily.
- Periodically tighten clamps and check fittings to maintain a secure, leak-free connection over time.

PEROMI 130Pcs 6-25mm Spring Band Hose Clamps With Swivel Flat Hose Clamp Plier Assortment Kit, Constant Tension Steel Clamps for Fuel Lines, Silicone, Vacuum Hoses & Low-Pressure Air Clips
16 SIZES 130PCS SPRING CLAMP SET– Includes 6mm, 7mm, 8mm, 9mm, 10mm, 11mm, 12mm, 13mm, 14mm, 15mm, 16mm,…
As an affiliate, we earn on qualifying purchases.
As an affiliate, we earn on qualifying purchases.
Why Does My Vacuum Hose Keep Falling Off? Understanding the Causes
If your vacuum hose keeps falling off, several common causes might be behind the issue. Poor vacuum maintenance is often to blame—over time, dirt buildup or worn-out parts can loosen connections. Additionally, debris or blockages may cause the hose to fit improperly, creating a loose seal. Regular cleaning tips include inspecting the hose and connection points to make sure they’re free of obstructions or damage. Keep the fittings clean and free of debris to maintain a tight fit. Sometimes, the hose or the connection ends become worn or cracked, which prevents a secure attachment. Ensuring proper sealing techniques during reassembly can also help improve the connection. Proper vacuum maintenance involves checking all parts regularly to prevent deterioration. Paying attention to the connection integrity of fittings and ensuring they are firmly secured can make a significant difference. Additionally, using appropriate sealing materials like rubber gaskets or fittings can help create a more reliable seal. Regularly inspecting the wear and tear on the hose and fittings can prevent unexpected disconnections. By paying attention to these details and maintaining your vacuum properly, you can prevent the hose from falling off and guarantee maximum performance during cleaning.

Multipurpose Vacuum Line Kit,6PCS 5Ft Vacuum Hose Automotive+64PCS Vacuum Line Connectors,Max 130PSI Silicone Hose for Variety Car Piping System Automotive Replacement Vacuum Hoses (70PCS)
[Complete Package]: This set includes 6 vacuum hose automotive, each with a length of 5 feet and inner…
As an affiliate, we earn on qualifying purchases.
As an affiliate, we earn on qualifying purchases.
How to Check If Your Vacuum Hose Is Damaged or Worn Out
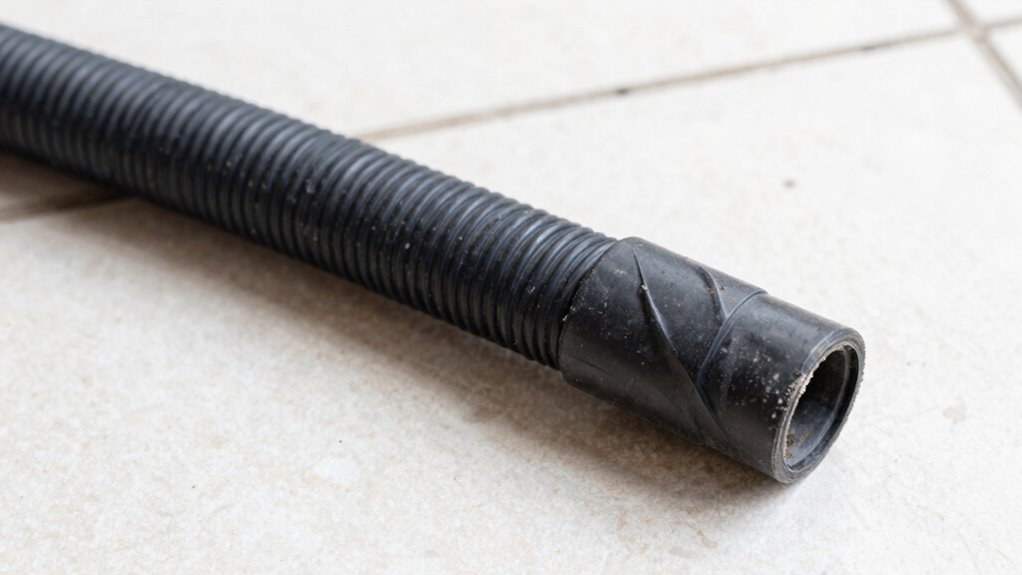
To determine whether your vacuum hose is damaged or worn out, start by inspecting it thoroughly. Check the hose material for any cracks, holes, or tears that could weaken its structure. Feel for soft spots or brittleness, which indicate deterioration over time. Examine the connection types where the hose attaches to the vacuum and tools—look for worn or damaged ends, loose fittings, or broken tabs. If the hose is flexible but shows signs of cracking or splitting, it’s likely compromised. Damaged hose material can cause loss of suction, while worn connection types may lead to poor attachment and frequent slipping. Regularly inspecting your equipment can help you identify issues early and prevent further damage, ensuring your vacuum operates effectively. Additionally, understanding the importance of proper maintenance can extend the lifespan of your vacuum and keep it functioning at optimal levels. Checking for wear and tear can also help you decide when it’s time for a replacement, especially when combined with insights into hose material deterioration. Performing routine inspections can further help catch issues before they escalate.

115PCS Nylon Vacuum Connectors, 63 PCS Assorted Vacuum Plugs Hose End Caps Assortment Kit, Black
Come with 7 SIZE Caps: Rubber assortment kit including 63 PCS 7 sizes 3/16'' 5/16" 7/32" 1/4" 5/32''…
As an affiliate, we earn on qualifying purchases.
As an affiliate, we earn on qualifying purchases.
How to Secure a Loose Vacuum Hose (Step-by-Step)

To secure a loose vacuum hose, start by inspecting the hose end for any damage or cracks. Next, choose a proper hose clamp that fits snugly around the hose. Finally, tighten the clamp securely and test the connection to guarantee it stays in place. For optimum results, ensure that the clamp is made from durable materials to withstand regular use and prevent future loosening inspired by the craftsmanship of haute couture.
Inspect the Hose End
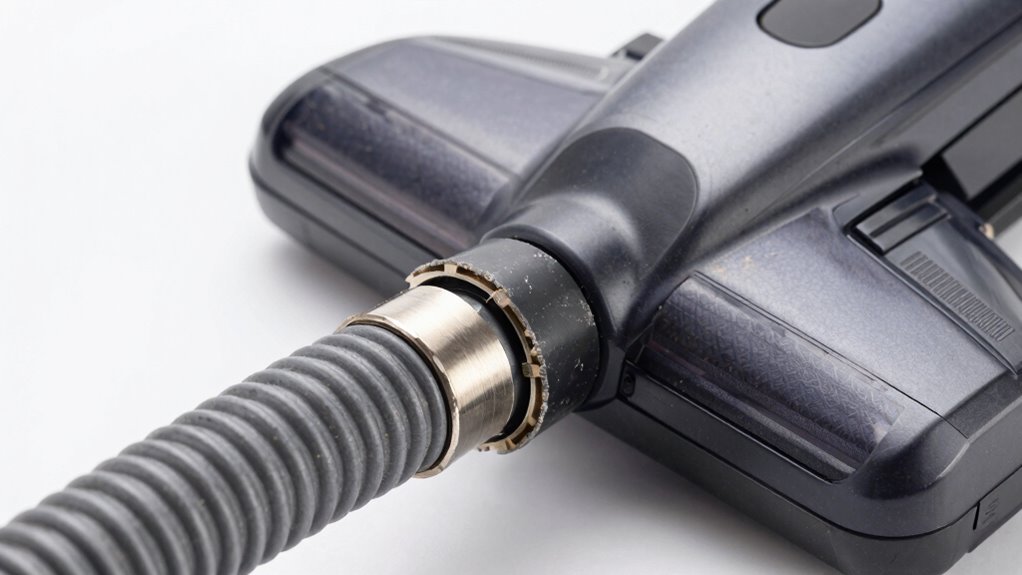
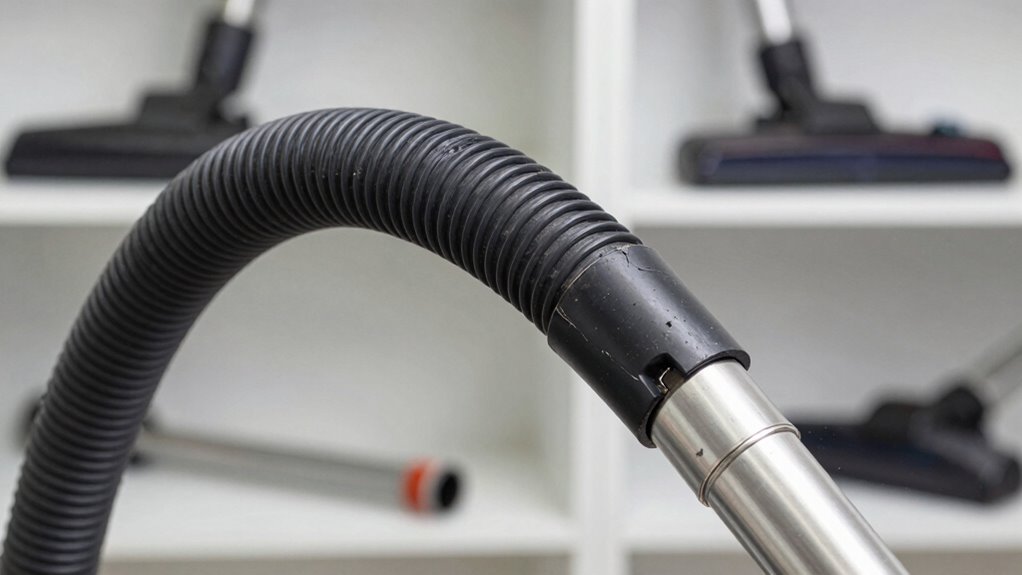
Ever wonder how to determine if your vacuum hose is securely attached? Start by inspecting the hose end closely. Check the hose material—flexible rubber or plastic should be free of cracks or splits, ensuring a tight fit. Next, examine the connection angle; the hose should align straight with the port without bending or kinking. If the hose end looks worn or deformed, it might not seal properly. Make sure the opening is clean and free of debris, which can prevent a secure connection. Carefully remove the hose and reattach it, ensuring it’s pushed firmly onto the fitting at the correct angle. A proper connection depends on both the hose material’s condition and the connection angle, preventing it from slipping off during use. Additionally, consider inspecting the vacuum hose connection system periodically to maintain a reliable seal and prevent accidents. Regularly checking the connection system can help identify wear and tear early before it leads to disconnection issues. To further enhance the connection, you can also apply hose clamps or fittings to secure the hose more firmly. Incorporating proper maintenance practices can extend the lifespan of your vacuum hose and ensure consistent performance. Performing routine inspections can help catch potential problems before they cause disconnections.
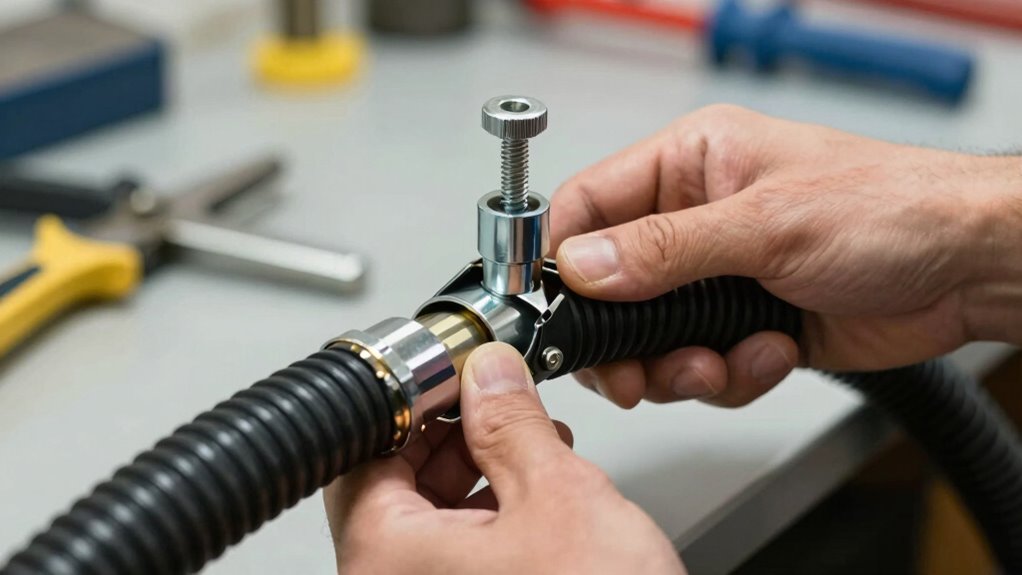
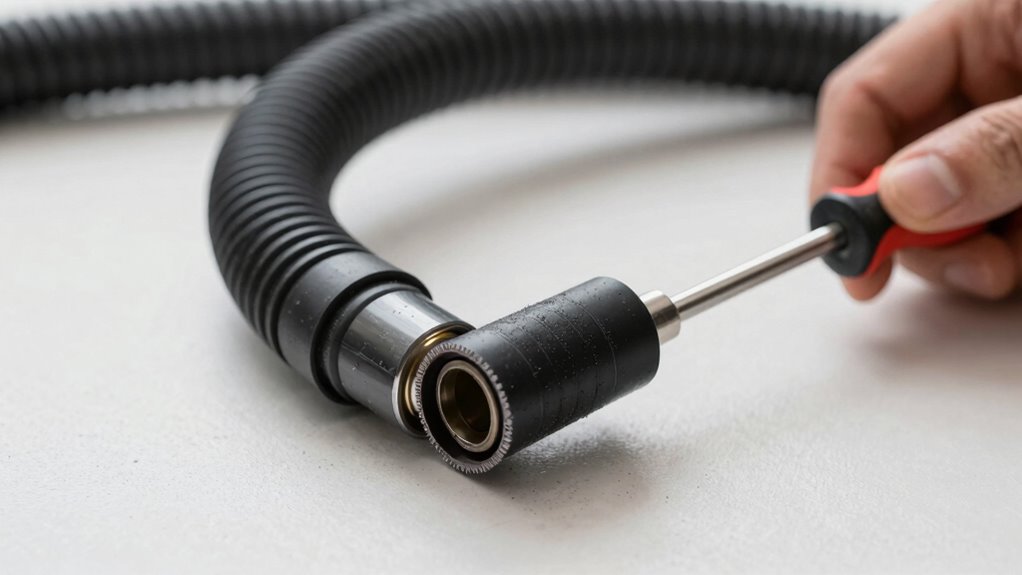
Choose Proper Hose Clamp
Choosing the right hose clamp is essential for securing a loose vacuum hose effectively. You need to evaluate the hose material, as different materials like rubber, silicone, or plastic may require specific clamp types for a secure fit. Metal clamps, such as worm gear or T-bolt clamps, provide strong, durable hold, ideal for high-pressure applications. For softer hoses, spring clamps or constant tension clamps are gentler but still reliable. Make sure the clamp size matches the hose diameter to prevent slipping or damage. Some clamps are adjustable, making installation easier, while others require tools. Selecting the proper clamp type ensures a tight, secure connection that won’t loosen over time, helping to keep your vacuum hose firmly attached and functioning properly. Material compatibility is crucial to prevent damage and ensure a long-lasting seal. Additionally, understanding the clamping mechanism can help you choose the most effective solution for your specific needs. Proper installation techniques can further improve the effectiveness and longevity of your hose connection. Using appropriate tools during installation can also help ensure the clamp is applied correctly and securely.
Secure and Test Connection
After selecting the right clamp, it’s time to secure the vacuum hose firmly in place. Make sure the clamp size matches your hose material and fits snugly without crushing it. Use proper connection techniques by pushing the hose fully onto the fitting and tightening the clamp securely. Ensuring the correct clamp size is crucial for a durable connection. Here are key points to guarantee a solid connection: 1. Check that the hose is pushed all the way onto the fitting before tightening. 2. Use a screwdriver or pliers to tighten the clamp evenly, avoiding over-tightening. 3. Test the connection by gently tugging the hose to confirm it stays in place. A secure connection prevents leaks and keeps your vacuum functioning properly. Regularly inspect and retighten clamps as needed to maintain a tight seal. Additionally, choosing high-quality clamps can help prevent connection failure over time. Properly securing the hose reduces the risk of air leaks, which can impair vacuum performance and lead to further issues. Implementing proper clamp installation techniques can significantly improve the longevity of your vacuum hose connection.

Vacuum Cleaner Hose for Bissell Cleanview Swivel Pet Crosswave 2252 2489 2486 2254 22543 24899 1831 Vacuum Hose Replace Part #203-8049
1. Product compatibility: for Bissell Cleanview Swivel Pet crosswave 2252 2489 2486 2254 22543 24899 1831 Replace Part…
As an affiliate, we earn on qualifying purchases.
As an affiliate, we earn on qualifying purchases.
When to Replace Your Vacuum Hose or Attachments
You’ll know it’s time to replace your vacuum hose or attachments when you notice signs of wear like cracks, tears, or persistent leaks. Waiting too long can reduce cleaning efficiency and damage your vacuum. Replacing them at the right time keeps your vacuum working effectively and extends its lifespan.
Signs of Wear
Even if your vacuum hose and attachments seem fine at first glance, signs of wear can develop over time that affect their performance. You should watch for cracks, tears, or brittleness in the hose material, which compromise suction and may cause leaks. Additionally, inspect connection types; loose or damaged fittings can lead to falling-off issues. Here are key signs to watch for:
- Cracks or holes in the hose material reducing suction.
- Worn or broken connection points that no longer seal properly.
- Frayed or damaged attachment ends causing difficulty in securing them.
If you notice any of these issues, it’s time to contemplate replacing the hose or attachments to maintain effective cleaning and prevent further damage. Regular inspections help catch problems early and guarantee your vacuum functions efficiently.
Optimal Replacement Timing
Knowing when to replace your vacuum hose or attachments is essential for maintaining ideal cleaning performance. The hose material plays a big role in determining replacement timing; flexible rubber or plastic hoses tend to last longer than cheaper alternatives. Generally, you should consider replacing your vacuum hose if you notice persistent cracks, tears, or brittleness, which compromise suction and durability. Regular inspection helps identify these issues early. As a rule of thumb, replacement frequency varies based on usage, but most hoses should be replaced every 3 to 5 years. If your hose shows significant wear or damage, don’t delay—replacing it restores *best* airflow and prevents further damage to your vacuum cleaner. Staying attentive to hose condition ensures your device runs efficiently and lasts longer.
How to Choose the Right Replacement Vacuum Hose and Attachments
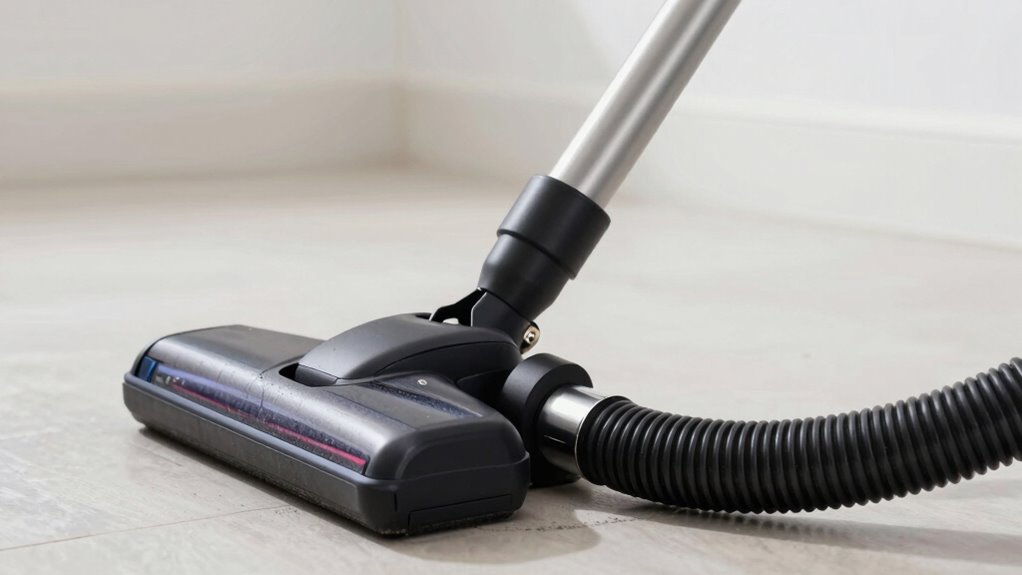
Choosing the right replacement vacuum hose and attachments starts with identifying your vacuum’s specific needs. First, consider the hose material—rubber, plastic, or flexible silicone—to guarantee durability and compatibility. Second, look at your vacuum’s storage options; a hose that fits neatly helps prevent damage and makes storage easier. Third, match the attachments to your cleaning tasks—brush heads for carpets, crevice tools for tight spaces, or upholstery tools for furniture. When selecting, check compatibility with your vacuum model and ensure the fittings are secure. Properly choosing the right hose and attachments minimizes loose connections and improves performance. Remember, selecting quality vacuum storage options and appropriate hose material keeps your vacuum functioning smoothly longer.
How to Use Hose Clamps and Tools to Secure Your Vacuum Hose
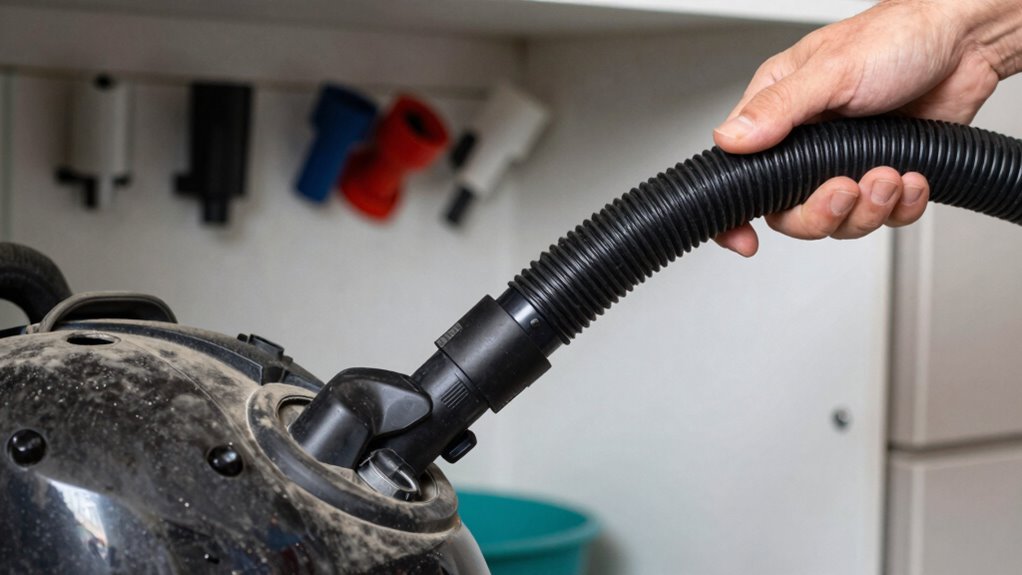
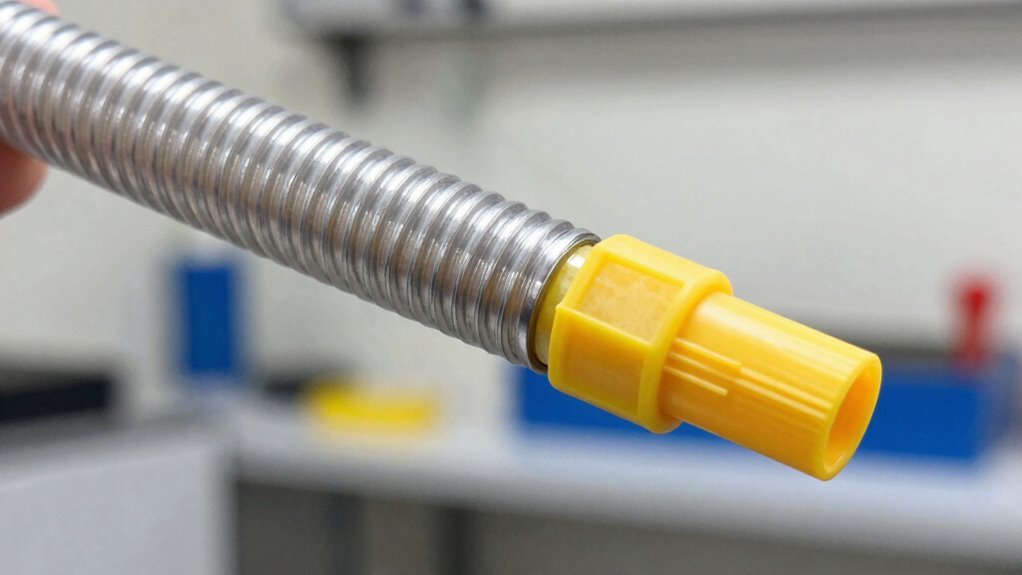
To guarantee your vacuum hose stays securely attached during cleaning, you need to properly use hose clamps and tools designed for this purpose. First, select a clamp suitable for your hose material—metal for durability or plastic for lighter jobs. When installing, slide the clamp over the hose end before fitting it onto the vacuum port. Use a screwdriver or pliers to tighten the clamp securely, ensuring it doesn’t slip but isn’t too tight to damage the hose. Proper clamp installation creates a tight seal, preventing leaks and detachment. Check the connection regularly and tighten as needed. Proper use of hose clamps and tools ensures a reliable, long-lasting attachment, making your vacuuming more efficient and hassle-free.
Tips for Preventing Hose Detachment and Maintaining a Secure Connection

Hose detachment often happens when connections aren’t properly maintained or secured, but you can prevent this by regularly inspecting your vacuum hose and fittings. Start by checking the hose material; rubber hoses tend to grip better than plastic ones. Next, consider the connection types—twist-lock fittings provide a more secure fit than simple friction connections. To maintain a secure connection:
- Ensure all fittings are clean and free of debris.
- Use compatible connection types for your hose and vacuum model.
- Apply hose clamps or locking mechanisms where needed for added security.
Regularly inspecting and adjusting these elements can considerably reduce detachment issues. Staying attentive to hose material and connection types helps keep your vacuum working efficiently without constant reattachment.
Troubleshooting Persistent Hose Falling Off Issues
Persistent hose falling off can be frustrating, especially when regular checks and adjustments don’t resolve the problem. First, review your vacuum maintenance routine to verify all connections are clean and free of debris. Dirt or residue can compromise hose compatibility, making it harder for the hose to stay securely attached. Check if your hose fits properly with your vacuum model; incompatible hoses often slip off more easily. Consider replacing worn or damaged gaskets or seals, which can loosen the connection. Also, inspect the hose and connection points for cracks or deformities that could cause leaks or looseness. If issues persist, upgrading to a high-quality hose designed for your specific vacuum can improve compatibility and reduce disconnections, ensuring a more secure, long-lasting fit.
Best Practices for Connecting and Disconnecting Your Vacuum Hose
Properly connecting and disconnecting your vacuum hose helps prevent dislodgement and maintains ideal performance. To guarantee smooth vacuum maintenance and accessory compatibility, follow these best practices:
- Always align the hose and wand properly before attaching, avoiding forcing connections that could damage fittings.
- Use gentle but firm pressure when connecting or disconnecting to secure a tight fit without stressing the parts.
- Regularly check the hose and attachments for wear or debris that could cause loose connections, cleaning or replacing as needed.
Top Accessories and Hacks to Keep Your Vacuum Hose Stable
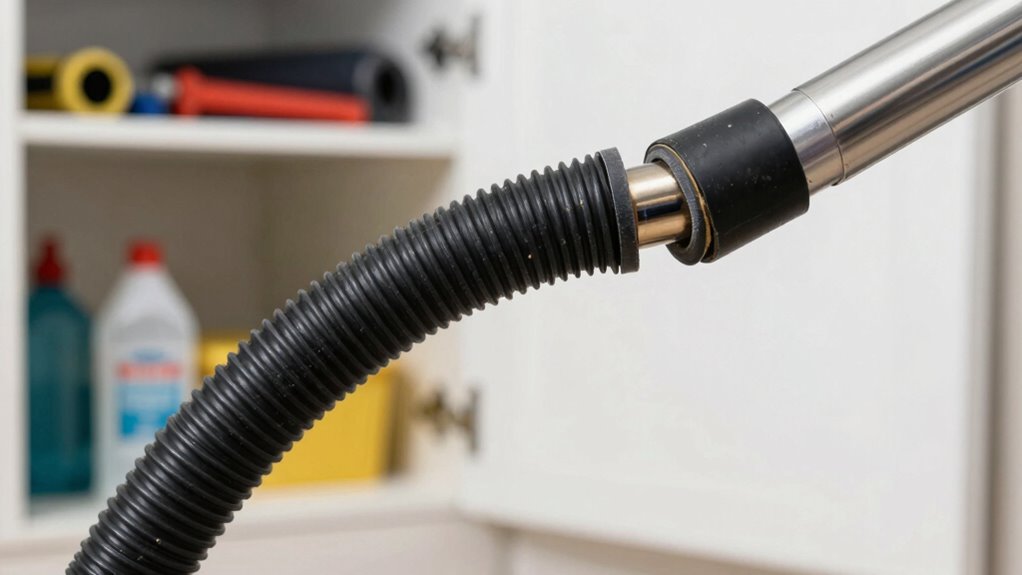
To keep your vacuum hose stable during cleaning, incorporating the right accessories and hacks can make a significant difference. Using hose clamps or adjustable connectors helps guarantee a secure connection, preventing slipping or detachment. You can also try adding rubber gaskets or foam sleeves around the connection point; these enhance grip and reduce the chance of the hose coming loose. Another effective hack is to use a flexible hose extension with locking features, which provides extra stability during use. Additionally, check for any damage or wear on the hose and replace worn parts promptly. Regularly tightening fittings and applying a small amount of lubricant on connection points can also improve stability. These accessories and hacks work together to maintain a secure connection and make your cleaning process more efficient.
Frequently Asked Questions
Can Temperature Changes Cause My Vacuum Hose to Fall Off?
Yes, temperature changes can cause your vacuum hose to fall off. When the hose material expands or contracts due to heat or cold, it can loosen the connection type, making the hose more prone to slipping off. If your hose is made of flexible rubber, it’s especially susceptible. To fix this, check the connection and make sure it fits snugly. Using clamps or replacing worn parts can prevent future disconnections caused by temperature fluctuations.
Are There Specific Vacuum Brands Prone to Hose Detachment Issues?
Some vacuum brands, like Shark and Dyson, are more reliable because of their hose connection design, reducing detachment issues. Think of these brands as sturdy bridges that keep hoses firmly in place, even when you’re hauling around furniture or tackling tough spots. While no brand is perfect, choosing one known for durability and thoughtful connection design can save you from frequent hose falls, making your cleaning smoother and more hassle-free.
How Often Should I Inspect My Vacuum Hose for Wear?
You should inspect your vacuum hose for wear every 3 to 6 months. Check the hose material for cracks or brittleness, especially around high-stress areas. Examine connection types, ensuring they fit snugly and aren’t loose or damaged. Regular inspections help prevent detachment issues, so replace or repair worn hoses promptly. Keeping an eye on these details guarantees your vacuum operates efficiently and avoids annoying disconnections during use.
Is It Safe to Use Duct Tape to Secure a Loose Vacuum Hose?
Ever wonder if duct tape is a safe fix? While it might seem like a quick DIY repair, using duct tape to secure a loose vacuum hose isn’t the safest choice. Duct tape can break down over time, leading to potential safety concerns and reduced effectiveness. Instead, check for proper fittings or replace worn parts to guarantee a secure, durable connection. Prioritize safety and proper repairs for the best results.
Can Pet Hair or Debris Inside the Hose Contribute to Detachment?
Pet hair buildup and debris accumulation can definitely contribute to hose detachment. When hair and debris clog the connection, they create resistance, making it harder for the hose to stay securely attached. Regularly cleaning out your vacuum hose removes these obstructions, ensuring a snug fit and preventing it from falling off. Keep an eye on buildup and clear it frequently to maintain a tight, secure connection and ideal performance.
Conclusion
Think of your vacuum hose as the lifeline to your cleaning power. When it stays secure, your home breathes easier, free from dust and chaos. But if it keeps slipping, it’s a reminder to nurture your connection—tighten, repair, and care for it like a trusted ally. By maintaining this bond, you guarantee your cleaning journey remains smooth, turning a simple hose into a symbol of order and comfort in your home.