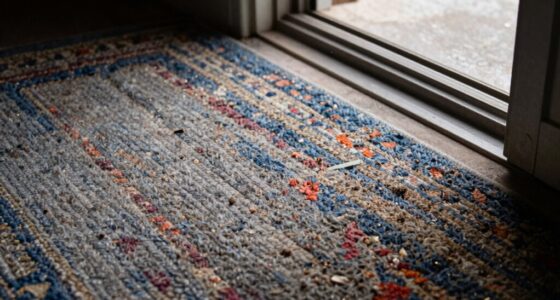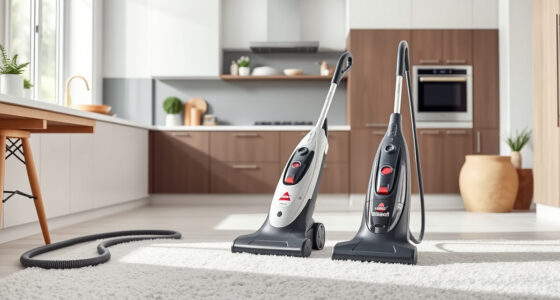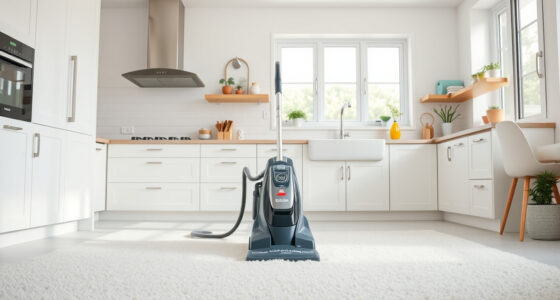
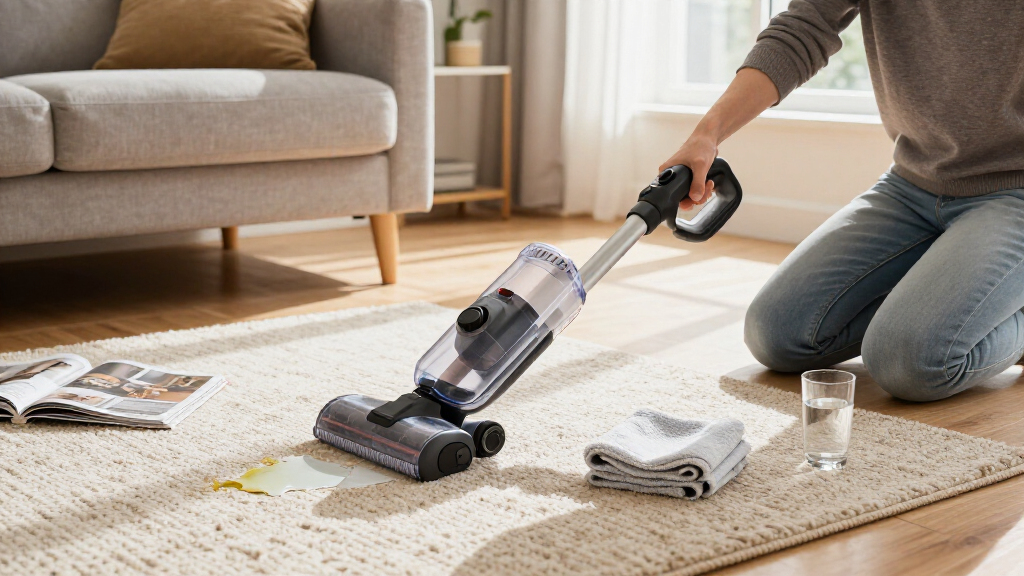
This guide shows beginners how to use a cordless handheld carpet cleaner to remove a fresh spill or small stain from carpet or compatible upholstery. You will prepare the machine and surface, clean with measured solution, and finish by rinsing and storing the cleaner. Allow 20-40 minutes for the work, plus several hours for the treated area to dry.

Get cleaning gear delivered free — and shop member deals
- Fast, free delivery on millions of items
- Access to Prime Big Deal Days deals on October 6–7
- Prime Video, Amazon Music and more included

Shark StainForce Cordless Stain, Odor, and Urine Remover with 2 Tools
- ✔ Model: HX102BRN
- ✔ Type: Cordless handheld stain cleaner
- ✔ Weight: Under 3 lbs

Shark StainForce Cordless Stain, Odor & Urine Remover with 2 Tools and Caddy, HX101
- ✔ Model: HX101
- ✔ Type: Cordless handheld stain cleaner
- ✔ Weight: Under 3 lbs
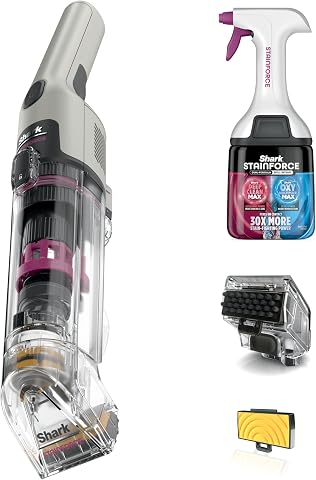
Shark StainForce Cordless Stain, Odor & Urine Remover, HX095BRN
- ✔ Model: HX095BRN
- ✔ Type: Cordless handheld stain cleaner
- ✔ Weight: Under 3 lbs
Difficulty: Beginner | Time: 20-40 minutes, plus drying time
What You’ll Need
Tools & Materials:
- Cordless handheld carpet cleaner with its charger
- Cleaning solution approved for the machine
- Clean water
- White absorbent cloths or paper towels
- Wastewater sink or disposal point
Knowledge:
- Basic ability to fill and empty the cleaner’s tanks
- Ability to check a fabric care label and follow the cleaner manual
Check the manual for the correct solution, water temperature, tank limits, and charging instructions. Do not use household detergent or add bleach unless the manufacturer specifically permits it. Keep children and pets away from the wet area while cleaning and drying.
Shark StainForce Cordless Stain, Odor, and Urine Remover with 2 Tools
The HX102BRN earns the top spot because its tool pair addresses two different spot-cleaning needs: the reversible-bristle Stain Eliminator Tool for targeted treatment and a Wide Stain Tool for covering a broader patch. That makes it more adaptable than the HX095BRN, whose listed package has just one cleaning tool, and a better fit for varied stain sizes than the HX101, which pairs its stain tool with a crevice attachment.Its cordless, under-three-pound design suits quick jobs around the house or away from it, while the dual-chamber bottle mixes solution on contact rather than asking us to measure and combine it manually. The kit also includes a caddy, storage tray, and extra foam filter. Those additions round out the package, though the core distinction remains the two cleaning heads. We still need to spray and scrub before extraction, and the product is intended for small stains and messes. It is not a practical substitute for a full-size carpet cleaner when a room or large area needs attention.
Pros:
- Includes both targeted and wide-path cleaning tools
- Under three pounds and cordless for portable spot treatment
- Dual-chamber solution mixes on contact
- Includes a caddy, storage tray, and extra foam filter
Cons:
- Designed for small stains and messes rather than whole-room cleaning
- Requires spraying and scrubbing before extraction
- Needs charging and cleaning solution
Best for: Households that want one portable cleaner with separate tools for targeted stains and wider spots.
Not ideal for: Buyers focused on narrow crevices, or anyone who needs to clean large carpet areas in one pass.
Bottom line: Choose the HX102BRN when tool coverage across different spot sizes matters more than having a dedicated crevice attachment.
“Choose the HX102BRN when tool coverage across different spot sizes matters more than having a dedicated crevice attachment.”
Shark StainForce Cordless Stain, Odor & Urine Remover with 2 Tools and Caddy, HX101
If messes tend to collect along seat seams, stair edges, or other narrow spots, the HX101 has the most relevant tool combination: a reversible-bristle stain tool plus a Crevice Tool. That makes it a more focused choice for confined areas than the HX102BRN, whose second attachment is designed for wider stains. The HX095BRN is simpler still, with only one listed cleaning tool.The cleaner sprays, scrubs, and suctions up messes, and its under-three-pound cordless body is easier to carry between rooms or out to a vehicle than a corded machine. Its dual-chamber solution mixes on contact, reducing setup steps when we need to handle a small spill. The caddy helps keep the included items together, but the package still depends on cleaning solution for spray-and-extract use. As with the other two models, the HX101 is described for small messes, so a crevice tool does not turn it into an all-purpose carpet machine. Buyers who mostly need broader spot coverage may get more from the HX102BRN’s wide stain attachment.
Pros:
- Includes a crevice tool alongside the reversible-bristle stain tool
- Cordless and under three pounds for easy carrying
- Dual-chamber solution mixes on contact without measuring
- Caddy stores the cleaner’s included accessories together
Cons:
- Focused on small stains and messes
- Cleaning solution is needed for the spray-and-extract process
- Does not include the wide stain tool supplied with the HX102BRN
Best for: People who regularly clean small messes from car interiors, stair edges, upholstery seams, and other tight spaces.
Not ideal for: Buyers who want a tool intended to cover wider stains or who need a cleaner for large carpet sections.
Bottom line: Pick the HX101 when reaching narrow spaces is a more frequent need than treating wider spots.
“Pick the HX101 when reaching narrow spaces is a more frequent need than treating wider spots.”
Shark StainForce Cordless Stain, Odor & Urine Remover, HX095BRN
The HX095BRN covers the essentials for portable stain cleanup: it sprays, scrubs, and extracts, weighs under three pounds, and includes a reversible-bristle stain tool. Its dual-chamber bottle mixes the solutions at the nozzle, so we avoid manual mixing or measuring. Among these three options, this is the most straightforward listed setup, whereas the HX101 adds a crevice tool and caddy, and the HX102BRN adds a second tool for wider spots.That simplicity is useful if we mainly want to treat occasional spills without choosing between several attachments. The tradeoff is that the supplied details list only one cleaning tool, limiting its flexibility for tight spaces or broader patches compared with the other two kits. Like its siblings, it is meant for small messes rather than large carpet jobs, and it needs charging. The included full-size solution and reusable spray bottle head support the cleaning process, but the product still relies on solution and manual spray-and-scrub preparation before extraction.
Pros:
- Under three pounds and cordless for use around the home, in cars, or outdoors
- Sprays, scrubs, and extracts small stains
- Solution mixes on contact without manual measuring
- Includes a reversible-bristle stain tool and full-size solution
Cons:
- Only one cleaning tool is listed in the package
- Designed for small stains and messes
- Requires charging and cleaning solution
Best for: Buyers who want a lightweight cordless spot cleaner with a basic tool set for occasional small stains.
Not ideal for: People who want a dedicated crevice tool, a wider-path attachment, or a more extensive accessory package.
Bottom line: Choose the HX095BRN for a basic portable kit when the specialized tools in the other packages would go unused.
“Choose the HX095BRN for a basic portable kit when the specialized tools in the other packages would go unused.”
As an Amazon Associate we earn from qualifying purchases.
Before You Start
Check the carpet or upholstery care label. Some materials, including silk, leather, and fabrics marked dry-clean-only, may be damaged by wet extraction. Test the solution on a hidden spot: apply a small amount, blot with a white cloth, and wait until it dries. Stop if color transfers, the fibers change, or the material develops a ring. Pick up solids and blot liquid spills before using the machine; rubbing can push the stain deeper or spread it.
Charge the cleaner fully if the battery level is low. A weak battery may lose suction before you finish. Work in a ventilated area, and do not use the machine on a surface that the manual excludes.
Step-by-Step Instructions
Step 1: Check the stain and prepare the area
Remove loose dirt and solid material with a spoon or blunt edge, lifting from the outside toward the center. Blot liquid with a clean white cloth, pressing down and lifting repeatedly. Do not scrub. Move nearby items and check that the surface passed the hidden-area test.
Tip: Treat the stain promptly when possible. Heat from a hair dryer or hot water can set some stains.
Check: Loose material is removed and the spill is not spreading when you blot it.
Step 2: Inspect and charge the cleaner
Read the quick-start instructions and identify the clean-water tank, recovery tank, nozzle, and release controls. Check that the battery has enough charge for the job, and inspect the nozzle and tanks for debris or damage. Fit any required attachment firmly.
Tip: Keep the cleaner switched off while filling or fitting parts.
Check: The machine is charged, the parts are seated, and the nozzle is clear.
Step 3: Fill the clean-water tank
Remove the clean-water tank as directed. Add water at the temperature specified in the manual, then measure and add only the approved cleaning solution at its labeled dilution. Do not exceed the tank’s fill line. Close the cap securely and return the tank to the cleaner.
Tip: If the solution comes in a concentrate, measure it rather than estimating. Too much cleaner can leave residue and attract dirt.
Check: The tank is below its maximum line, the cap is closed, and the tank sits securely.
Step 4: Apply solution to the stain
Position the nozzle over the stained area and follow the manual’s directions for dispensing solution. Apply a small, controlled amount, working from the outer edge toward the center. Avoid soaking the carpet backing or upholstery padding. Let the solution sit only for the time stated on its label or in the manual.
Tip: If there is no specified dwell time, do not leave the area saturated or let the solution dry on the fibers.
Check: The stain is evenly damp, with no puddle or runoff.
Step 5: Extract the loosened dirt
Turn on the cleaner and move the nozzle slowly across the damp area while following the machine’s extraction instructions. Make overlapping passes to cover the stain. Use additional dry passes to draw up moisture; release the solution control during these passes if your model has one. Do not press hard or scrub back and forth rapidly.
Tip: Keep the nozzle in contact with the surface as the manual directs. A rushed pass may leave excess moisture behind.
Check: The area looks less wet, and dirty liquid is collecting in the recovery tank.
Step 6: Repeat carefully if needed
Check the stain after the first extraction. If visible discoloration remains and the material is still in good condition, repeat the light application and extraction once. Stop if the carpet color transfers, the fibers look distorted, or the stain spreads. Avoid repeated soaking.
Tip: Some stains need a fabric-specific treatment or a professional cleaner. Repeating wet passes indefinitely can damage the backing or padding.
Check: The stain has reduced without color change, spreading, or a lingering pool of liquid.
Step 7: Empty and rinse the tanks
Switch off the cleaner. Remove and empty the recovery tank into an appropriate drain, following the manual’s disposal guidance. Rinse the tank and any removable nozzle parts as directed. Empty leftover clean solution if the manual says not to store it in the tank. Refit the parts only after cleaning them.
Tip: Dirty recovery water may contain soil and cleaning solution. Avoid splashing it onto nearby surfaces.
Check: The recovery tank is empty, visible debris is removed, and the parts are correctly refitted.
Step 8: Dry the surface and store the cleaner
Leave the cleaned area exposed to air and keep foot traffic and pets off it until fully dry. Improve airflow with an open window or fan if practical; do not use direct heat unless the carpet maker permits it. Wipe the cleaner, charge or store it as its manual recommends, and keep the machine upright in a dry place.
Tip: Drying time depends on the carpet, how much solution was applied, and room airflow. Do not cover a damp area with furniture or a rug.
Check: The surface dries without a musty smell or visible residue, and the cleaner is clean and stored securely.
Common Mistakes to Avoid
- Using an unapproved cleaner or too much concentrate. — Use a solution listed for the machine and measure the dilution from its label or manual.
- Soaking the carpet while trying to remove the stain quickly. — Apply small amounts, extract slowly, and stop when the stain has reduced. Excess water can reach the backing and padding.
- Scrubbing the stain or starting at its center. — Blot first, then work from the outer edge inward to limit spreading and fiber damage.
- Leaving dirty water or solution in the tanks after cleaning. — Empty and rinse the tanks after use, following the manufacturer’s cleaning instructions.
Troubleshooting
Problem: The cleaner does not dispense solution.
Solution: Switch it off and check that the clean-water tank is filled, its cap and seals are seated, and the tank is locked in place. Check the manual for priming instructions and clear the nozzle only as directed.
Problem: The cleaner has weak suction or leaves the area very wet.
Solution: Check that the recovery tank is not full, its lid and seals are fitted, and the nozzle is clear. Recharge the battery if needed, then make slow extraction passes without dispensing more solution.
Problem: The stain remains after cleaning.
Solution: Let the area dry before judging the result, since damp fibers can look darker. If the stain remains, check the care label and use a treatment suitable for that stain and material, or contact a carpet-care professional.
Problem: A ring or color change appears.
Solution: Stop wet cleaning and blot gently with a clean white cloth. Do not add more solution. Let the spot dry, then contact a carpet or upholstery professional if the change remains.
What Success Looks Like
The treated area is visibly cleaner after it dries, with no color loss, spreading, sticky residue, or musty odor. The carpet or upholstery is damp rather than saturated, and it dries fully before regular use. The cleaner’s recovery tank is empty, its removable parts are clean, and the machine is stored according to its manual.
Next Steps
Check the dry area in natural light before returning furniture. If the stain remains, avoid repeated wet treatment and use a method recommended for the specific stain and material. Clean the machine after each use, charge it according to the manual, and replace worn seals or filters with approved parts. For a large stain, delicate material, or persistent odor, contact a carpet-care professional.
Frequently Asked Questions
Can I use any carpet shampoo in a cordless handheld cleaner?
No. Use only a solution approved for your model. Other products can foam excessively, leave residue, clog the machine, or damage its seals.
Can I use a handheld cleaner on a sofa?
Only if the upholstery care label and cleaner manual allow wet extraction. Test a hidden area first and avoid soaking cushions or materials marked dry-clean-only.
How many passes should I make?
Make slow, overlapping extraction passes and check the result. Repeat a light treatment once if needed and the material remains unchanged. The right number varies with the stain, surface, and cleaner.
How long will the carpet take to dry?
Drying time varies with pile, moisture, room temperature, and airflow. Leave the area uncovered and keep people and pets off until it feels and looks fully dry.
Should I leave water in the clean tank between uses?
Follow the manual. Many models call for emptying leftover solution and rinsing the tanks after use; storing liquid inside can lead to residue or odor.
Fall Picks
fall essentials
As an affiliate, we earn on qualifying purchases.