The key to better mopping isn’t just about the cleaning process but about how you prepare your floors first. Before you mop, make sure to sweep or vacuum thoroughly to remove loose dirt, dust, and hair. Using a microfiber cloth or mop pad afterward traps fine debris, reduces streaks, and improves shine. If you follow this simple prep, you’ll notice a big difference in cleanliness and floor appearance. Keep going to learn more tips for flawless floors.
Key Takeaways
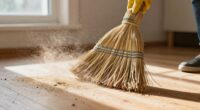
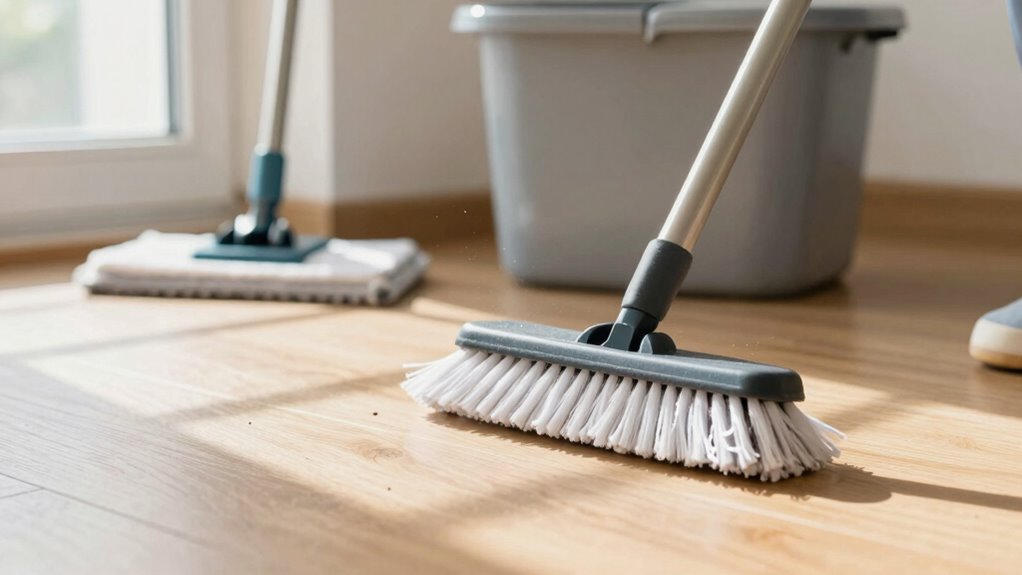
- Proper floor preparation, like sweeping or vacuuming, removes loose dirt that can cause streaks and scratches during mopping.
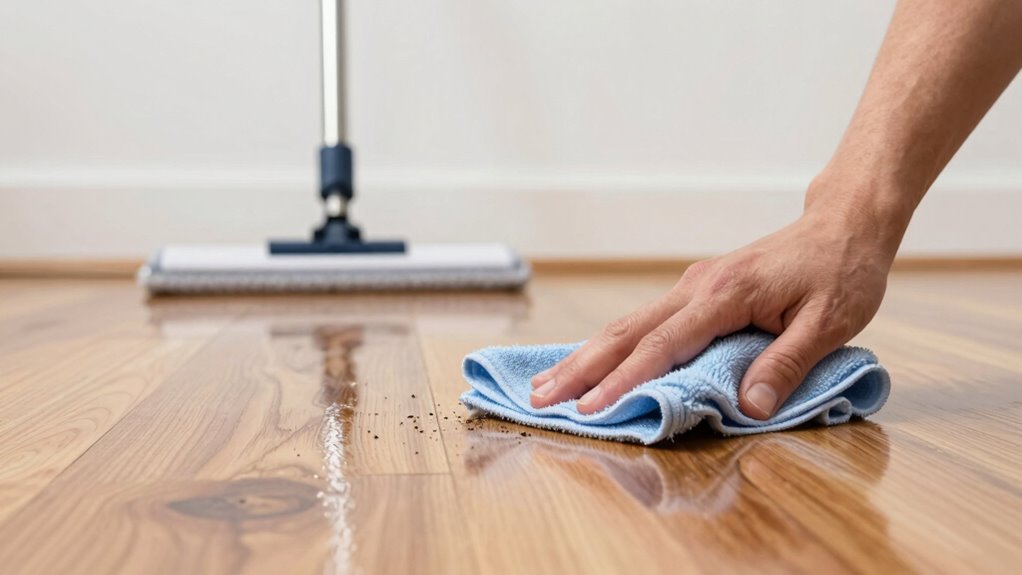
- Using a microfiber cloth or mop pad after sweeping enhances debris removal and prevents grime spread.
- Incorporating a quick pre-clean step ensures a smoother, more effective mopping process with fewer streaks and residues.
- Skipping the pre-step can lead to dull, streaky floors and potential long-term damage from abrasive particles.
- Consistently preparing floors before mopping maintains their shine, prolongs surface life, and improves overall cleaning results.
Why Prepping Your Floors Before Mopping Matters
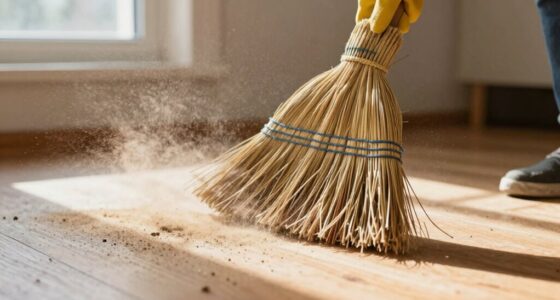
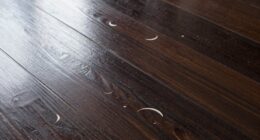
Prepping your floors before mopping is essential because it guarantees you remove dirt and debris that can scratch or damage the surface. Proper floor preparation is a crucial part of your cleaning routine, ensuring the mopping process is effective and won’t spread grime around. When you clear loose dirt, dust, and hair first, you prevent these particles from turning into abrasive particles that can scratch your flooring. Skipping this step often leads to streaks, dullness, and potential damage over time. Taking a few extra minutes to sweep or vacuum sets a solid foundation for a thorough clean. Additionally, considering the use of a dirt removal method like vacuuming or sweeping ensures you maximize the effectiveness of your mopping. This simple step enhances your cleaning routine, making your mopping more efficient and your floors look better longer. Proper surface preparation is the key to preserving your floors’ beauty, especially as it relates to auditory processing skills, which require clear and undistorted input to function effectively. Incorporating a cleaning routine that includes thorough debris removal can also extend the lifespan of your flooring materials.
The One Simple Step That Transforms Your Cleaning Results
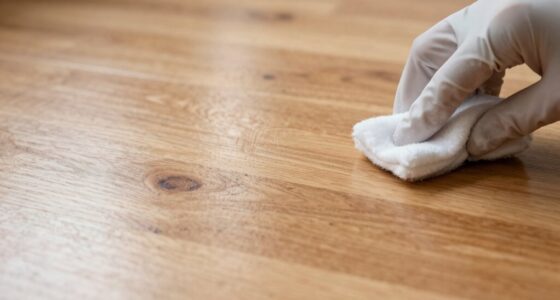
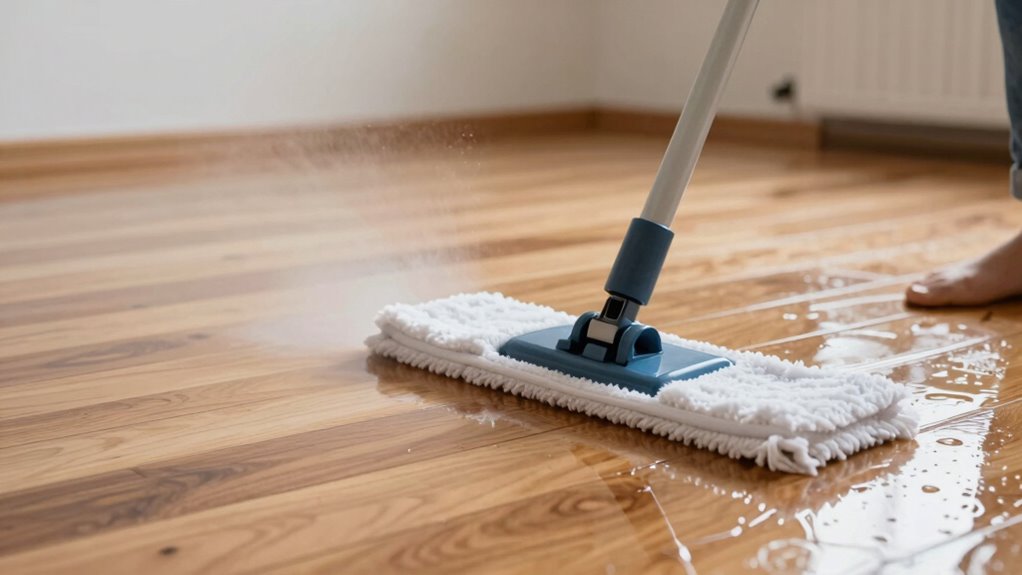
While it might seem like an extra step, applying a microfiber mop or cloth after sweeping or vacuuming is the single change that can dramatically improve your cleaning results. This simple hack enhances floor maintenance by picking up fine dust, dirt, and debris that often escape traditional cleaning methods. Microfiber materials trap particles more effectively, reducing grime buildup over time. Incorporating this step ensures your floors are truly clean and ready for mopping, leading to better results with less effort. Many cleaning hacks focus on efficiency, but this one directly boosts your effectiveness. By taking a few seconds to use a microfiber cloth or mop, you’ll notice cleaner floors, less streaking, and longer-lasting surfaces. Additionally, understanding the cleaning process can help you choose the right tools and techniques for optimal results. Using microfiber can also help reduce the need for harsh cleaning chemicals, contributing to better indoor air quality. This technique is especially beneficial when combined with proper ventilation to promote healthier indoor environments. Incorporating effective cleaning tools into your routine can further enhance your results and simplify your cleaning tasks. It’s a small change that makes a significant difference in your overall cleaning routine, especially when considering the benefits of vetted wave and wind cleaning methods for enhanced air circulation and surface freshness.
How to Easily Incorporate This Pre-Step Into Your Routine

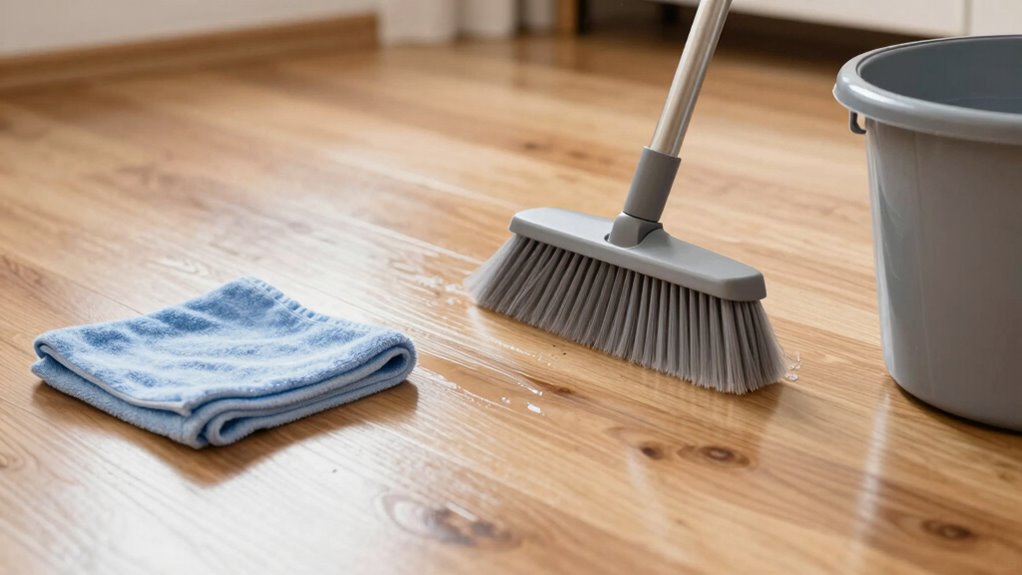
Integrating the microfiber pre-step into your cleaning routine is simple and quick. Start by setting aside a dedicated microfiber cloth or mop pad specifically for this purpose. Before you begin mopping, do a quick floor prep by wiping away loose dirt, dust, and debris with your microfiber cloth. This guarantees the surface is ready for effective cleaning, reducing streaks and residue. Incorporate this step into your routine by making it a habit—just a quick swipe before mopping. Proper cleaning techniques and floor maintenance are essential for maintaining your floors longer by adopting proper cleaning techniques can also help preserve their appearance and durability, saving you time and effort in the long run. Keeping a designated cloth nearby makes it effortless to remember. Over time, this small addition enhances your cleaning results, making mopping less of a chore and more effective. Using air purifier maintenance tips can help improve indoor air quality, complementing your cleaning efforts. Once you see the difference, you’ll wonder why you didn’t start sooner.
Common Mistakes to Avoid When Preparing Floors for Mopping
Skipping important steps or rushing through the floor prep can undermine your cleaning efforts. If you neglect proper preparation, you risk spreading dirt and grime rather than removing it. Common mistakes include overlooking floor sealing, which can prevent dirt trapping and make future cleanings harder. Additionally, failing to sweep thoroughly leaves debris that can scratch surfaces during mopping. Using dirty or inappropriate cleaning tools can also spread grime instead of removing it. Proper cleaning tools and techniques can significantly improve your results. Finally, skipping a pre-treatment for stubborn spots means those areas won’t get properly cleaned, reducing overall shine. To avoid these pitfalls, always ensure your floor is sealed correctly, sweep carefully, use clean tools, and pre-treat tough spots. These small steps make a big difference in maintaining pristine, dirt-free floors. Incorporating simple systems for floor maintenance can help keep your home consistently clean with less effort over time, especially when combined with understanding the importance of floor sealing in the cleaning process. Paying attention to preventative measures such as regular sealing and cleaning schedules can further enhance your floor’s longevity and appearance. Additionally, embracing evidence-based methods ensures that your cleaning routines are both effective and safe for your surfaces.
Tips for Maintaining Sparkling Floors Long After You Clean
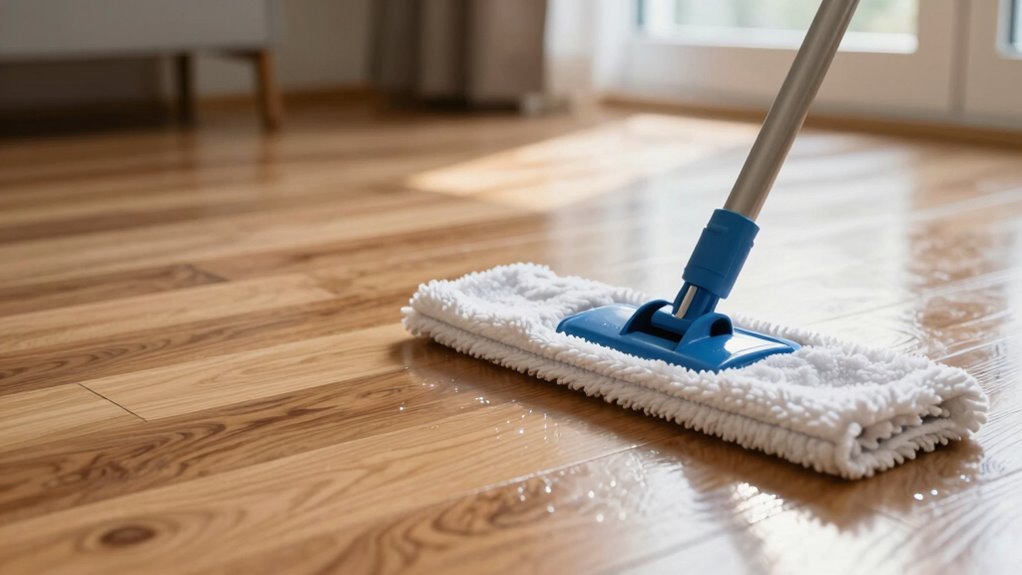
To keep your floors looking spotless long after cleaning, consistent maintenance is key. Start with proper floor prep before each cleaning session to prevent dirt buildup. Use the right cleaning tools—like a microfiber mop and gentle cleaning solutions—to avoid damaging your flooring. Regularly sweep or vacuum to remove loose debris, which helps prevent scratches and keeps floors shiny. After mopping, dry the surface thoroughly to prevent water spots. Consider applying a protective finish or polish periodically to maintain the shine. Avoid harsh chemicals that can dull or damage the surface. When you stick to a routine of proper floor prep and using effective cleaning tools, your floors stay sparkling longer, reducing the need for frequent deep cleans. Incorporating connected cleaning technology can also help monitor and optimize your maintenance routine for even better results. Additionally, choosing eco-friendly cleaning products aligns with sustainable practices and benefits the environment. Maintaining consistent preventive care ensures your floors stay pristine and reduces the effort needed for major cleanings over time. Building a routine that emphasizes floor surface protection can further extend the lifespan and beauty of your flooring. Incorporating proper cleaning techniques can make your routine more efficient and effective in the long run.
Frequently Asked Questions
How Often Should I Perform This Pre-Step for Optimal Results?
You should perform this pre-step as part of your maintenance routine every time you clean, ideally once a week or more if your space gets heavy use. Incorporating it into your regular cleaning schedule helps keep surfaces in top condition and prevents buildup. Consistency is key—by doing this regularly, you’ll notice a significant difference in cleanliness and the longevity of your flooring.
Can I Skip This Step if My Floors Are Lightly Soiled?
You can skip this step if your floors are lightly soiled, but be cautious—flooring sensitivity varies, and even light dirt can hide germs. Skipping the pre-step might seem fine, but it could affect your cleaning frequency’s effectiveness over time. Consider that this small effort helps prevent buildup, ensuring your floors stay cleaner longer. Trust your senses, and adjust accordingly to keep your space fresh without risking damage.
Does This Pre-Step Work on All Types of Flooring?
This pre-step works on most flooring types, but for best cleaning effectiveness, you should check your flooring compatibility first. Hardwood, tile, laminate, and vinyl generally respond well, while delicate surfaces like unsealed wood or certain stone might need gentler products. Always test in a small area. Doing this ensures you don’t damage your floors and helps you achieve the best cleaning results every time.
What Tools or Products Are Best for This Pre-Step?
Think of your cleaning tools like a trusty sidekick. For this pre-step, use soft mop pads and a gentle cleaning spray suited to your flooring type. These products lift dirt without scratching, making your mopping more effective. Always choose microfiber mop pads for their durability and cleaning power, and pick a cleaning spray that’s compatible with your floor’s material. This combo guarantees your floors stay spotless and damage-free.
How Long Does It Take to See Noticeable Differences?
You’ll notice a difference in your cleaning routine after just one or two sessions of consistent stain removal and proper cleaning frequency. Typically, within a week or two of sticking to this pre-step, stains become easier to remove, and your surfaces stay cleaner longer. The key is regular maintenance and addressing spots early, which prevents buildup and keeps your space looking fresh and well-maintained.
Conclusion
Did you know that properly prepping your floors can reduce cleaning time by up to 30%? Taking that one simple pre-step makes a huge difference in how clean and shiny your floors stay. By spending just a minute to prepare, you’ll notice a noticeable transformation in your results—and save time in the long run. So, don’t skip it. Your floors—and your future self—will thank you for that small but powerful step!