
The rinse water test helps you quickly determine if your cleaner is leaving residues behind. After cleaning, rinse the item with water and observe the water’s clarity. If it’s clear and free of particles, your cleaning process is effective. However, if the rinse water appears cloudy or streaked, residues may remain. Regularly performing this simple test guarantees you maintain high hygiene standards and can catch issues early—if you want to explore more, keep going.
Key Takeaways
- A rinse water test involves rinsing cleaned items and visually inspecting or testing the water for clarity and particles.
- Clear, particle-free rinse water indicates effective cleaning with no residual residues left behind.
- Cloudy or discolored rinse water suggests remaining residues, requiring process adjustments or additional cleaning.
- Regular rinse water testing provides immediate feedback on cleaning efficacy and helps identify issues early.
- Simple testing methods, including visual checks or residue detection kits, support maintaining high hygiene standards.
Have you ever wondered how to guarantee your cleaning process effectively removes residues? Ensuring thorough cleaning isn’t just about visible results; it’s about confirming that no unwanted leftovers linger behind. This is where residue detection becomes critical. If residues remain, they can compromise hygiene, affect product quality, or lead to contamination. To prevent this, implementing a simple yet powerful check—the rinse water test—can substantially boost your cleaning efficiency.
Ensuring thorough cleaning by confirming no residues remain with a simple rinse water test.
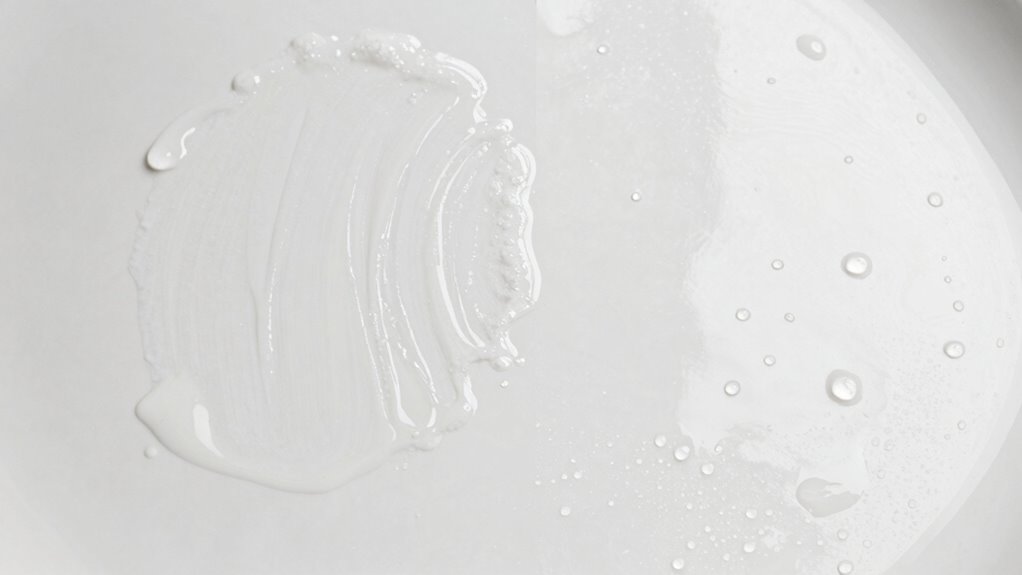
The rinse water test is a straightforward method to verify whether your cleaning process leaves behind any residues. After completing your cleaning cycle, you rinse the item with water and analyze that rinse water. If the water appears clear and free of any particles or film, it indicates that your cleaning method is effective and residue-free. Conversely, if you notice cloudiness, streaks, or particles, it signals that residues are still present, and your cleaning process needs adjustment.
This test serves as a real-time indicator of residue detection. It helps you identify whether your cleaning agents are doing their job or if additional steps are necessary. For example, if residues are detected, you might need to adjust your cleaning parameters—such as increasing the cleaning time, temperature, or improving agitation. Alternatively, you could consider switching to a different cleaning agent that better suits the surface or soil type. Regularly performing the rinse water test ensures that you maintain high cleaning efficiency, preventing the build-up of residues that could cause issues down the line.
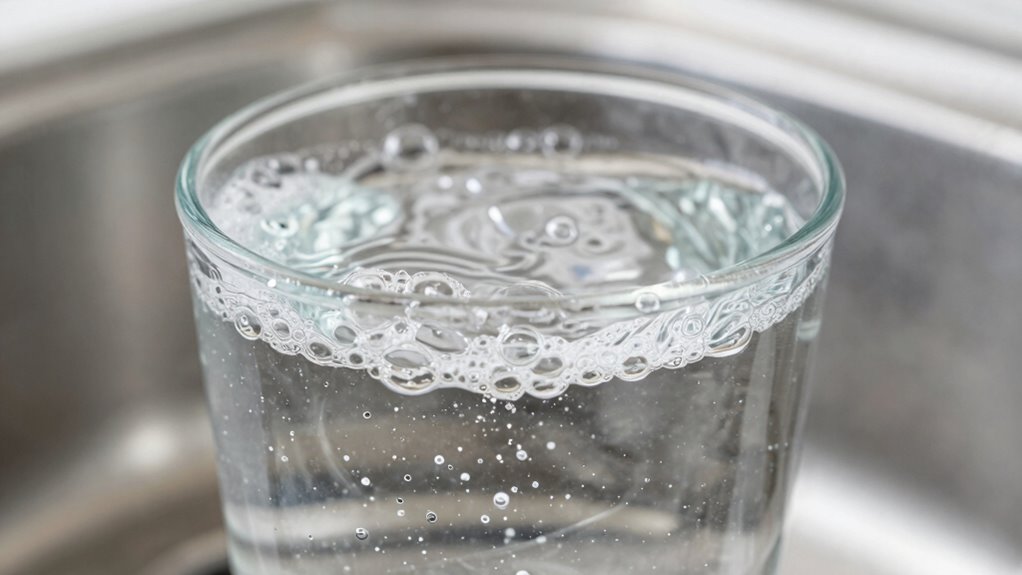
Performing this test is quick and easy. After cleaning, collect a sample of the rinse water in a clear container. Observe its clarity and look for any discoloration, particles, or films. For more precise detection, you can use simple tests like pH strips or even more advanced residue detection kits available on the market. These tools can help you assess whether surfactants, soils, or other contaminants are still present. Incorporating connected equipment into your cleaning process can also provide real-time monitoring and improve detection accuracy. The key is consistency—making the rinse water test a regular part of your cleaning validation process helps you catch problems early and uphold high cleanliness standards.
In essence, the rinse water test is a crucial tool to enhance your cleaning efficiency. It provides immediate feedback on residue detection, allowing you to fine-tune your cleaning processes and ensure no residues compromise your standards. By integrating this simple check into your routine, you gain confidence that your cleaning efforts are truly effective, safeguarding quality and compliance in your operations.
Frequently Asked Questions
Can the Rinse Water Test Detect All Types of Cleaner Residues?
The rinse water test can’t detect all types of cleaner residues, as some residues may be invisible or dissolve easily, making detection tricky. It’s a useful tool for residue detection and evaluating cleaning effectiveness, but it’s not foolproof. To guarantee thorough cleaning, combine the rinse water test with other methods, like visual checks or surface testing, especially if you suspect residues from specific cleaners or difficult-to-remove substances.
How Often Should I Perform the Rinse Water Test?
Think of your cleaning routine as a garden—regular care keeps it thriving. You should perform the rinse water test weekly or after any deep cleaning, especially if you notice residue or streaks. This helps prevent buildup and guarantees residue prevention. Frequent testing confirms your cleaning frequency is effective, catching residue early before it becomes a bigger problem. Staying consistent keeps your surfaces spotless and safe.
What if the Rinse Water Turns Cloudy During the Test?
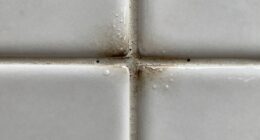
If your rinse water turns cloudy during the test, it’s a sign of residue detection. This means your cleaner isn’t rinsing completely, leaving behind deposits. You should immediately re-clean the surface, using more water or a different cleaner if necessary. After re-cleaning, perform the rinse water test again. Consistently cloudy rinses indicate that you need to modify your cleaning method to guarantee no residue remains.
Are There Alternative Methods to Check for Residue?
A stitch in time saves nine, so it’s wise to explore alternatives. You can perform a chemical reaction test by applying a small amount of cleaner on a hidden surface, then observing any color change or residue. Additionally, checking surface compatibility helps; if the cleaner reacts or leaves a film, it’s a sign of residue. These methods provide quick, effective ways to guarantee your surface stays clean and residue-free.
Does the Test Work on All Surfaces and Materials?
The rinse water test generally works on most surfaces, but its effectiveness depends on surface compatibility and residue visibility. For delicate or porous materials, residues might be harder to see or remove, so you should test a small area first. Keep in mind that some surfaces may react differently, so always check manufacturer’s guidelines. If residue isn’t visible or thoroughly rinsed, repeat the test or consider alternative residue detection methods.
Conclusion
Now that you know how to perform the rinse water test, you can confidently guarantee your cleaner isn’t leaving any pesky residue behind. Just imagine a knight’s shining armor after a thorough wash—spotless and gleaming. Remember, a quick rinse test is like a squire’s watchful eye, catching any dirt or grime that might sneak through. Keep your surfaces pristine, and you’ll always have the tidy kingdom you desire, no matter if it’s the 21st century or the age of chivalry.