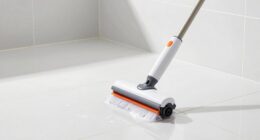
To gently remove limescale from bathroom floor tiles, start by protecting nearby surfaces with coverings and guarantee the area is well-ventilated. Apply a natural solution like a mixture of vinegar and water, letting it sit for 10-15 minutes to dissolve mineral deposits. Gently scrub with a soft brush or microfiber cloth, rinse thoroughly, and dry. Following these steps helps prevent damage while keeping your tiles sparkling—learn more about safe techniques ahead.
Key Takeaways
- Clear bathroom clutter and protect surrounding surfaces with plastic sheeting or towels before cleaning.
- Mix equal parts vinegar and water, spray evenly, and let sit for 10-15 minutes to soften limescale.
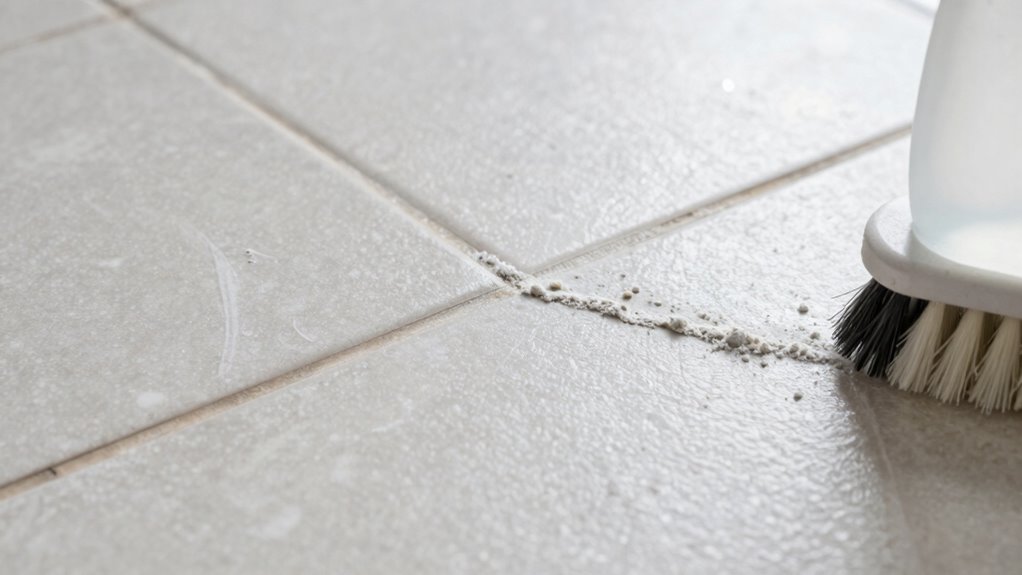
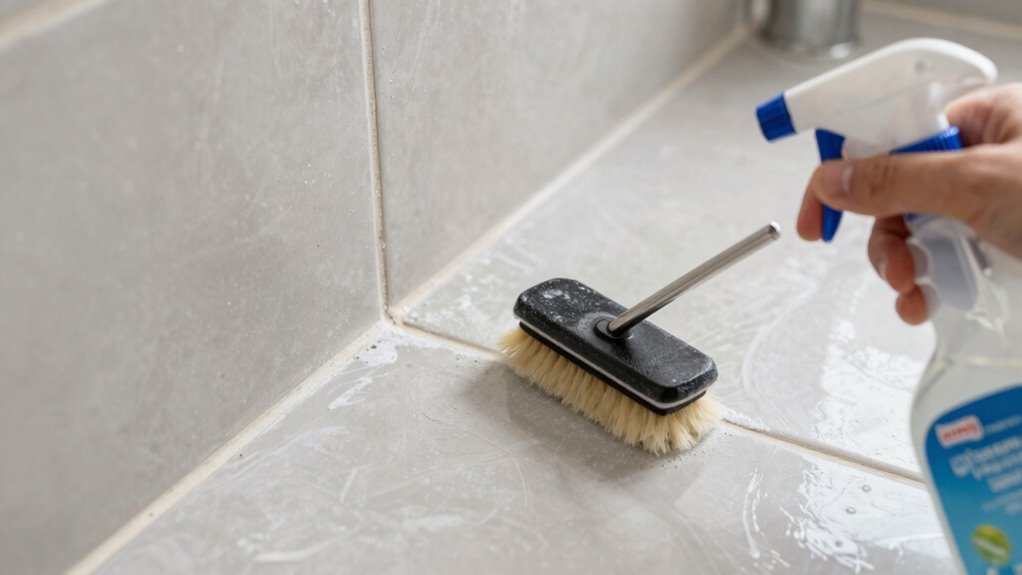
- Gently scrub affected areas with a soft brush or microfiber cloth, focusing on grout lines and corners.
- Rinse thoroughly with warm water and dry completely to prevent future buildup.
- Maintain regular cleaning, use a squeegee after showers, and ensure proper ventilation to prevent limescale formation.
What Causes Limescale on Bathroom Floor Tiles?
Have you ever wondered why limescale tends to form on bathroom floor tiles? It’s mainly caused by water minerals like calcium and magnesium, which leave deposits as water evaporates. When water sits on your tiles, these minerals crystallize and build up over time, creating that chalky, hard layer. Soap residue also plays a role—when soap isn’t rinsed away completely, it combines with minerals, making the limescale even more stubborn. The combination of mineral-rich water and leftover soap creates an ideal environment for limescale to develop. The presence of hard water can significantly increase the rate at which limescale forms on bathroom surfaces. Recognizing the mineral deposits helps you understand why limescale appears and how essential it is to address these factors early on, especially by understanding water mineral content and its impact on buildup. Regular maintenance and understanding water quality are crucial for preventing extensive limescale accumulation. Additionally, water filtration systems can reduce mineral levels, helping to minimize future limescale issues.
How to Prepare Your Bathroom for Natural Limescale Removal
Before removing limescale naturally, clear out any bathroom clutter to give yourself space to work. Make sure to ventilate the area well to avoid inhaling fumes and to help the cleaning process. Don’t forget to protect nearby surfaces from any cleaning solutions you’ll be using. Additionally, consider using eco-friendly cleaning methods that align with sustainable practices, similar to how European cloud servers promote environmentally responsible solutions energy-efficient technology. Incorporating eco-conscious cleaning methods can further minimize your environmental impact during the removal process.
Clear Bathroom Clutter
To effectively remove limescale from your bathroom floor tile, start by clearing the area of all clutter. This makes cleaning easier and prevents accidental damage. Focus on creating a clean, open space that allows easy access to every corner of your bathroom. Well-maintained bathroom organization helps you stay consistent with cleaning schedules, reducing future limescale buildup. Incorporating regular maintenance into your routine can prevent stubborn deposits from forming. Consider removing:
- Bath mats and rugs
- Small bottles and toiletries
- Cleaning supplies
- Trash bins
- Personal items like razors and brushes
Clearing clutter not only speeds up the removal process but also guarantees you won’t miss spots. A tidy bathroom sets the foundation for effective natural cleaning, making your limescale removal safer and more efficient. Establishing a simple organization system can help maintain a clutter-free environment over time, preventing build-up of deposits and ensuring your bathroom stays clean longer. Additionally, practicing natural cleaning techniques can minimize harsh chemicals while effectively tackling limescale. Using tools like a proper cleaning brush can also improve the thoroughness of your limescale removal process.
Ventilate the Area
Ventilating the bathroom is essential to guarantee proper airflow and reduce humidity, which can hinder the natural removal of limescale. Good air circulation helps dry out moisture buildup that encourages limescale formation and makes removal more difficult. Opening windows or running an exhaust fan increases airflow, promoting moisture control and preventing excess dampness. If possible, keep the bathroom door open during and after cleaning to enhance ventilation. Proper air flow about maintaining a balanced environment can further support your efforts. Regularly monitoring humidity levels can help you maintain optimal conditions and prevent future limescale buildup. Incorporating ventilation systems designed for bathrooms can also improve overall air quality and moisture management. By controlling moisture levels, you create an environment less conducive to limescale buildup, making your cleaning efforts more successful. Ensuring proper ventilation is a simple but vital step in preparing your bathroom for gentle, natural limescale removal. Additionally, understanding indoor air quality can help you identify other factors that influence moisture and residue issues.
Protect Surrounding Surfaces
Protecting surrounding surfaces is an essential step in preparing your bathroom for natural limescale removal, as it prevents accidental damage during cleaning. Proper surface protection ensures that cleaning agents or scrubbing tools don’t harm nearby fixtures or finishes. To minimize surface damage, cover nearby surfaces with protective materials. Use plastic sheeting or old towels on countertops and fixtures. Apply painter’s tape around edges and delicate areas. Remove or cover items like soap dishes or toothbrush holders. Avoid harsh chemicals near painted or finished surfaces. Ensure all surfaces are dry before applying cleaners. Additionally, choosing the right air quality can help reduce airborne contaminants that contribute to limescale buildup. Maintaining good ventilation not only improves air quality but also helps prevent future deposits. Regularly inspecting and maintaining your bathroom fixtures can also prevent buildup, making the cleaning process easier over time. Using proper cleaning techniques can further reduce the risk of damaging delicate surfaces during limescale removal. Incorporating surface protection methods can make the entire process more efficient and safer. These precautions help safeguard your bathroom surfaces, making the limescale removal process safer and more effective. Proper surface protection keeps your bathroom looking pristine without unintended damage.
Which Natural Products Are Best for Removing Limescale?
When it comes to removing limescale from bathroom floor tiles naturally, several effective products stand out. Natural vinegar and baking soda are your best options. Vinegar’s acidity dissolves mineral buildup gently, making it a safe choice for delicate tiles. Baking soda acts as a mild abrasive that lifts limescale without scratching. Together, they form a powerful, environmentally friendly cleaning duo. Using these methods can also help maintain proper piercing care and hygiene, preventing buildup and ensuring a clean, healthy bathroom environment. Additionally, understanding the chemical properties of these substances can enhance their effectiveness in limescale removal.
How to Remove Limescale From Tiles Naturally: a Step-By-Step Guide
To remove limescale naturally, start by gathering effective natural cleaners like vinegar or lemon juice. Next, apply your chosen solution to the affected tiles, ensuring full coverage. Finally, rinse the area thoroughly and dry it to prevent future buildup.
Gathering Natural Cleaners
Are you wondering which natural ingredients work best to tackle limescale on your bathroom tiles? Gathering the right cleaners is essential for a gentle, effective approach. You’ll want simple, safe ingredients like:
- Natural vinegar, known for breaking down mineral deposits
- Baking soda, which acts as a mild abrasive and deodorizer
- Lemon juice, for its acidity and fresh scent
- Borax, a natural mineral with cleaning power
- Castile soap, to clean without harsh chemicals
These ingredients are easy to find and eco-friendly. Combining natural vinegar and baking soda creates a fizzy reaction that helps lift limescale without damaging your tiles. Having these on hand sets you up for a successful, gentle cleaning process.
Applying the Solution
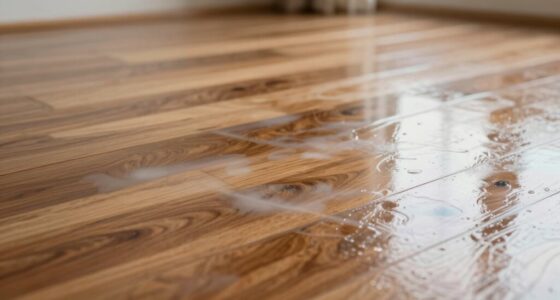
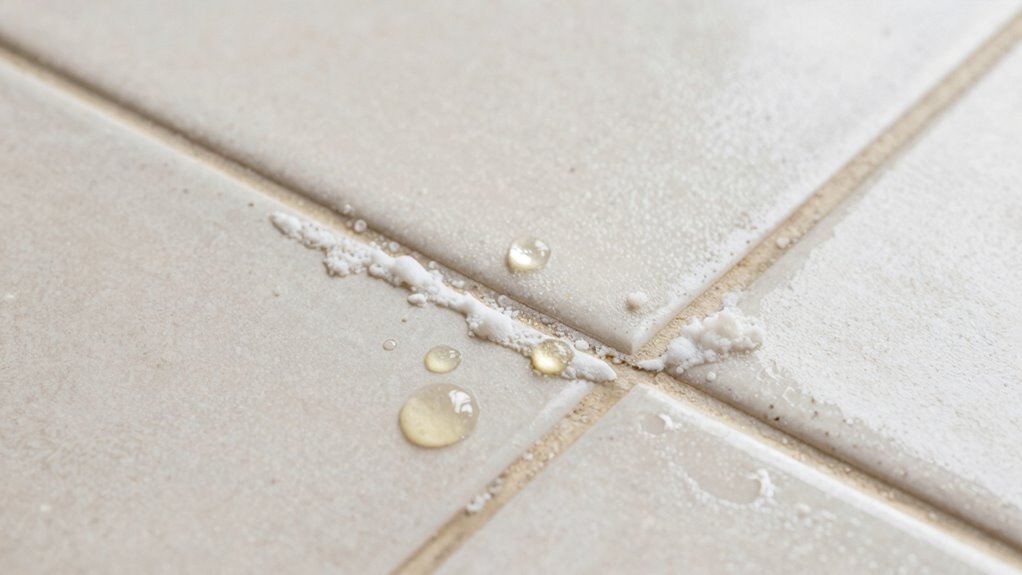
Start by preparing your natural cleaning solution, combining equal parts vinegar and water in a spray bottle. This eco-friendly cleaning method harnesses the power of vinegar as a gentle, effective DIY solution. Before applying, shake the bottle gently to mix the ingredients thoroughly. Spray the solution liberally onto the limescale-affected areas of your bathroom floor tile. Make sure to cover all the affected spots evenly. Let the solution sit for about 10-15 minutes to break down the limescale naturally. During this time, avoid rinsing or scrubbing. This approach allows the vinegar’s acidity to work its magic without harsh chemicals, making it an eco-friendly cleaning choice. Once the waiting period is over, you’re ready to move on to the next step in your limescale removal process.
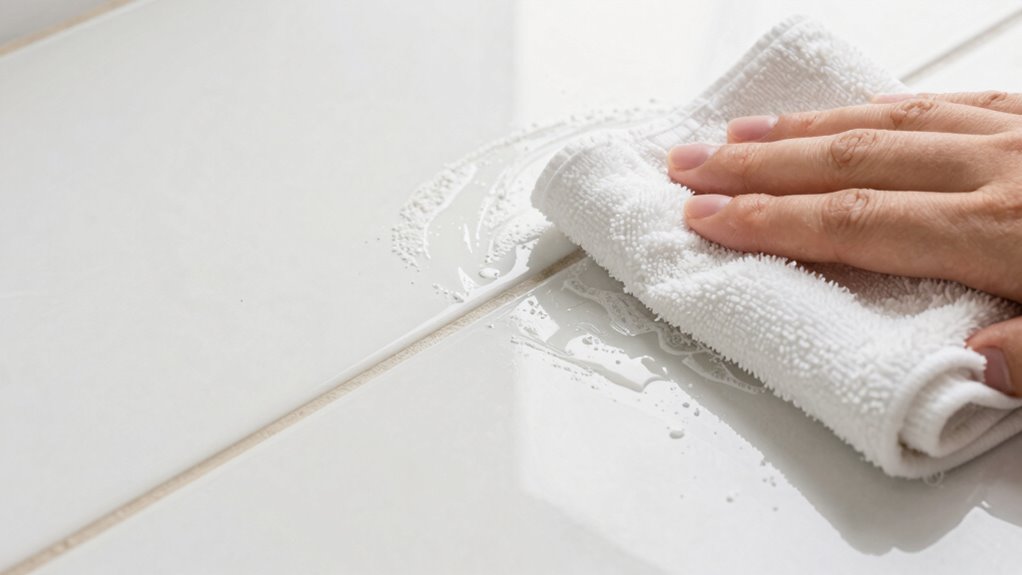
Rinsing and Drying
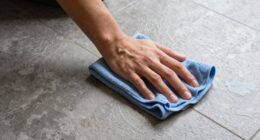
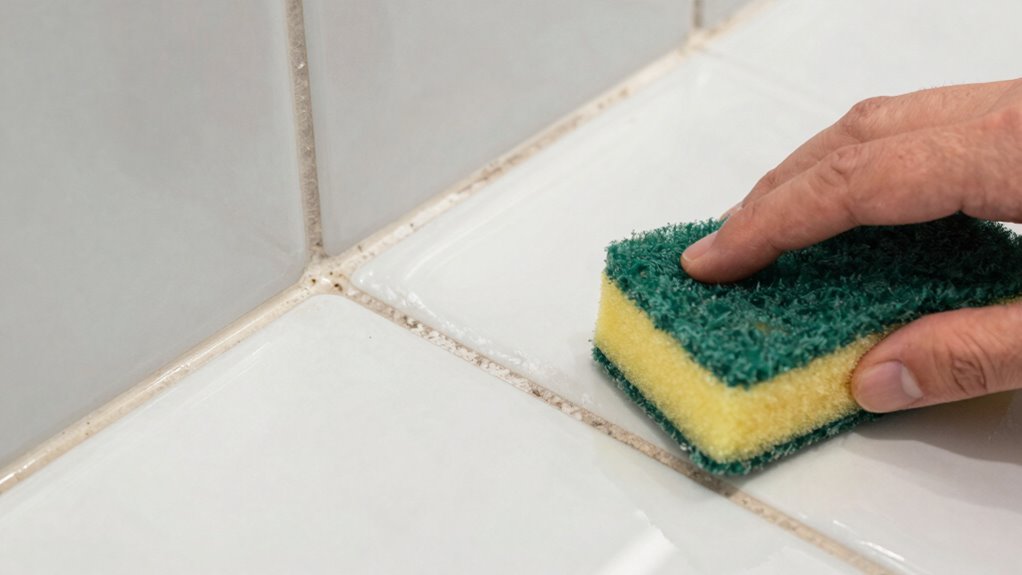
After allowing the vinegar solution to sit and loosen the limescale, it’s time to rinse the area thoroughly with warm water. Use a gentle stream to remove any residue without damaging the tile surface. Mild rinsing guarantees all traces of the cleaning solution and loosened deposits are washed away. Once rinsed, it’s essential to dry the tiles properly to prevent new limescale buildup.
- Use a soft cloth or microfiber towel for gentle wiping
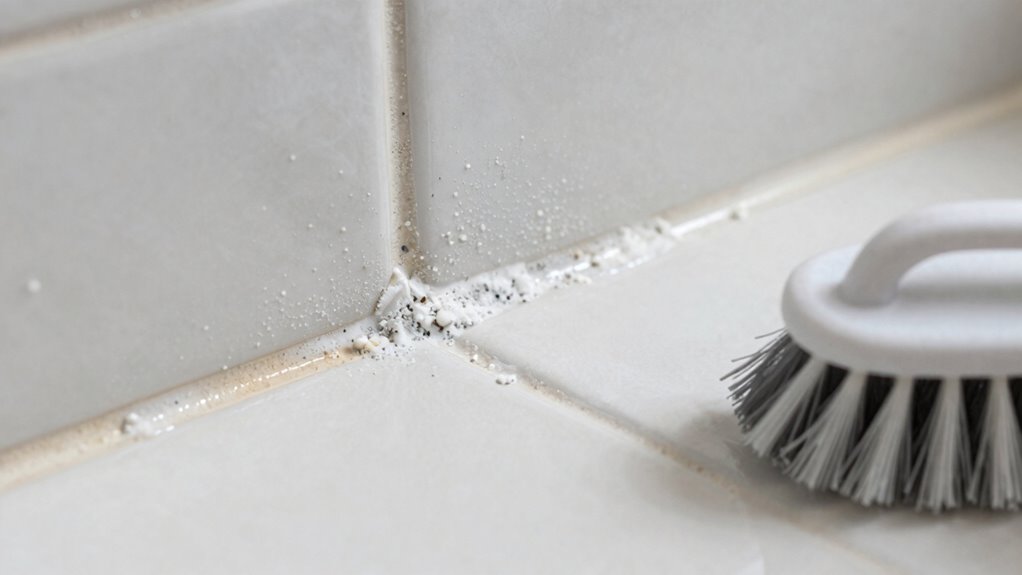
- Pay special attention to grout lines and corners
- Avoid leaving water spots or streaks
- Make sure the tiles are completely dry for long-lasting results
- Ventilate the area to speed up drying process
Thorough drying helps maintain the tile’s shine and prevents future limescale formation.
Tips to Prevent Limescale Buildup on Bathroom Floor Tiles
Limescale buildup on bathroom floor tiles often results from hard water containing high levels of calcium and magnesium. To prevent this, maintain a regular cleaning frequency—damp mopping or wiping down tiles after each use helps reduce mineral deposits. Additionally, applying a sealant to your tiles creates a protective barrier that minimizes water penetration and limescale formation. Make sure the sealant is suitable for bathroom surfaces and reapply it as recommended by the manufacturer. Using a squeegee to remove excess water after showers also lessens mineral residue. Consistent maintenance not only keeps your tiles looking clean but also notably reduces the chances of limescale buildup over time. These simple steps are effective in preserving your bathroom’s appearance and making future cleaning easier.
When Should You Call a Professional for Severe Limescale Problems?
While regular cleaning can manage minor limescale buildup, severe or persistent deposits often require professional intervention to effectively remove and prevent further damage. If you notice the limescale has caused severe damage or isn’t responding to standard cleaning, it’s time to seek a professional assessment. Experts can evaluate the extent of the buildup and recommend appropriate solutions to prevent long-term harm. Consider calling a professional if:
- The limescale has penetrated deep into the grout or tile surface
- You see signs of tile cracking or loosening
- Home remedies fail to reduce the deposits
- The buildup covers a large area or is very stubborn
- You want to avoid damaging your tiles with harsh chemicals
Addressing severe damage early saves you time and money, ensuring your bathroom stays in top condition.
Frequently Asked Questions
Can Limescale Damage Bathroom Floor Tiles Permanently?
Yes, limescale can cause tile deterioration if left untreated, potentially leading to permanent damage. Over time, mineral buildup can weaken the grout and surface of your bathroom floor tiles, making them more susceptible to cracks and discoloration. To prevent this, you should regularly clean limescale with gentle methods and avoid harsh chemicals. Proper maintenance helps preserve your tiles and keeps your bathroom looking its best.
Are There Eco-Friendly Commercial Limescale Removers Available?
Did you know that the eco-friendly cleaners market is expected to grow by over 6% annually? Yes, there are eco-friendly commercial limescale removers available that are effective and safe for your home and the environment. These options often use natural acids and biodegradable ingredients, making them a smart choice for those seeking sustainable cleaning solutions. You can easily find eco-friendly cleaners that tackle limescale without harsh chemicals.
How Often Should I Clean to Prevent Limescale Buildup?
You should clean your bathroom floor at least once a week to prevent limescale buildup. Establish a regular cleaning schedule and follow maintenance tips like wiping down tiles after showers and using a gentle, eco-friendly cleaner. Keeping your bathroom dry and well-ventilated also helps prevent mineral deposits. Consistent cleaning not only maintains appearance but also extends the life of your tiles and fixtures, making upkeep easier over time.
Is It Safe to Use Vinegar on All Types of Bathroom Tiles?
You should check vinegar safety and tile compatibility before using it on your bathroom tiles. For example, a homeowner used vinegar on ceramic tiles without issues, but it damaged natural stone surfaces like marble. Vinegar can be safe for glazed ceramic or porcelain tiles, but avoid it on porous or sensitive materials. Always test a small area first, and consult manufacturer guidelines to prevent damage.
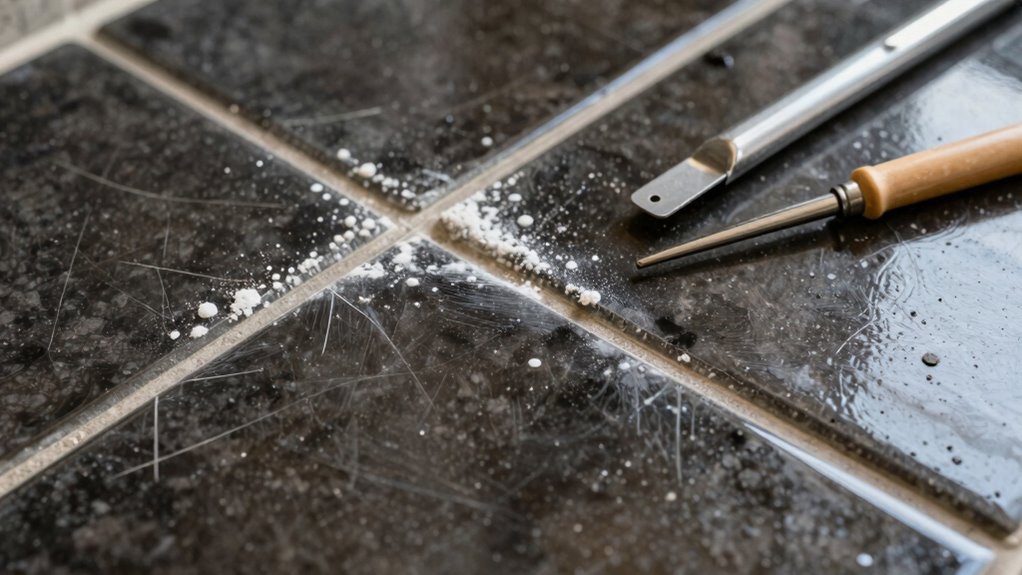
What Are the Signs of Severe Limescale Damage?
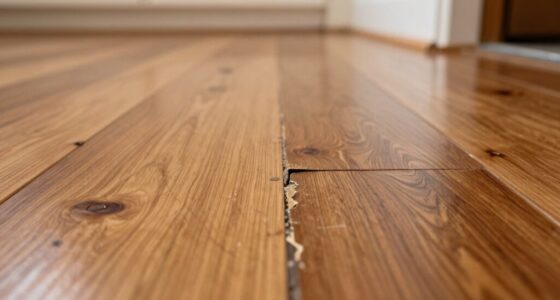
Severe limescale damage shows up as persistent limescale staining that won’t come off with regular cleaning. You might notice the tile surface deterioration, where the tiles become rough, chipped, or discolored. Cracks or peeling grout can also indicate advanced damage. If limescale has caused these issues, it’s a sign that the buildup has been present for too long, potentially compromising the tile’s integrity and requiring professional restoration.
Conclusion
Limescale buildup is a common issue, with studies showing that 75% of households experience it on bathroom tiles. By understanding its causes and using gentle, natural removal methods, you can keep your bathroom looking fresh without harsh chemicals. Regular maintenance and prevention tips make a big difference. Remember, if the buildup becomes severe, don’t hesitate to call a professional. Taking these steps helps you maintain a clean, healthy bathroom environment effortlessly.