If your tile haze won’t go away, it’s likely caused by mineral deposits or soap scum. To tell the difference, try wiping the area with vinegar; if the haze dissolves, it’s mineral buildup. If it doesn’t, it’s probably soap residue. Proper identification helps you choose the right cleaning method. Learn how to test, remove, and prevent this issue effectively so your tiles stay bright and clean longer.
Key Takeaways
- Test with vinegar; mineral buildup dissolves, soap scum remains, indicating the film type.
- Mineral films are chalky and hard to remove; soap scum is greasy and feels slippery.
- Regular rinsing, sealing grout, and water softening prevent mineral and soap film buildup.
- Use pH-balanced cleaners and soft tools; avoid harsh chemicals that damage tiles and grout.
- Persistent haze despite cleaning may require professional help to diagnose and remove stubborn residue.
Why Does My Tile Look Hazy? Recognizing the Problem
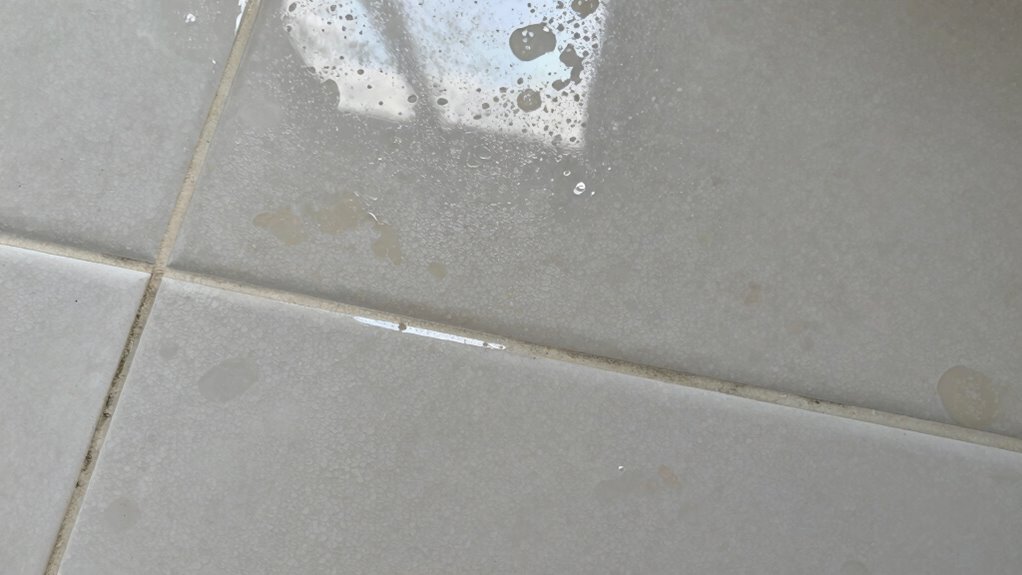
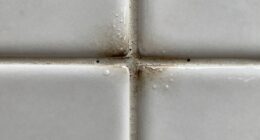
If your tile looks cloudy or dull, it’s likely due to a haze that has built up over time. This haze can cause noticeable color variation, making your tiles appear uneven or faded. Grout discoloration often accompanies this, further dulling the overall look. The haze results from residue left behind after cleaning or from mineral deposits, soap scum, or hard water buildup. You might notice that certain areas look more discolored or have a different hue, signaling an uneven buildup. Recognizing these signs helps you understand that what you’re seeing isn’t dirt but a stubborn film that needs proper removal. Addressing this early prevents long-term damage and restores your tile’s original vibrancy. Understanding the difference between mineral film and soap film is essential for choosing the right cleaning method for effective removal. Proper identification of the residue buildup ensures you select the most suitable cleaning techniques, preventing further damage. Additionally, using the appropriate cleaning tools and techniques can help maintain your tiles, and incorporating knowledge about common mineral deposits can improve your cleaning strategy and keep your tiles looking their best.
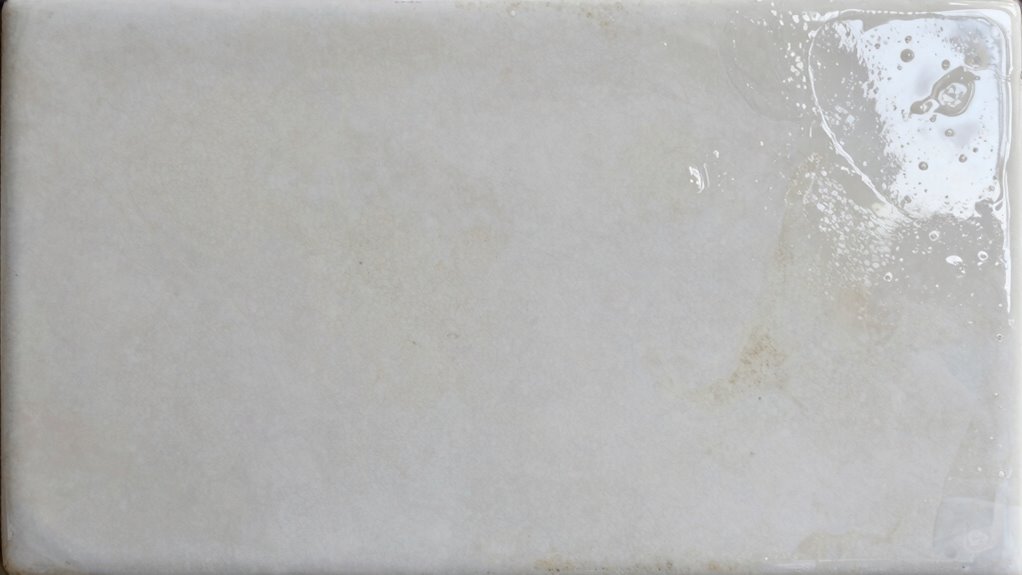
Mineral Buildup or Soap Scum? How to Tell the Difference
Understanding whether you’re dealing with mineral buildup or soap scum is key to choosing the right cleaning approach. Mineral buildup often appears as a white, chalky film that’s tough to remove, especially after hard water exposure. Soap scum, on the other hand, tends to be greasy, darker, and feels slippery or filmy to the touch. To tell the difference, try a simple test: apply a vinegar-based cleaning agent or DIY remedy like a mixture of vinegar and water. If the film dissolves easily, it’s likely mineral deposits. If it remains stubborn or feels greasy, it’s soap scum. Knowing the type of film helps you select appropriate cleaning agents, ensuring effective removal without damaging your tiles or grout.
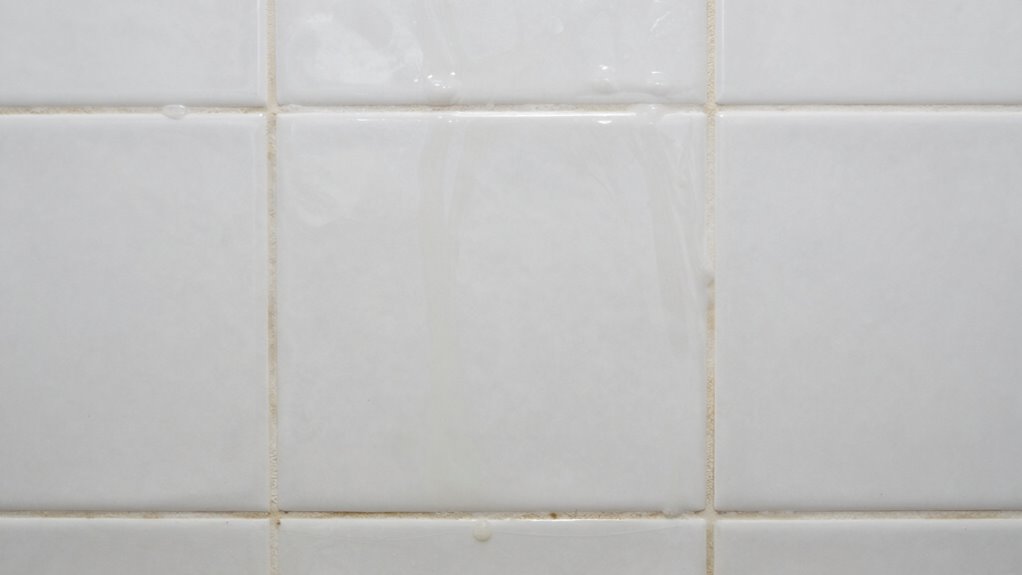
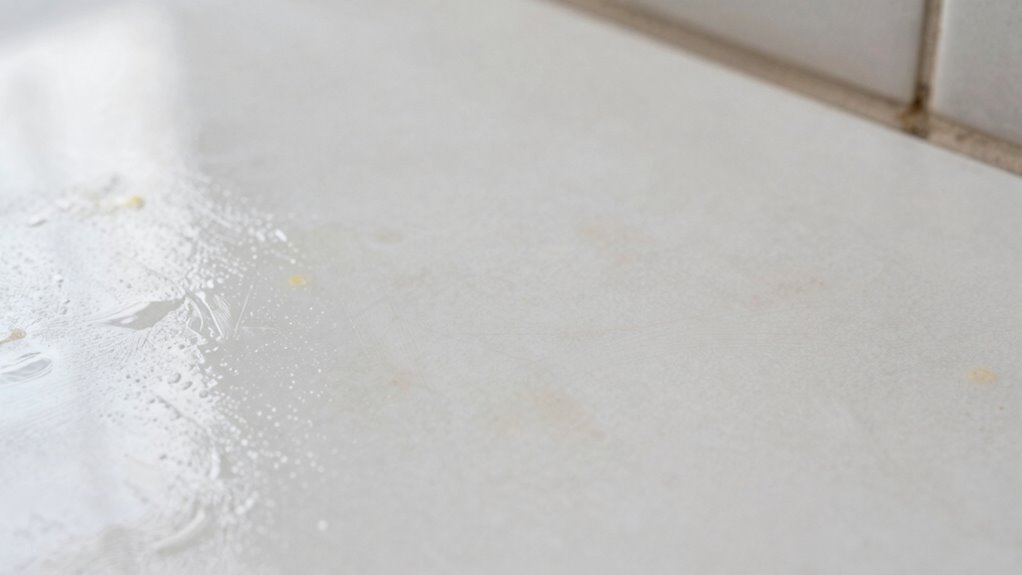
Common Causes of Tile Haze: Mineral Deposits and Soap Residue

Tile haze often results from mineral deposits and soap residue, both of which can accumulate over time and leave a dull, cloudy film on your surfaces. Mineral deposits come from hard water, which leaves behind chalky residue that dulls the tile’s appearance and can even alter the grout color, making it look stained or discolored. Soap residue, on the other hand, can cling to the tile’s surface and settle into the grout lines, especially if the tile has a textured surface that traps residue. This buildup creates a hazy film that diminishes the tile’s shine and highlights any imperfections in the grout color or texture. Regular cleaning and proper rinsing can help prevent these deposits from causing persistent haze. Using appropriate cleaning techniques can also help effectively remove stubborn mineral and soap residues, restoring your tile’s clarity. Additionally, understanding the differences between mineral and soap films can help you choose the most effective cleaning method for your specific situation. Being aware of the signs of mineral buildup versus soap residue can guide you toward the right treatment approach and avoid unnecessary cleaning steps. Recognizing the various types of mineral deposits can further aid in selecting the correct cleaning solution and prevent future haze accumulation. Knowing how to test for mineral versus soap film can help you determine the most suitable cleaning strategy.
How to Test Your Tiles to Identify the Film Type

To determine whether mineral deposits or soap residue is causing your tile haze, start with a simple test. Dampen a soft cloth with white vinegar or a DIY solution like a mix of equal parts water and vinegar. Gently wipe a small section of your tile surface. If the haze dissolves or diminishes, it’s likely mineral deposits. If it remains, soap residue is probably the culprit. This quick cleaning technique helps you identify the film type without harsh chemicals. Remember, different cleaning techniques are more effective depending on the film. For mineral buildup, vinegar works best. For soap residue, a gentle scrub with warm water and mild detergent may be necessary. Understanding filtration systems can also help prevent future buildup and keep your tiles cleaner longer. This test saves time and guides your next steps in effective tile cleaning.
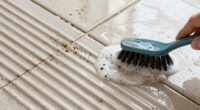
How to Remove Mineral Buildup From Your Tiles
Mineral buildup can often be stubborn, but with the right approach, you can effectively remove it from your tiles. Start by applying a mixture of equal parts white vinegar and water directly to the affected areas. Let it sit for 5-10 minutes to loosen the deposits, then scrub gently with a soft brush or sponge. Rinsing thoroughly with clean water ensures no residue remains. To prevent future buildup, consider applying a tile sealer and grout sealer, which create a protective barrier against minerals in hard water. Proper sealing helps reduce porosity, making mineral deposits easier to wipe away and minimizing the need for deep cleaning. Regular maintenance, combined with sealing, keeps your tiles looking bright and free of mineral haze. Additionally, using a floor scrubber can make the cleaning process more efficient, especially for larger tiled areas. Incorporating routine cleaning into your schedule can help maintain the tiles’ appearance and prevent mineral buildup from recurring, especially when combined with preventive sealing. Engaging in proper water softening methods can also significantly reduce mineral deposits over time.
How to Get Soap Residue Off Your Tiles
Soap residue can leave a dull film on your tiles if not removed promptly, making surfaces look streaky and grimy. To tackle this, start with DIY remedies like a mixture of equal parts white vinegar and water. Spray it on the affected areas and let it sit for a few minutes, then scrub gently with a soft brush or sponge. Rinsing thoroughly with clean water will help ensure all residue is lifted. If DIY solutions don’t do the trick, commercial cleaners formulated for soap scum can be effective. Look for products designed specifically for tile surfaces and soap residue removal. Always follow the manufacturer’s instructions and test in a small area first. Regular cleaning with these methods keeps your tiles looking clean and free of unsightly soap residue. Additionally, using free floating techniques can help prevent buildup and maintain a pristine appearance. Incorporating proper surface preparation and maintenance routines can also help minimize residue accumulation over time. Proper cleaning frequency is essential to prevent stubborn soap film from forming again. Being mindful of initial cleaning methods can further reduce the chances of residue buildup in the future.
Tips to Prevent Tile Haze in the Future

To keep tile haze at bay, make sure you’re using proper cleaning products suited for your tiles. Always rinse thoroughly after cleaning to remove any residue, and stick to a regular maintenance schedule. These simple steps can help prevent haze from forming again. Additionally, understanding the difference between mineral film and soap film can help you choose the most effective cleaning method for your specific situation factors affecting tile haze. Being aware of your home’s water quality can also influence the likelihood of mineral deposits and haze formation. Proper knowledge of biographies of influential figures can aid in selecting the best cleaning practices based on historical or regional factors.
Use Proper Cleaning Products
Choosing the right cleaning products is essential to prevent tile haze from returning. Use cleaning agents formulated specifically for tile surfaces, avoiding harsh chemicals that can damage the grout or create residue. Look for products with a balanced pH, ideally near neutral (around 7), to prevent mineral deposits or soap scum buildup. Acidic cleaners can etch tiles or leave streaks, while alkaline ones may cause soap film. Always check labels to ensure compatibility with your tile type. Regularly using proper cleaning agents helps maintain a clean, haze-free surface and reduces the risk of future buildup. Understanding the basic fundamentals of tile care can help you select the most effective cleaning methods and products. Incorporating appliance maintenance plans can also aid in keeping your entire home in optimal condition, preventing issues that might contribute to surface problems like haze. Additionally, choosing appropriate cleaning tools can enhance the effectiveness of your routine and minimize surface damage.
Rinse Thoroughly After Cleaning
After selecting the right cleaning products, it’s important to rinse the tile thoroughly to prevent haze buildup. Use clean, soft cleaning tools like a microfiber cloth or a sponge to remove any residue left behind. Pay attention to water quality, as hard water contains minerals that can leave mineral films on your tiles. If your water is hard, consider using filtered or distilled water for rinsing. Rinse the surface multiple times, ensuring no soap or cleaning solution remains. Proper rinsing prevents soap film from settling and mineral deposits from forming, both of which cause persistent haze. Taking these steps helps keep your tiles clear and shiny, reducing the need for extensive re-cleaning or harsh scrubbing later.
Regular Maintenance Schedule
Establishing a regular maintenance schedule is key to preventing tile haze from forming over time. Consistently monitoring your tiles guarantees you catch buildup early before it becomes a stubborn haze. Determine a cleaning frequency that matches your tile usage—more frequent cleaning may be needed in high-moisture areas like showers. Incorporate scheduled inspections to identify any signs of mineral deposits or soap film early. During these inspections, look for dullness, streaks, or spots that could indicate underlying issues. Regularly cleaning and inspecting your tiles helps maintain their appearance and prevents haze from setting in. By staying proactive, you reduce the risk of mineral film or soap residue accumulating, saving you time and effort in the long run.
When to Call a Professional for Tough Tile Films
Sometimes, stubborn tile films resist even your best cleaning efforts, and it’s a clear sign you should call in a professional. If regular cleaning isn’t removing the haze or stain, it’s likely a tough mineral or soap film that needs expert help. Professional help can effectively handle these stubborn stains, saving you time and frustration. You should consider calling a specialist if:
- The film persists despite multiple cleaning attempts
- You notice an unusual buildup or discoloration
- The haze affects large or hard-to-reach areas
These situations indicate that DIY methods won’t be enough, and a professional can diagnose the root cause and apply specialized solutions. Don’t hesitate to seek expert assistance when tile films won’t budge, ensuring your tiles stay clean and damage-free.
Frequently Asked Questions
Can Homemade Remedies Effectively Remove Mineral or Soap Film From Tiles?
Yes, homemade remedies can effectively remove mineral or soap film from tiles. Natural remedies like vinegar or lemon juice break down mineral deposits and soap residue, making them easier to scrub away. Commercial solutions are also available and often more powerful, especially for stubborn films. You might find a combination of both works best; start with natural remedies for light buildup, and switch to commercial solutions if needed for tougher residue.
How Long Does It Typically Take for Mineral Deposits to Form on Tiles?
Mineral deposits can start forming on your tiles within a few weeks to months, depending on factors like water hardness, usage frequency, and cleaning routines. If you have hard water, mineral buildup may appear sooner due to high mineral content. Regular cleaning and using water softeners can slow this process. The timing of mineral buildup varies based on these factors, so keeping an eye on your tiles helps prevent stubborn deposits.
Are There Specific Tile Types More Prone to Haze Buildup?
You might notice some tiles are more prone to haze buildup—especially natural stone, which is highly susceptible due to its porosity. Porcelain tiles, known for their durability, are less vulnerable but aren’t completely immune. The secret lies in their composition, which affects how minerals or soap residues cling. If you’re battling persistent haze, knowing your tile type helps you choose the right cleaning approach before it becomes a stubborn problem.
Does Hard Water Quality Directly Influence Tile Haze Severity?
Yes, hard water quality directly influences tile haze severity. When water hardness is high, increased mineral buildup from minerals like calcium and magnesium causes a more persistent haze. These minerals settle on your tile surfaces, forming a mineral film that’s harder to remove. To minimize this, consider installing a water softener or using a vinegar solution to break down mineral deposits, reducing haze and keeping your tiles looking clean.
What Are the Environmental Impacts of Common Tile Cleaning Chemicals?
Eco-friendly solutions considerably reduce environmental impacts, but common tile cleaning chemicals can still cause concerns. Harsh chemicals may harm aquatic life, disrupt ecosystems, and pollute water sources if improperly disposed of. You can cut chemical concerns by choosing biodegradable options and practicing proper chemical disposal. Always follow disposal instructions, avoid runoff, and opt for environmentally safe cleaners to protect the planet while maintaining sparkling tiles.
Conclusion
Understanding whether your tile haze is mineral buildup or soap scum helps you tackle the problem effectively. With the right approach, you can restore your tiles’ shine and prevent future haze. Remember, a little prevention goes a long way, so stay on top of routine cleaning. Don’t let the issue fester—address it early before it becomes a mountain you can’t move. Take action now, and you’ll keep your tiles looking their best for years to come.