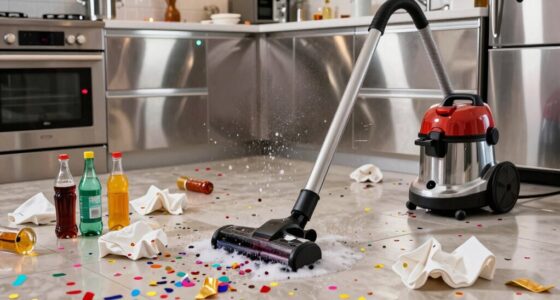

After renovation, to clean floors without smearing, use a vacuum with special attachments to gently remove dust, avoiding dry sweeping that can spread particles. Follow with a damp microfiber mop, rinsing it often to lift fine dust without streaks. Seal doorways and cover high-traffic areas to contain debris. If you’d like more detailed tips on achieving a smear-free shine, keep exploring effective techniques and tools for flawless post-renovation floors.
Key Takeaways
- Use vacuum cleaners with crevice and dusting attachments to gently remove dust before mopping.
- Opt for microfiber mops dampened with suitable cleaning solutions to trap dust without spreading it.
- Avoid dry sweeping; instead, vacuum thoroughly to prevent airborne dust and smearing.
- Rinse and wring out microfiber mops frequently to prevent residual dust from causing smears.
- Dry floors immediately with a clean, dry cloth to eliminate streaks and ensure a smear-free finish.

Shark Upright Vacuum Cleaner | Navigator Lift-Away | Pet Hair, Carpet & Hard Floor Cleaning | Dusting Brush & Crevice Tool | HEPA Filter | Swivel Steering | White/Silver | NV356E
POWERFUL SUCTION FOR CARPET & HARD FLOORS: Clean carpets and hardwood floors with strong multi-surface suction. This lightweight…
As an affiliate, we earn on qualifying purchases.
As an affiliate, we earn on qualifying purchases.
Why Does Renovation Dust Smear on Floors: and How Can You Fix It?
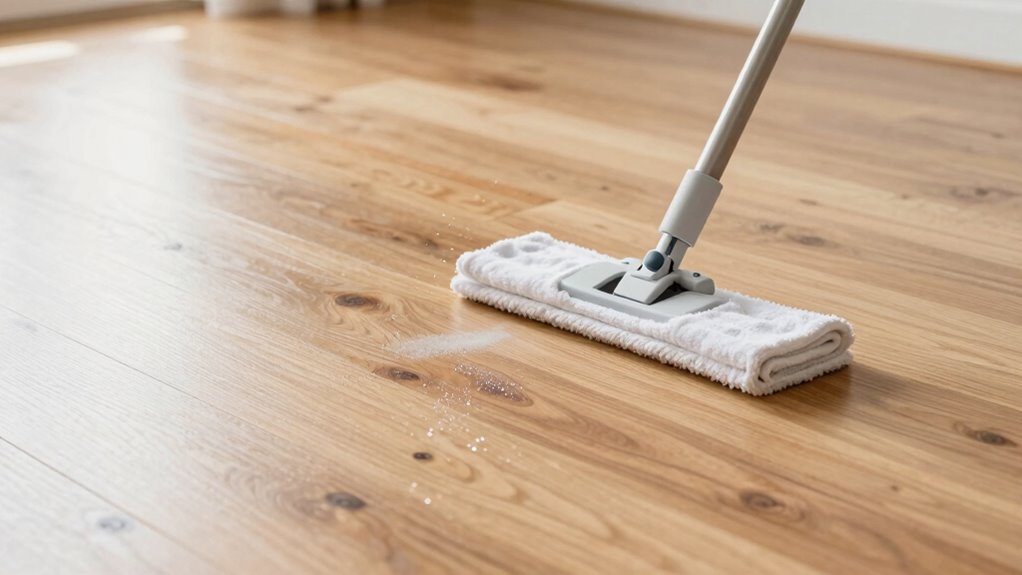
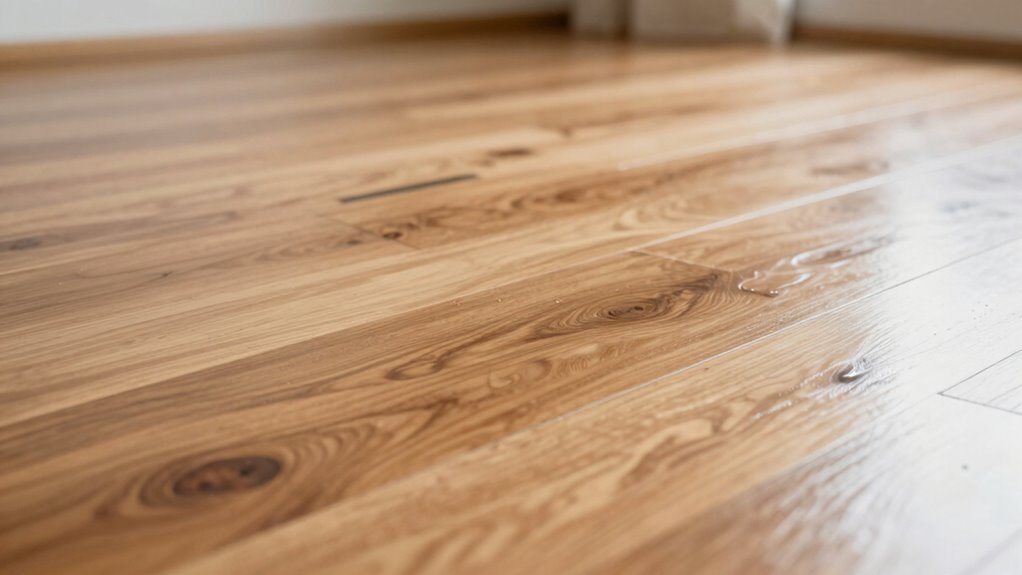
Renovation dust often smears on floors because fine particles settle into surface textures and are difficult to eliminate completely with just sweeping. This dust, made up of tiny, lightweight particles, can cling to textured surfaces, causing persistent floor smearing. When you try to clean with a broom or dry cloth, the dust gets pushed around rather than lifted away. The result is a smeared, dull appearance that’s hard to restore with basic cleaning. To fix this, you need to switch to damp mopping or wet cleaning methods, which help loosen and lift the fine particles trapped in surface textures. Using a microfiber mop or damp cloth ensures you remove more dust effectively, reducing floor smearing and leaving your floors cleaner and brighter after renovation. Understanding the importance of proper upkeep and maintenance techniques can make a significant difference in keeping your floors looking their best after renovation. Additionally, employing appropriate cleaning tools designed for fine dust can further enhance the cleanliness and appearance of your floors. Incorporating effective cleaning methods that target fine dust particles is essential for achieving optimal results in post-renovation cleaning.

18" Professional Microfiber Mop Floor Cleaning mop, Flat Mop with Stainless Steel Handle,4 Reusable Washable Mop Pads and mop Pads Brush,Microfiber Mop for Hardwood (18" Microfiber Mop)
【18" Aluminum Mop Head】With it’s large 18 Inch base can cover a lot of areas in a single…
As an affiliate, we earn on qualifying purchases.
As an affiliate, we earn on qualifying purchases.
Must-Have Tools for Smear-Free Post-Renovation Floor Cleaning
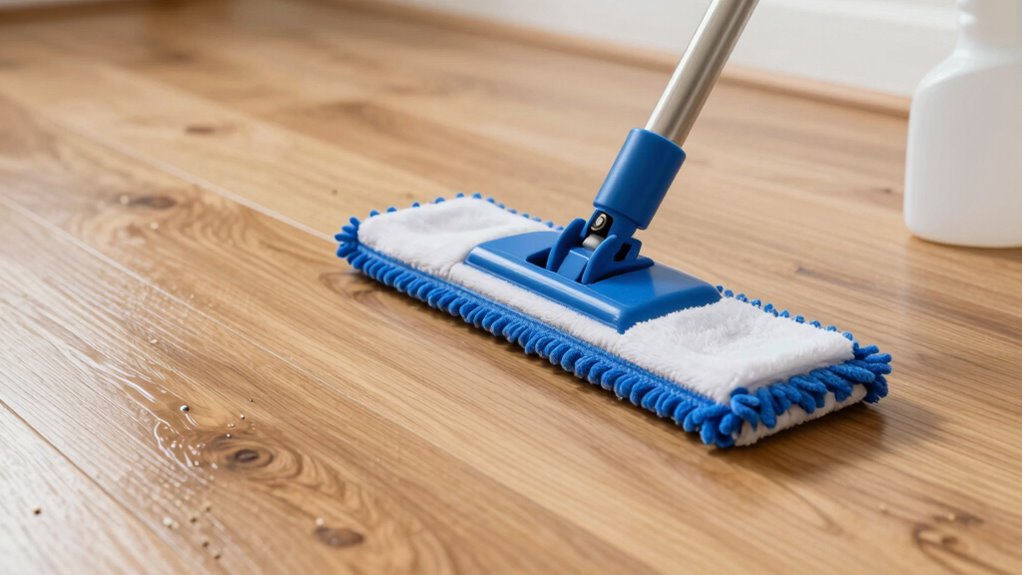
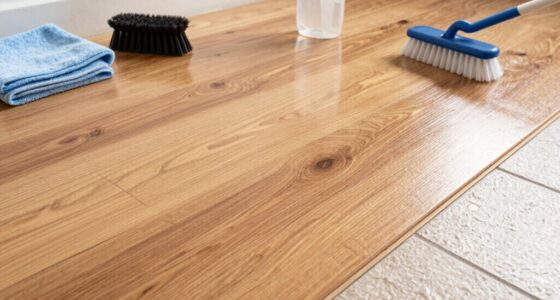
Achieving a smear-free finish after renovation requires the right tools that effectively lift and remove fine dust from your floors. Start with a vacuum cleaner equipped with specialized attachments, like crevice or dusting tools, to loosen and extract dust from corners and uneven surfaces. These vacuum attachments ensure thorough removal without spreading particles. Follow up with a microfiber mop, which is essential for trapping dust and preventing smears. Microfiber mops are gentle yet effective, picking up tiny particles without pushing them around. Using these tools together guarantees your floors are clean and streak-free. Keep your microfiber mop clean and damp for ideal results, and always vacuum before mopping to avoid spreading residual dust. Additionally, selecting the proper cleaning tools and techniques can further streamline your post-renovation cleaning routine. Being mindful of dust management can also help minimize airborne particles during and after cleaning. Incorporating proper air filtration methods can significantly improve indoor air quality during the cleaning process, especially when combined with effective dust containment strategies.

USANOOKS Microfiber Cleaning Cloth Grey – 12 Pcs (12.5"x12.5") – High Performance – 1200 Washes, Ultra Absorbent Microfiber Towel Weave Grime & Liquid for Streak-Free Mirror Shine – Car Washing Cloth
10x GRIP-ROOT WEAVE – TRAP MORE, WORK LESS: Ultra-absorbent microfiber towels for car Grip Root weave works like…
As an affiliate, we earn on qualifying purchases.
As an affiliate, we earn on qualifying purchases.
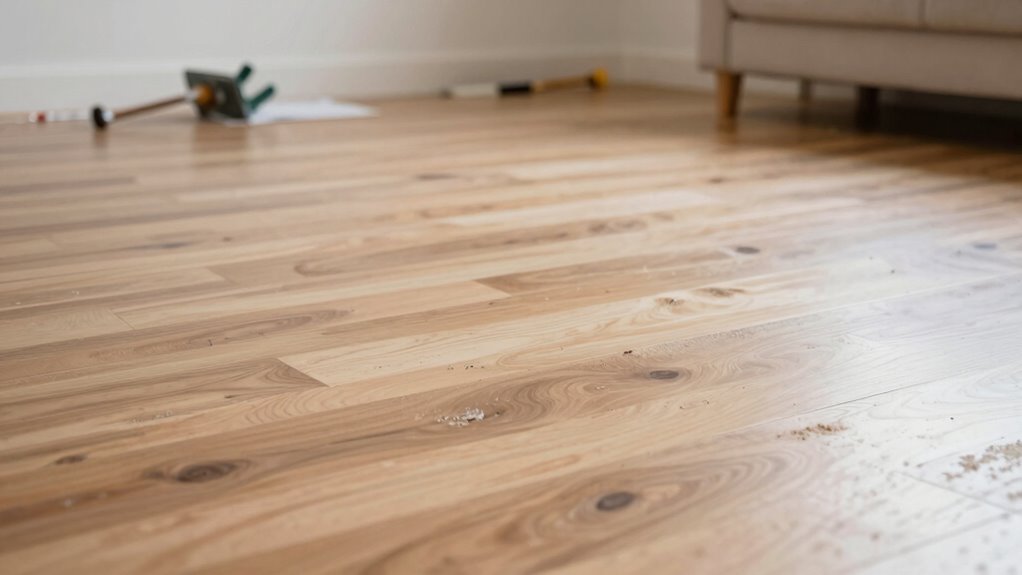
How to Remove Renovation Dust Without Making a Mess
To remove renovation dust without creating a mess, start by sealing off doorways with plastic sheeting or painter’s tape to contain the dust. Use a vacuum cleaner with appropriate attachments, such as a brush or upholstery tool, to gently pick up dust from floors and surfaces. Avoid sweeping, which can stir up dust into the air. Instead, lightly vacuum to prevent spreading debris. For stubborn dust, lightly dampen a microfiber cloth with a gentle cleaning solution suitable for your flooring type. Always test cleaning solutions in a small area first. Keep the vacuum running smoothly and empty the canister frequently to prevent dust from escaping. This approach guarantees effective dust removal without creating additional messes or smearing residues. Incorporating proper cleaning techniques and understanding dust dispersal ensures you efficiently clean floors while minimizing smearing and dust dispersal. Additionally, using appropriate vacuum settings can further reduce the risk of smearing and help contain dust during the cleanup process. Understanding dust behavior can also help you choose the best tools and methods for a cleaner, smudge-free finish, especially when considering dust particle size and how it interacts with different cleaning methods.

roborock Official Floor Cleaning Solution, Floor Cleaner for Hardwood Tile Hardfloor, Compatible Robot Vacuums with Mopping and Wet Dry Vacuum, 16.2 FL OZ, Dilution Ratio 1:200
Remove grime and sticky messes: Our floor cleaner is designed to penetrate deep into surfaces, easily removing dust,…
As an affiliate, we earn on qualifying purchases.
As an affiliate, we earn on qualifying purchases.
Troubleshooting Common Smearing Problems During Floor Cleaning
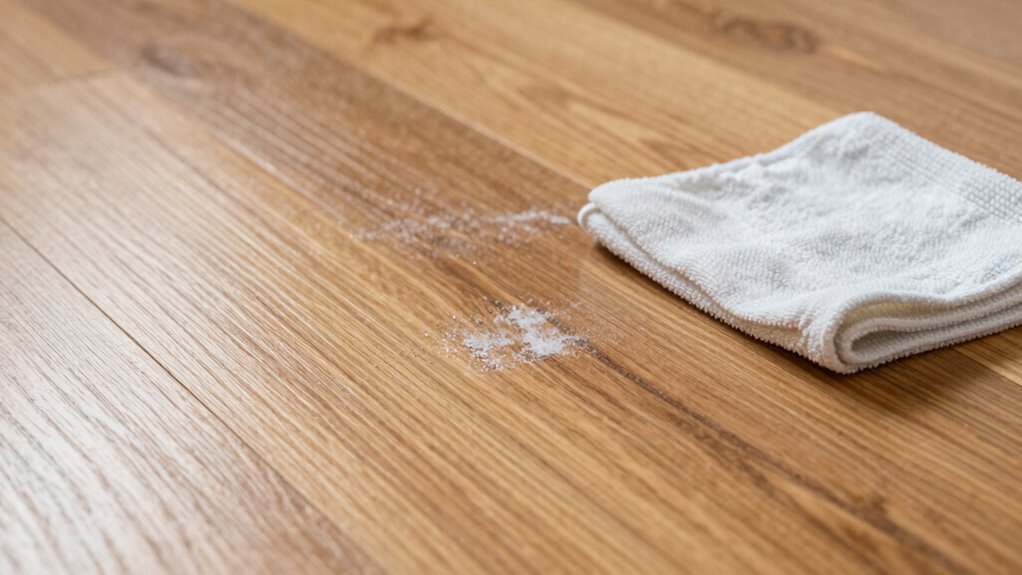
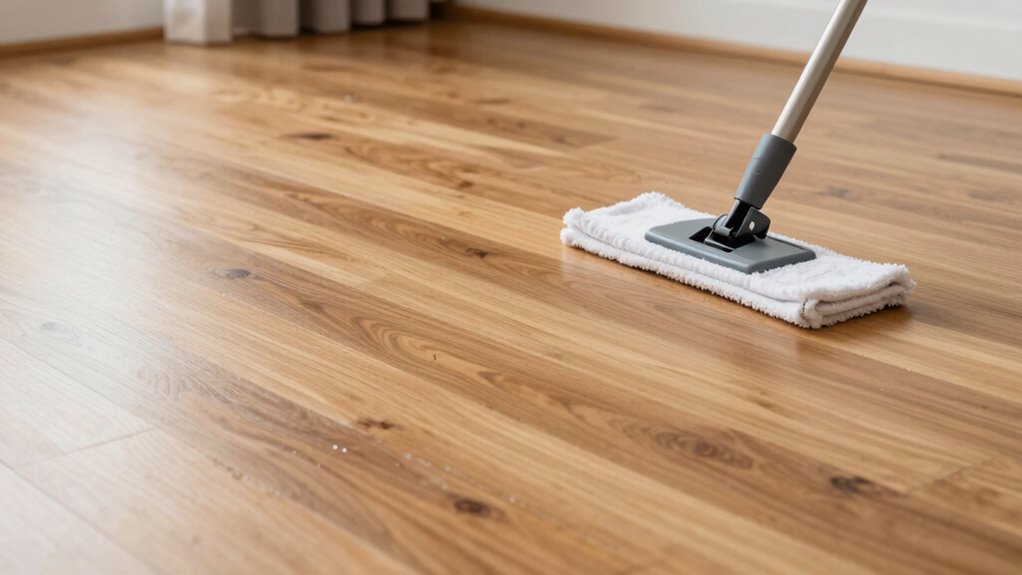
Smearing during floor cleaning often occurs when cleaning solutions or tools are incompatible with your flooring or used improperly. Dust residue can also contribute by creating a slippery surface that causes smears. To troubleshoot, start by checking the cleaning solutions you’re using—make sure they’re suitable for your floor type. Avoid harsh chemicals that can leave streaks. Also, consider your cleaning tools; using a damp, microfiber mop can prevent excess moisture and smearing. Here are some tips:
- Rinse the mop frequently to remove dust residue and prevent spreading dirt
- Use minimal cleaning solution—dilute it properly to avoid streaks
- Dry the floor immediately with a clean, dry cloth to prevent smears and dust buildup
- Before cleaning, identify your flooring material to select the most compatible cleaning methods and solutions. Properly sizing and load‑planning tools can help ensure you use the right amount of cleaning solution for your floor type. Additionally, understanding the importance of cleaning solution compatibility can help prevent streaks and smears. Being aware of professional cleaning standards can also guide you in achieving a streak-free finish. Using the correct cleaning techniques tailored to your flooring type can further enhance your results and reduce the risk of smears.
Addressing these issues helps achieve a smear-free, polished floor after renovation.
Tips to Keep Floors Clean During and After Renovation
Keeping floors clean during and after renovation requires proactive steps to prevent dirt, dust, and debris from settling and causing damage. Use dust barriers to contain construction messes and protect your flooring from airborne dust. Cover floors with protective coverings like plastic sheeting or drop cloths, especially in high-traffic areas, to minimize dirt accumulation. Regularly inspect and adjust these coverings to ensure they stay secure and don’t trap dust underneath. Clean as you go by sweeping or vacuuming frequently to prevent buildup. Keep tools and materials organized to avoid unnecessary spills or scratches. Additionally, utilizing robotic cleaning solutions with advanced navigation and mapping can help maintain cleanliness efficiently smart-home integrations. Incorporating effective dust control measures further reduces airborne particles settling on surfaces, making cleanup even more manageable. Proper ventilation during and after construction can also significantly reduce dust circulation and aid in quicker cleanup. Employing air purifiers can further improve indoor air quality and help capture residual dust particles. Staying attentive to these details ensures your floors remain in good condition and simplifies post-renovation cleanup efforts.
Frequently Asked Questions
Can Specific Cleaning Products Prevent Floor Smearing After Renovation?
Yes, specific cleaning products can help prevent floor smearing after renovation. Look for cleaning products designed for your floor type that offer high cleaning effectiveness without leaving residue. Use a microfiber mop and avoid overly wet solutions, as excess moisture causes smearing. These products, combined with proper cleaning techniques, ensure your floors stay clean and smear-free, making your post-renovation cleanup more efficient and effective.
How Long Should I Wait Before Cleaning Renovated Floors?
You should wait at least 24 to 48 hours before cleaning your renovated floors. This timing consideration allows dust and debris to settle thoroughly, preventing smearing during cleaning. Incorporate this into your cleaning schedule by first sweeping or vacuuming gently to remove loose dust, then waiting the appropriate time before damp mopping with a suitable cleaner. This approach guarantees your floors stay clean and streak-free after renovation.
Are Certain Floor Types More Prone to Smearing During Cleaning?
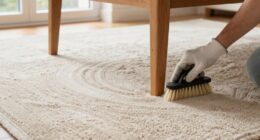
Yes, certain floor types are more prone to smearing during cleaning. For example, floors with a matte or soft finish, like unsealed wood or textured tiles, can smudge easily if you don’t use the right cleaning tools. Avoid harsh scrubbers and opt for soft microfiber mops, and choose cleaning solutions compatible with your floor finish. This helps prevent smears and keeps your floors looking fresh after cleaning.
Is Vacuuming or Sweeping Better Before Mopping Floors?
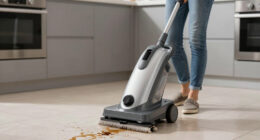
You should vacuum before mopping to guarantee effective dust removal and debris clearance. Vacuums excel at picking up fine dust and larger debris without spreading it around, which helps prevent smearing. Sweeping can leave behind some dust, making your mop work harder and increasing smudges. By vacuuming first, you create a cleaner surface, allowing your mop to glide smoothly and leave floors spotless after renovation dust settles.
How Often Should I Clean Floors During Renovation?
You should clean your floors at least once a week during renovation to prevent dust buildup. Follow cleaning schedule recommendations by using proper floor drying techniques, like mopping with a damp mop and then drying with a clean cloth or microfiber mop. This approach helps avoid smearing, especially when dust is heavy. Regular cleaning keeps floors clear, making post-renovation cleanup easier and preserving your flooring’s appearance.
Conclusion
Think of your freshly cleaned floors as a mirror reflecting your hard work—suddenly smears can feel like fog obscuring that reflection. I once cleaned after a renovation, only to smudge the dust like fingerprints on glass. With the right tools and techniques, you can clear that fog effortlessly, revealing truly spotless floors. Remember, patience and the right approach turn a messy job into a satisfying finish—like wiping away the clouds to disclose a clear, shining sky.