
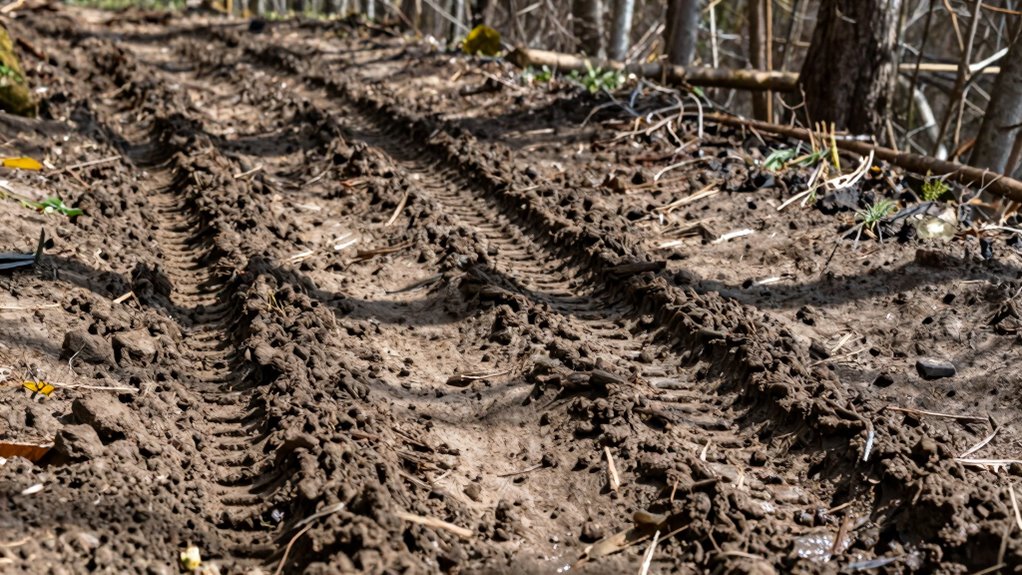
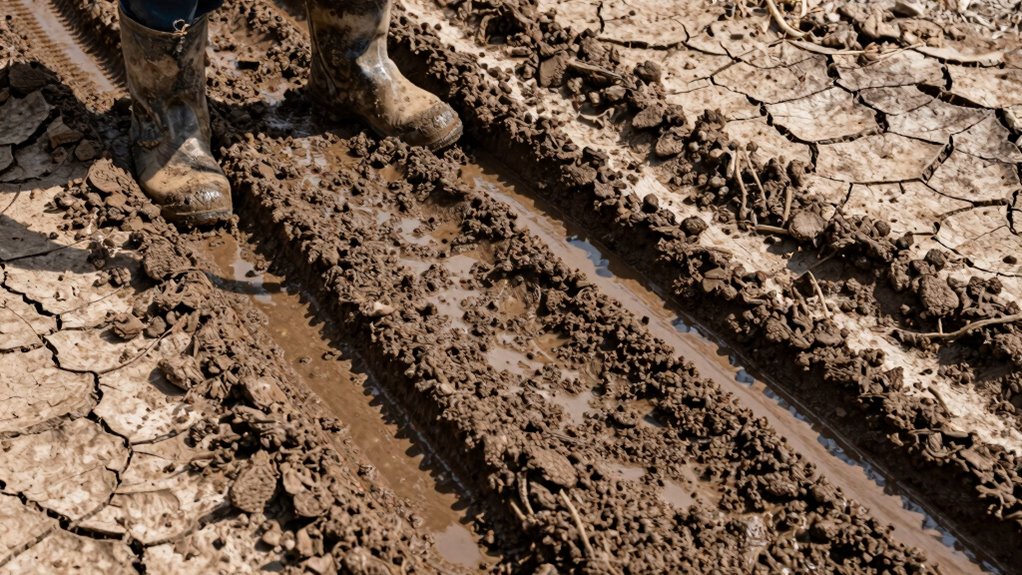
When you see mud tracks everywhere, remember to let the mud fully dry first. Wet mud can smear and spread as you vacuum, making cleaning harder and risking damage to your vacuum cleaner. Wait until the mud feels firm, cracks appear, or it looks dull and crumbly. Once dry, start sweeping or vacuuming gently to remove debris without smudging. Keep your tools in good shape, and you’ll prevent further messes—learn more about perfect mud cleanup techniques as you continue.
Key Takeaways
- Allow mud to dry completely before vacuuming to prevent smearing and equipment damage.
- Dried mud crumbles easily, making removal more effective with sweeping or vacuuming.
- Wet mud can clog vacuums and cause long-term damage; proper drying protects the equipment.
- Use appropriate tools like stiff brushes or scrapers to loosen dried mud before vacuuming.
- Establish mud-prevention strategies, such as shoe mats and outdoor maintenance, to reduce muddy tracks indoors.

Mounto 1/2hp Air Mover Floor Drying Blower Fan - Powerful 1/2HP Motor Carpet Dryer, 2200 CFM Air Flow, Lightweight Design, 2-Speed Settings for Drying, Cooling & Circulation
Accelerate Drying with Precision: Harness the dynamic power of Mounto's 1/2HP Motor to expedite carpet drying and floor...
As an affiliate, we earn on qualifying purchases.
Why Letting Mud Dry Before Vacuuming Prevents Smudges and Vacuum Damage
Allowing mud to dry before vacuuming is essential because wet mud can smear easily, making cleanup messier and more difficult. When you attempt mud removal while it’s still damp, you risk spreading the stain further and creating stubborn smudges. Dry mud is much easier to pick up with your vacuum, reducing the chances of spreading debris or damaging your equipment. Proper drying also helps preserve your vacuum’s maintenance, as suction and filters stay cleaner longer when mud is fully dry. Additionally, understanding the importance of selecting the right projector type ensures optimal performance for your setup. By letting the mud dry first, you ensure more effective cleanup while protecting your vacuum’s longevity, making the entire process smoother and less stressful. Waiting for the mud to dry also minimizes the risk of vacuum damage caused by moisture. Recognizing the benefits of proper drying can help you avoid unnecessary repairs and extend the lifespan of your cleaning tools. Taking a moment to let the mud dry reduces the likelihood of vacuum clogs, saving you time and frustration during cleanup. Furthermore, incorporating sound healing science principles into your cleaning routine can promote a calming environment, even amidst messes.

B-Air VP Series 1/8 HP Air Mover Commercial Floor Fan, 2 Speeds, 3 Drying Angles, 1.3 Amp Draw, for Water Damage Restoration, Carpet Drying, Air Circulation - Blue
Controller Type: Manual controls ; Included Components: Blower fan ; Material: Plastic
As an affiliate, we earn on qualifying purchases.
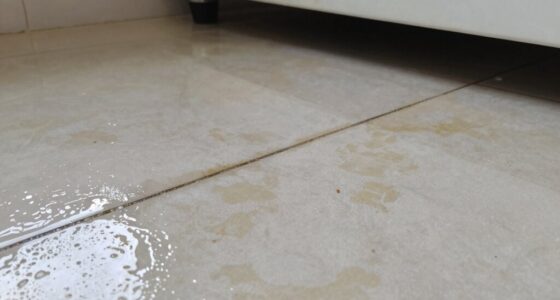
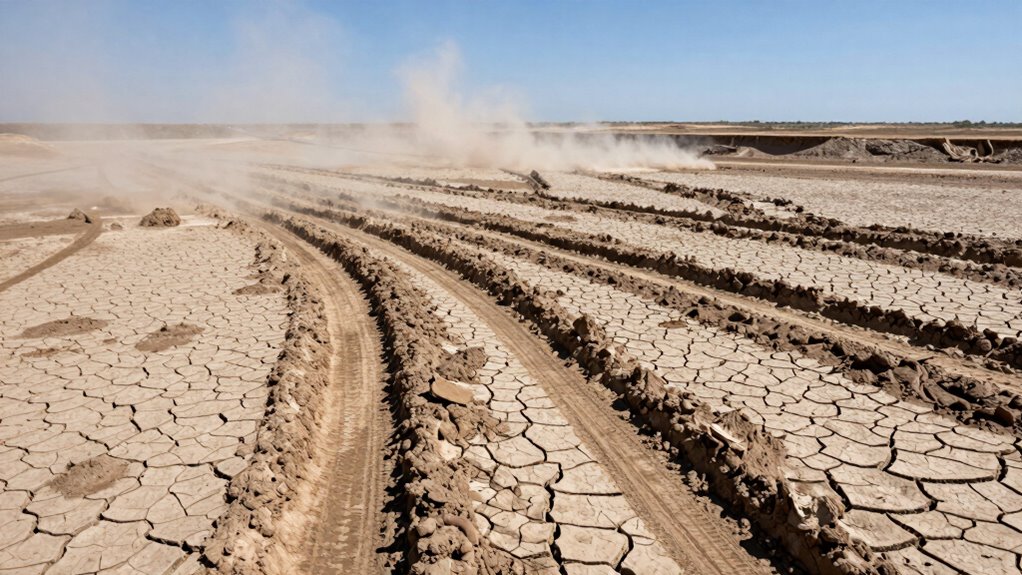
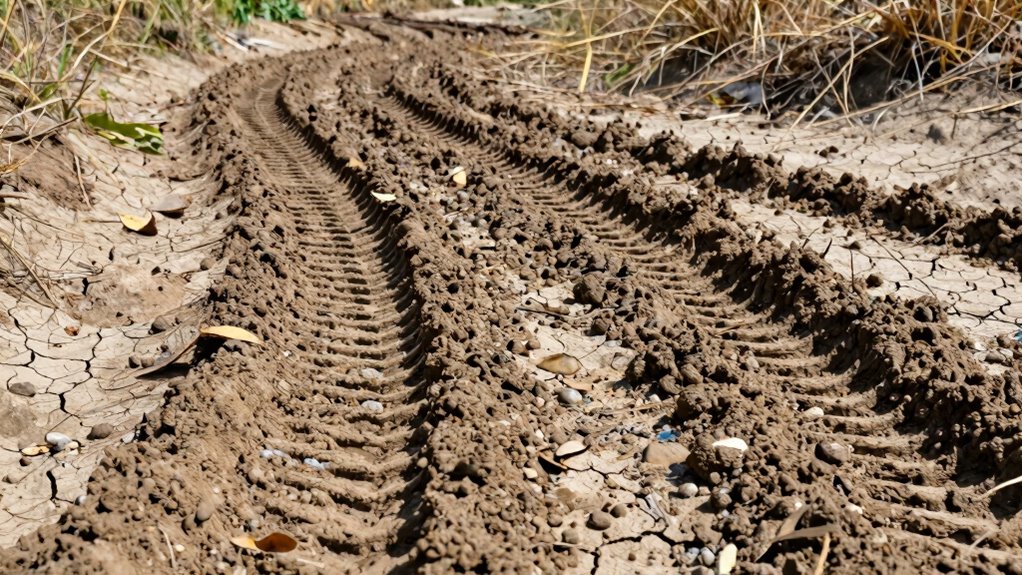
How to Tell When Mud Is Fully Dry and Ready to Vacuum

Knowing when mud is fully dry is key to ensuring effective vacuuming and preventing smudges or damage. Check the mud consistency; it should feel firm and crumbly, not soft or damp. Look for drying indicators like a matte, dull appearance rather than a shiny or wet look. Gently press the surface—if it leaves an indent or feels sticky, it’s not ready. Clear cracks or edges around the muddy area also suggest dryness. Wait until the mud resists any pressure and no longer sticks to your finger or tool. Additionally, observing the drying process and understanding the environmental factors can help predict when the mud will be ready for vacuuming. Adequate air circulation can significantly speed up drying times in certain conditions. Factors like humidity levels and direct sunlight can also influence drying speed and should be monitored. Monitoring environmental conditions ensures optimal drying times and reduces the risk of incomplete drying. Once the mud is dry and solid, you’ll find vacuuming easier and cleaner, with no smudges left behind. Ensuring the mud’s dryness level is appropriate helps maintain your vacuum’s efficiency and longevity.
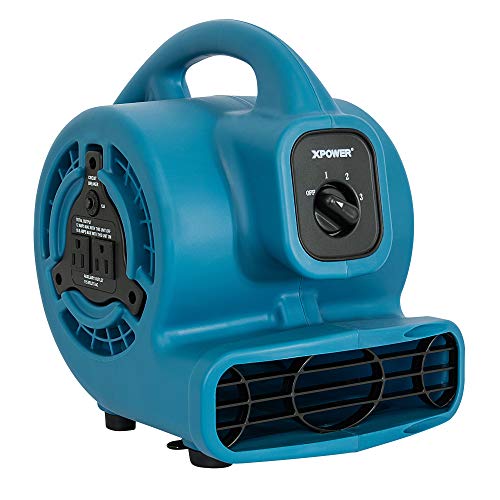
XPOWER P-80A Mini Mighty 138 W 600 CFM Centrifugal Air Mover, Carpet Dryer, Floor Fan, Blower, Stackable, Daisy Chain, for Water Damage Restoration, Janitorial, Plumbing, Home Use
FASTER SURFACE DRYING – Speed-dry carpets, floors, furniture, windows, and walls with a centrifugal air mover! By producing...
As an affiliate, we earn on qualifying purchases.
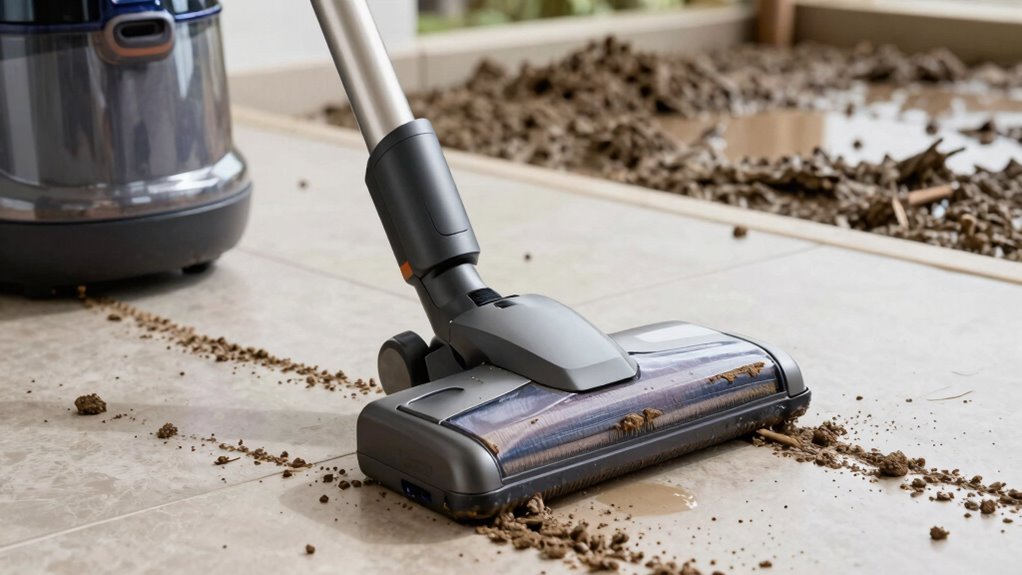
Step-by-Step: How to Clean Mud Tracks on Floors and Shoes
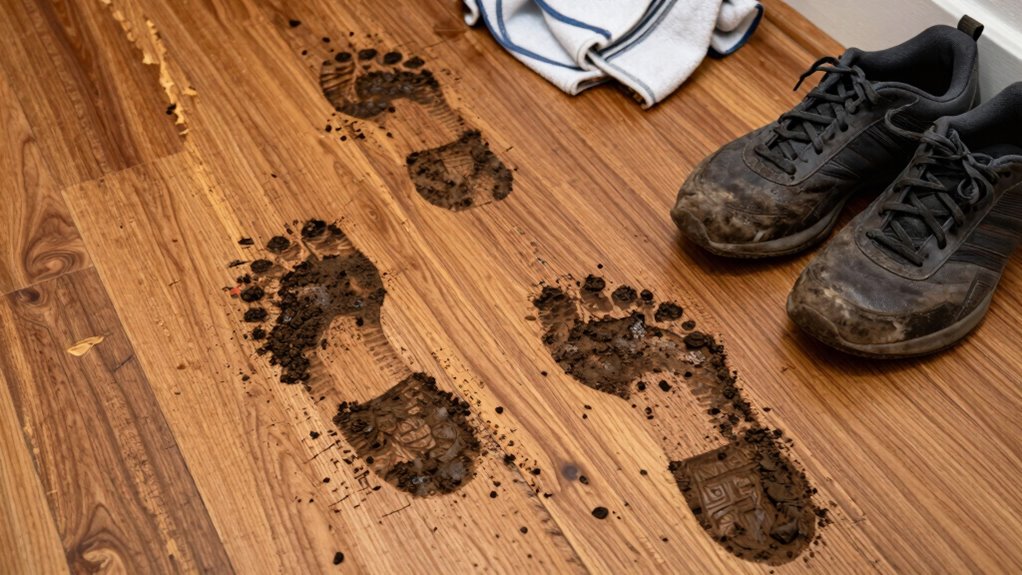
To effectively clean mud tracks from floors and shoes, start by letting the muddy footprints dry completely. Once dry, use a stiff-bristled brush or broom to sweep up loose mud, preventing smearing. Gather your cleaning supplies, such as a mop, bucket, and mild cleaning solution or floor cleaner. Dampen the mop with water and cleaning solution, then gently scrub the affected area to loosen stubborn dirt. For shoes, remove any remaining mud with a damp cloth or brush. Be sure to rinse your cleaning supplies regularly to avoid spreading dirt. Afterward, dry the floor with a clean towel or let it air dry. Proper floor maintenance also helps preserve the integrity of your flooring over time. Understanding water chemistry can help you choose the right cleaning agents to keep your floors in top condition. Additionally, using the correct cleaning tools ensures effective removal of dirt without damaging surfaces. Applying the right cleaning techniques can make your cleanup more efficient and prevent future mud tracks. Incorporating regular cleaning routines can further minimize the buildup of mud and dirt on your floors.

ALORAIR 600 CFM Air Mover Blower Fan for Industrial, Workshop, and Home Use - 3 Speeds, 5 Adjustable Angles and Daisy Chain - Ideal for Water Damage Restoration and Plumbing - GF600A Blue
POWERFUL AIR MOVER FAN - Experience industrial-grade airflow with AlorAir ’s air blower fan, engineered as a premium...
As an affiliate, we earn on qualifying purchases.
Common Mistakes to Avoid When Cleaning Mud Tracks
One common mistake is trying to clean mud tracks before the mud is completely dry, which can spread the mess further. Avoid deep scrubbing, as it might damage surfaces or push mud further in. Instead, use a proper vacuum to remove loose dirt first, ensuring a more effective cleaning process. Incorporating proper cleaning techniques can help prevent damage and improve results. Additionally, understanding surface types can guide you in choosing the best cleaning method for different materials. Recognizing the importance of vintage cleaning tools can also enhance your approach, especially when dealing with antique or retro surfaces, and being aware of appropriate cleaning methods helps avoid common pitfalls.
Dry Mud First
Have you ever tried cleaning wet mud and ended up making the mess worse? It’s best to let the mud dry completely first. Dry mud is easier to handle because it crumbles and can be swept or vacuumed without smearing. Rushing to clean wet mud can damage your vacuum and compromise vacuum safety, especially if moisture reaches the motor. Proper drying techniques are essential for safe and effective cleaning, so patience is key. Allow mud to dry naturally or use a fan to speed up the process, but avoid scrubbing or applying water, which can turn the mess into a bigger problem. Once the mud is dry, you’ll find it easier to remove in chunks or fine dust. This approach minimizes damage to your vacuum and ensures you don’t spread the mud further. Always prioritize drying before attempting to vacuum for safe, effective cleaning. Additionally, understanding air quality considerations can help prevent lingering odors or airborne particles from settling in your home environment. Employing natural filtration systems can also assist in maintaining a healthier indoor air quality during and after cleanup. Being aware of clogged vacuum filters can further improve performance and prolong the life of your cleaning equipment.
Avoid Deep Scrubbing
Deep scrubbing may seem like an effective way to remove stubborn mud tracks, but it often does more harm than good. Harsh scrubbing can damage your carpet fibers and push mud deeper into the pile, making stains harder to remove. Instead, focus on gentle wet cleaning techniques to loosen dirt without abrasion. Avoid saturating the carpet excessively, as too much water can lead to mold or mildew growth. Remember, patience is key—rushing with aggressive scrubbing can weaken your carpet’s structure and spread mud further. Incorporating connected cleaning tools can enhance your effectiveness while minimizing damage.
Use Proper Vacuuming
When vacuuming mud tracks, it’s essential to use the right technique to prevent spreading dirt further or damaging your carpet. Start by using a vacuum with a strong suction and a brush roll suitable for cleaning fabrics. Don’t press too hard; gentle, overlapping passes lift dirt without pushing mud deeper. Be mindful of shoe maintenance—if your shoes are muddy, vacuuming alone may not be enough. Consider cleaning fabrics carefully around the area to avoid spreading particles. If the mud is thick, vacuum first to remove loose dirt, then follow up with a damp cloth if needed. Avoid using a vacuum with a beater bar on wet mud, as this can damage the carpet fibers. Proper vacuuming guarantees your carpet stays clean without causing harm.
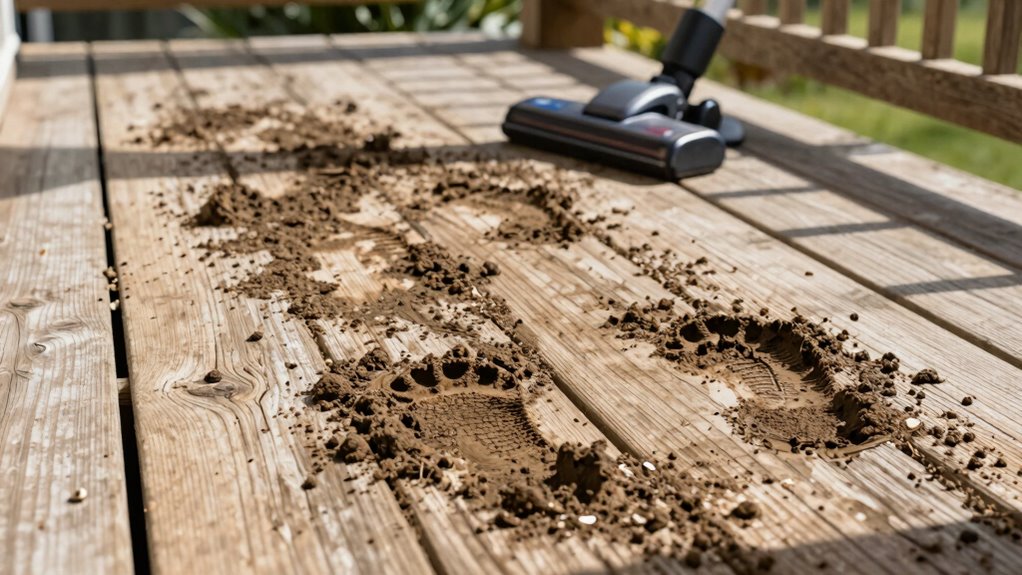
Tips for Removing Stubborn or Thick Mud Residue
Stubborn or thick mud residue can be challenging to remove, but with the right approach, you can effectively tackle it. First, let the mud dry completely, making it easier to lift and scrape away. Use a stiff brush or scraper to loosen the dried mud before vacuuming. This prevents clogging and preserves your vacuum’s performance. Remember, regular vacuum maintenance is key—clean filters and check hoses to ensure peak suction.
- Focus on breaking up thick mud before vacuuming to prevent damage.
- Use a damp cloth to wipe away any remaining residue after vacuuming.
- Avoid rushing; patience ensures thorough mud removal and protects your equipment.
Choosing the Best Tools and Vacuum Settings for Mud Cleanup
Choosing the right tools and vacuum settings is essential for efficiently cleaning mud without causing damage. For effective mud removal, select a vacuum with strong suction and durable brushes designed for tough debris. Use a vacuum with adjustable height and power settings to adapt to different surfaces and mud thicknesses. A vacuum with high durability ensures it can handle wet, sticky mud without breaking down. Consider using a wet-dry vacuum, which offers more versatility and better handling of muddy messes. Always start with a lower suction setting to prevent overwhelming the vacuum, then gradually increase as needed. Properly chosen tools and settings help you clean thoroughly while protecting your vacuum from damage, ensuring it stays in good shape for future cleanups.
How the Dry-Then-Vacuum Method Protects Your Vacuum Cleaner
Drying the mud before vacuuming is essential because wet debris can quickly damage your vacuum cleaner’s motor and filters. When you vacuum wet mud, moisture can cause clogs, reduce suction, and lead to costly repairs. Using the dry-then-vacuum method helps preserve your vacuum’s performance and extends its lifespan. It also safeguards your carpet by preventing deep-seated dirt and moisture from causing fabric damage or mold growth.
- Ensures ideal vacuum maintenance by avoiding unnecessary wear and tear
- Protects your carpet from long-term damage caused by trapped moisture
- Keeps your vacuum functioning efficiently, saving you money and effort
Additional Strategies to Keep Your Home Mud-Free After Outdoor Adventures
After outdoor adventures, taking simple steps can prevent mud from spreading throughout your home. Start by setting up a designated shoe storage area near your entryway. This keeps muddy shoes contained and prevents dirt from tracking inside. Regular garden maintenance also helps reduce mud, as well-maintained lawns and paths minimize the amount of dirt kicked up during outdoor activities. Encourage everyone to clean their shoes thoroughly before entering, using brushes or mats to remove excess mud. Consider installing a boot tray or mat to catch residual dirt. These strategies keep your home cleaner by limiting mud entry points and making cleanup easier. With consistent shoe storage and garden upkeep, you’ll cut down on muddy messes and maintain a tidy, mud-free space after your outdoor adventures.
Frequently Asked Questions
Can I Vacuum Mud While It’s Still Wet Without Damage?
You shouldn’t vacuum mud while it’s still wet because it can damage your vacuum and make cleanup harder. Instead, use proper mud removal techniques, like scraping or blotting excess mud first. Once the mud is dry, you can vacuum more effectively without risking damage. Waiting until the mud dries helps guarantee your vacuum works efficiently and prevents clogs or motor issues. Always follow safe vacuum techniques for the best results.
What Types of Vacuums Are Best for Mud Cleanup?
For mud cleanup, you should use wet dry vacuums, which are designed for wet messes and won’t damage your vacuum filters. These vacuums handle mud efficiently, capturing the debris without clogging or leaking. Regular dry vacuums aren’t suitable because they can be damaged by moisture. Always verify your wet dry vacuum has a good filter system and is rated for heavy-duty cleaning to make your mud removal easier and safer.
How Often Should I Check Mud Dryness Before Vacuuming?
You should check mud dryness frequently, ideally every 30 minutes, to decide the right vacuum timing. Statistically, mud takes about 1-3 hours to dry completely, depending on humidity and thickness. By monitoring the mud’s appearance and texture, you’ll know when it’s dry enough to vacuum without smudging or spreading it further. Regular checks guarantee you avoid vacuuming wet mud, preventing damage to your vacuum and messes on your floor.
Is There a Safe Way to Speed up Mud Drying?
To speed up mud drying safely, use gentle mud drying techniques like increasing airflow with fans or opening windows, but avoid heat sources like hairdryers or heaters, which can be unsafe. Keep safety precautions in mind, such as ensuring the area is well-ventilated and dry before vacuuming. Patience is key; rushing can damage flooring or create safety hazards. Let the mud dry naturally while improving air circulation for best results.
Can Using a Hairdryer Help in Drying Mud Faster?
Using a hairdryer can help dry mud faster, but you need to prioritize hairdryer safety. Keep the dryer at a low heat setting and hold it at a safe distance to avoid damaging the surface or causing splatters. Follow mud drying tips by gently blowing air over the area, and don’t overdo it. This method speeds up drying, but always be cautious to prevent accidents or surface damage.
Conclusion
By following the dry-then-vacuum rule, you’ll protect your vacuum from destruction and keep your home spotless. When you wait for mud to dry completely, you’re saving yourself from a mountain of cleanup chaos that feels like battling an unstoppable mud monster. Stick to these steps, use the right tools, and stay patient—you’ll transform muddy messes from overwhelming disasters into simple, manageable chores. Your home will stay pristine, and your vacuum will thank you for it!