To fix a main brush error, start by checking three hidden points: the brush itself for tangled hair, debris in the bearings and axles, and any blockages in the housing slots. Carefully clean out hair and dirt from these areas to guarantee the brush spins freely. Make sure no debris is blocking the movement, and verify that sensors are calibrated. Keep these spots clean regularly, and you’ll discover more tips to keep your vacuum running smoothly.
Key Takeaways
- Inspect and remove debris from the main brush, including tangled hair and dirt, to ensure smooth rotation.
- Check the brush housing and its hidden points for trapped debris or obstructions.
- Clean the axles and bearings thoroughly to prevent debris buildup that hampers movement.
- Remove the main brush to access and clear debris in tight slots and hidden areas.
- Regularly verify sensor calibration and battery health to prevent errors related to hidden obstructions.
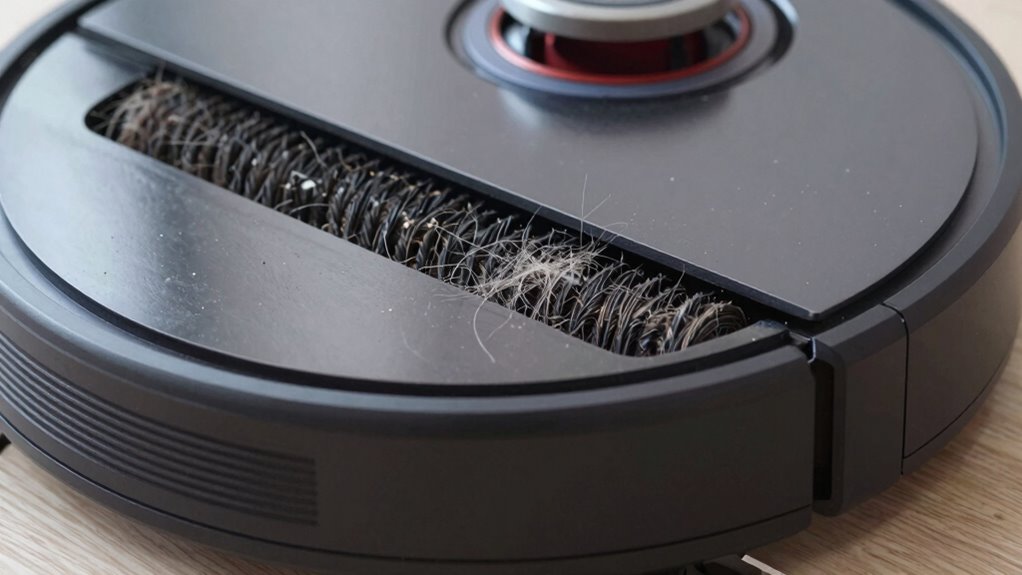
How to Diagnose and Clean Your Main Brush for Errors
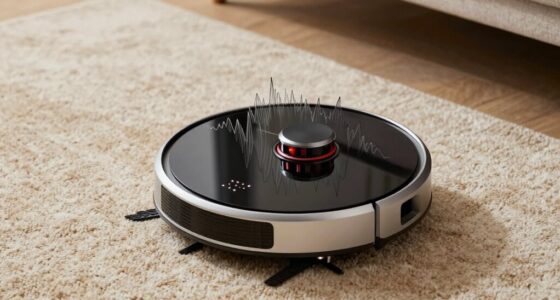
If your robot vacuum reports a main brush error, the first step is to diagnose the issue by inspecting the brush for debris or damage. Remove the main brush and check for tangled hair, string, or dirt that could hinder its rotation. If debris is present, clear it carefully, as buildup can cause motor troubleshooting issues. If the brush looks damaged or worn out, consider a brush replacement to restore performance. While inspecting, also listen for unusual motor sounds when the brush spins; this can indicate motor trouble. Ensuring the brush spins freely and is clean helps determine if the problem is with the brush itself or the motor. Regular maintenance of connected fitness technology like robot vacuums can prevent unexpected errors and extend device lifespan. Addressing these issues promptly keeps your vacuum operating smoothly and prevents further errors. Additionally, understanding the main brush mechanism can help you troubleshoot more effectively and prolong the life of your device. Being familiar with diagnostic procedures enables you to identify issues quickly and efficiently. Performing periodic inspections of the filtration system can also help prevent motor strain and improve overall cleaning performance. Regularly checking the brush motor connection can further ensure reliable operation and avoid unnecessary repairs.
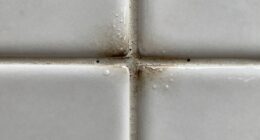
How to Clear Hair and Debris From Bearings, Axles, and Housing
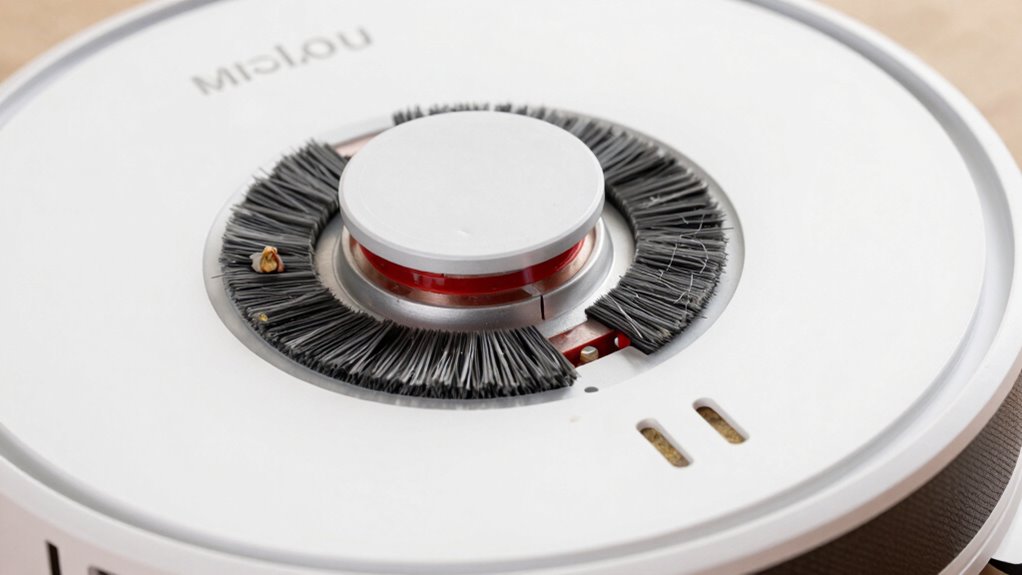
After inspecting and cleaning the main brush, it’s important to address hair and debris that can collect in the bearings, axles, and housing. Regular brush maintenance helps prevent motor strain and error messages. To do this, carefully remove the bearings and examine the axles for tangled hair or debris. Use tweezers or a small brush to gently clear out any buildup. Check the housing for hidden debris that could impede movement. Make sure all parts move freely after cleaning. Proper debris removal ensures smooth operation and reduces the risk of brush errors. Keep these components clean and free of obstructions to maintain your vacuum’s efficiency and extend its lifespan. Regular attention to these hidden points makes brush maintenance more effective and prevents future issues. Incorporating smart home automation can also remind you when to perform these maintenance tasks regularly. Additionally, consulting the technical reference can provide detailed guidance on the correct cleaning techniques for each component. Performing routine inspections periodically further helps identify potential problems before they cause errors.
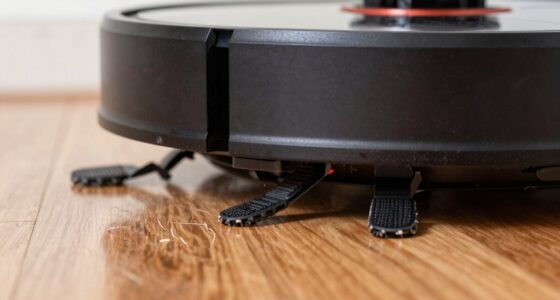
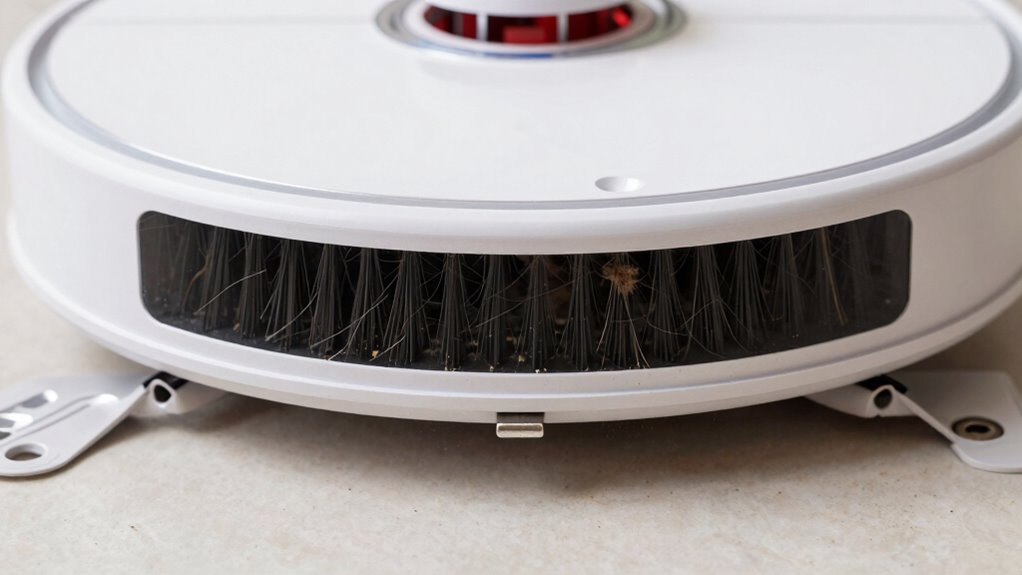
How to Check for Obstructions in Brush Slots and Confirm Your Vacuum Works Properly
To guarantee your vacuum’s brush operates smoothly, you need to check for obstructions in the brush slots. Remove the main brush and inspect for tangled hair, debris, or small objects blocking the slots. Clear any obstructions carefully, ensuring nothing remains that could hinder rotation. While doing this, verify the battery health; a weak battery can cause performance issues. Also, calibrate the sensors, especially the ones detecting obstacles and the main brush position, to ensure accurate operation. Proper sensor calibration and a healthy battery contribute to smooth brush function, helping prevent errors and extending your vacuum’s lifespan. Regular maintenance practices, similar to preventive maintenance techniques, can help prevent common issues and prolong your vacuum’s operational life. Additionally, consulting your vacuum’s user manual can provide specific guidance tailored to your model. Checking the color accuracy of your vacuum’s sensors can also ensure they detect obstacles more reliably in various lighting conditions. For optimal performance, periodically inspect the sensor calibration to maintain accurate detection and avoid false errors.
Frequently Asked Questions
How Often Should I Replace My Robot Vacuum’s Main Brush?
You should replace your robot vacuum’s main brush every 6 to 12 months, depending on usage and wear. Regular brush maintenance helps prevent errors and keeps your vacuum running smoothly. Check for signs of damage, excessive hair tangles, or worn bristles regularly. Following a consistent replacement schedule guarantees ideal cleaning performance and reduces the likelihood of errors, so stay proactive with your brush maintenance to extend your vacuum’s lifespan.
Can I Use Any Cleaning Products to Maintain the Main Brush?
Can you use any cleaning products on your robot vacuum’s main brush? Probably not. You should avoid harsh cleaning solutions and abrasive cleaners, as they can damage the brush and affect performance. Instead, stick to gentle, damp cloths or manufacturer-recommended cleaning solutions. Isn’t it better to safeguard your vacuum’s longevity? Using the right cleaning products ensures your main brush stays clean and functions smoothly without unnecessary wear.
What Signs Indicate My Main Brush Needs Replacement?
If you notice unusual noises, decreased suction, or the brush isn’t spinning properly, it’s time to replace the main brush. Signs of brush damage, such as broken or worn bristles, and motor issues like overheating or failure to turn, also indicate it’s time for a new one. Regularly inspecting your brush helps prevent further damage and guarantees your vacuum works efficiently. Don’t ignore these signs to maintain peak performance.
Is It Safe to Manually Remove Hair Tangled in the Brush?
Yes, it’s safe to manually remove hair tangled in the brush if you turn off your robot vacuum first. Use scissors or your fingers carefully during hair removal, and avoid forcing or damaging the brush. Regular brush maintenance helps prevent buildup that can impact performance. Just make certain you’re gentle and thorough, keeping the brush clean for peak cleaning and prolonging its lifespan.
How Do Temperature and Humidity Affect the Main Brush’s Performance?
Like a vintage radio, your robot’s main brush can be affected by temperature and humidity. High humidity might cause the brush material to swell, reducing its ability to pick up debris efficiently. Conversely, low temperatures can make the brush brittle. These conditions impact air quality by decreasing cleaning effectiveness. To keep your vacuum running smoothly, store it in moderate conditions, and regularly check the brush for any changes or damage.
Conclusion
By regularly inspecting and cleaning these hidden points, you’ll keep your robot vacuum running smoothly—like tuning a fine instrument. Don’t let hair and debris build up, or your device might stumble like a dancer with untied shoelaces. With a quick check of the main brush, bearings, and obstructions, you’ll guarantee it keeps cleaning efficiently. Stay proactive, and your vacuum will perform like it’s brand new, making your cleaning routine effortless and stress-free.