If your robot mop is leaving streaks, start by checking the water flow settings—reduce it for delicate floors and increase for tougher stains. Make sure your mop pads are clean or replaced if they’re worn or stained, and avoid over-wetting the surface. Inspect hoses and nozzles for blockages or leaks, and use proper cleaning solutions. Resetting your device and maintaining all components can help, so keep exploring for detailed tips to guarantee spotless floors.
Key Takeaways
- Adjust water flow settings via the control panel or app to prevent over-saturation on delicate floors.
- Regularly clean and replace mop pads to avoid residue buildup and streaking.
- Check for leaks, cracks, or blockages in water lines and nozzles, and repair or replace damaged parts.
- Use appropriate, compatible cleaning solutions diluted properly to prevent streaks and residue.
- Perform routine maintenance on sensors, filters, and brushes to ensure consistent water flow and cleaning performance.
Why Is Your Robot Mop Leaving Streaks on Floors?
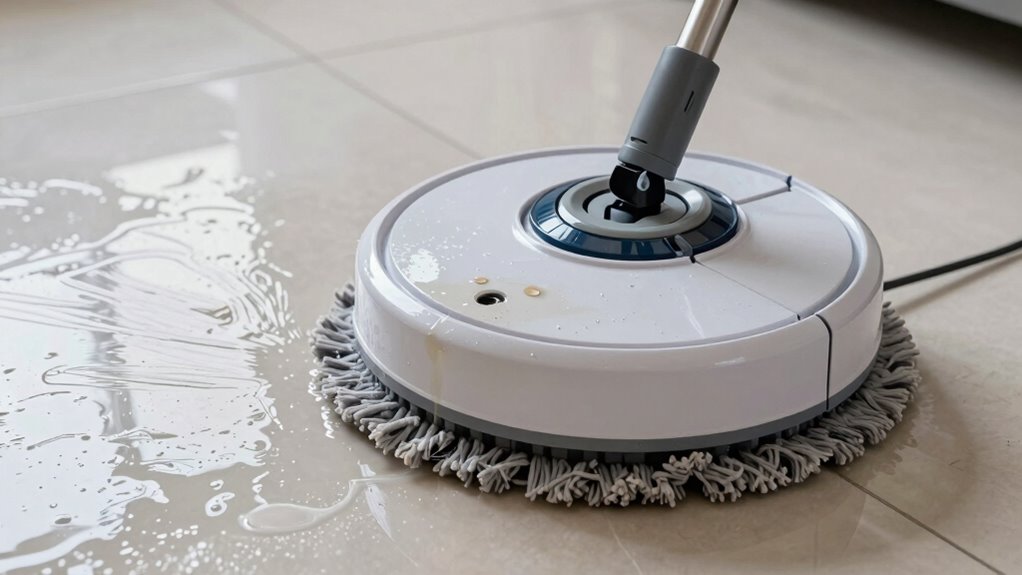
Have you noticed streaks or cloudy patches after your robot mop finishes cleaning? This usually happens when your cleaning schedule isn’t aligned with your floor types. Different floors, like hardwood, tile, or laminate, require specific care. If you use the same cleaning routine for all surfaces, it can leave streaks on some. For example, hardwood floors may need lighter mopping, while tile can handle deeper cleaning. Additionally, over-wetting or using too much cleaner can cause residue that leaves streaks. Make sure your robot is programmed to clean according to your floor types. Regularly check and replace pads, and avoid overloading the mop with cleaning solution. Tailoring your cleaning schedule to your floor types helps prevent streaks and keeps your floors spotless. Proper water flow adjustment can also improve cleaning results and reduce streaking issues. Ensuring your robot’s settings are optimized for your specific floor surfaces can significantly enhance cleaning performance. Paying attention to cleaning solution concentration is also crucial, as too much soap can contribute to streaks and residue. Adjusting water flow and pressure can further help in achieving a streak-free finish without damaging delicate floors. Additionally, understanding the filtration system of your robot mop can prevent leftover debris that might cause streaks or cloudy patches.
How Can I Adjust Water Flow for Better Cleaning Results?
Adjusting water flow on your robot mop can make a significant difference in cleaning performance and prevent streaks. Proper water flow adjustment guarantees your floors aren’t oversaturated or left dry, optimizing pad maintenance and cleaning efficiency. To fine-tune the water flow, check your mop’s settings or control panel for water level options. You might find a dedicated button or app setting to increase or decrease the water output. Visualize the process with these steps:
- Lower water flow to avoid excess moisture on delicate surfaces
- Increase water flow for stubborn stains or heavily soiled areas
- Regularly inspect and clean your mop’s water reservoir
- Ensure the pad stays clean and dry for even distribution
- Consult home cinema projectors to understand how image quality can be affected by environmental factors
- Refer to manufacturers’ guidelines for specific recommendations on water flow adjustments to prevent damage or inefficiency
- Keep an eye on water flow settings to ensure consistent performance and avoid over- or under-watering Adjusting water flow helps achieve streak-free results and keeps your floors looking pristine. Additionally, maintaining the water reservoir ensures consistent performance and prevents clogs or leaks, contributing to optimal cleaning results. Properly managing water flow also helps extend the lifespan of your mop’s pads and components.
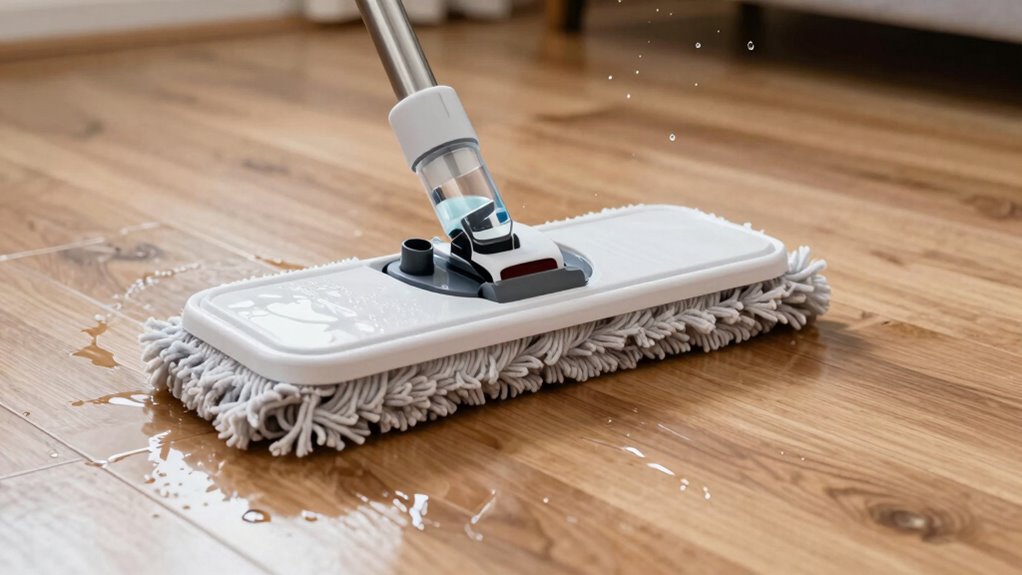
How Do I Know When to Replace or Clean My Mop Pads?
Knowing when to replace or clean your mop pads is essential for maintaining ideal cleaning performance. The mop pad lifespan varies depending on usage, but generally, if you notice persistent stains, odors, or decreased absorbency, it’s time for a change. Following a regular pad cleaning schedule helps prevent buildup of dirt and bacteria, ensuring your robot mops effectively. If your pads become frayed or worn, they won’t clean properly and should be replaced. Keep an eye on the overall condition, and don’t wait too long to swap out old pads. Properly maintained pads improve cleaning results, reduce streaks, and extend the life of your mop. Regularly evaluating your mop pads is key to keeping your floors spotless and your robot functioning at its best. Additionally, understanding mop pad materials can help you select the most durable and effective options for your cleaning needs. Proper mop pad maintenance routines can also prolong their usability and ensure optimal cleaning performance. Maintaining a clean and well-kept pad surface can also prevent bacterial buildup, which can affect hygiene and cleaning efficiency.
How to Properly Clean and Maintain Your Mop Pads for Optimal Performance
To keep your mop pads performing at their best, maintaining regular cleaning and following proper maintenance steps is essential. After each use, rinse the pads with warm water to remove debris. For a deeper clean, soak them in a cleaning solution designed for mop pads, making sure all dirt and bacteria are eliminated. When pads show signs of wear or stubborn stains, consider mop pad replacement to maintain cleaning efficiency. Proper maintenance includes:
- Rinsing thoroughly after each use
- Using a suitable cleaning solution
- Avoiding fabric softeners, which reduce absorbency
- Regularly inspecting for damage and replacing when needed
- Incorporating Free Floating techniques can help keep water flow consistent and prevent streaking during cleaning. Additionally, ensuring the water flow system is free of blockages assists in maintaining streak-free results. Regularly checking and cleaning the filter also supports optimal water flow and cleaning performance. Maintaining consistent water flow is crucial for achieving streak-free cleaning results and preventing water spots. Remember, water pressure can impact how effectively the mop distributes water and cleans, so monitoring it can prevent streaking issues. This routine helps prevent streaks and guarantees your robot mop operates smoothly, delivering maximum cleaning performance every time.
How Do I Fix Water Blockages or Leaks in My Robot Mop?
Start by inspecting your water tank and lines for any cracks or damage. Check for blockages that might be restricting water flow or causing leaks. Addressing these issues quickly can keep your robot mop running smoothly. Additionally, ensure that the water flow settings are properly adjusted to prevent over-saturation or streaking during mopping water flow regulation. It’s also helpful to review the vacuum features to confirm that your mop’s components are functioning correctly and efficiently. Regularly cleaning and maintaining the navigation and mapping sensors can help prevent issues that lead to streaking or improper water distribution. Understanding common water flow issues can aid in diagnosing recurring problems and maintaining optimal performance. Keeping an eye on product manuals can provide specific guidance tailored to your model’s water system.
Inspect Water Tank and Lines
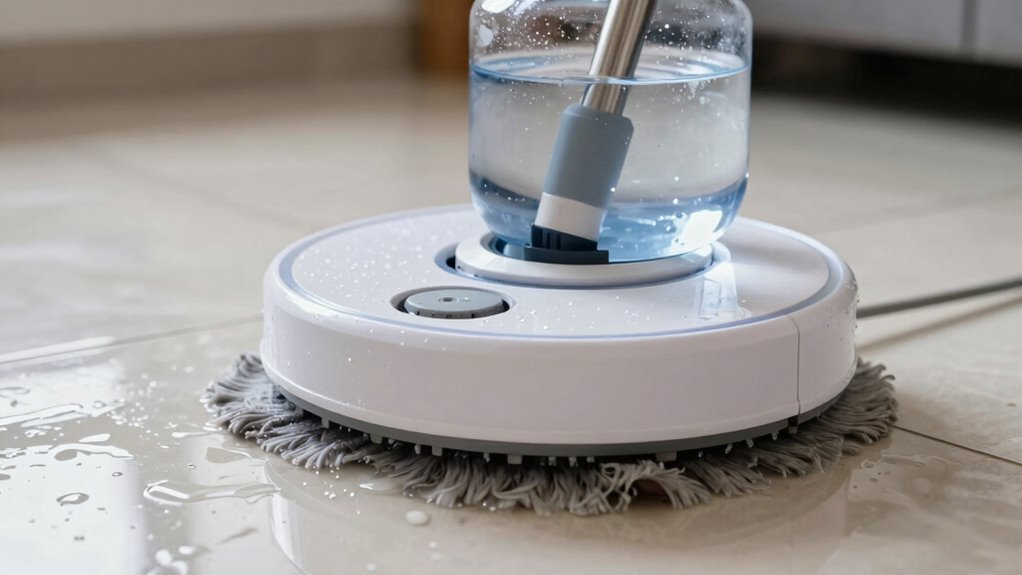
If your robot mop is experiencing water blockages or leaks, inspecting the water tank and lines is a crucial first step. Start by removing the water tank, making sure it’s clean and free of debris. Check the water lines for any kinks, cracks, or clogs that could hinder flow. Look for loose fittings or connections that might cause leaks. Ensure the water tank seal is intact and properly seated. Also, examine the water lines for buildup or blockages that could restrict water flow. By carefully inspecting these components, you can identify whether a blockage, crack, or loose connection is causing your issues. Addressing these potential problems will help restore proper water flow and prevent leaks, getting your robot mop back to peak performance. Regularly maintaining water flow ensures your device operates safely and efficiently.
Check for Blockages or Cracks
After inspecting the water tank and lines, the next step is to check for blockages or cracks that could be causing water flow issues. Perform a thorough blockage inspection by examining all hoses, nozzles, and filters for clogs or debris. Clear any obstructions carefully to restore proper water flow. Also, inspect the water lines for cracks or leaks, especially around joints and connectors. If you find cracks, crack repair is necessary to prevent leaks and ensure consistent water delivery. Use a waterproof adhesive or replace damaged hoses if needed. Addressing blockages promptly and repairing cracks will help eliminate water streaks, improve cleaning performance, and extend your robot mop’s lifespan. Always test the system after repairs to confirm the issue is resolved.
How Can I Use the Correct Water Mixture and Avoid Over-Mopping?
To get the best results, make sure you measure the water accurately before filling your robot mop. Use the proper cleaning solution recommended by the manufacturer, and avoid over-wetting the floors. Controlling how often your mop cleans prevents over-mopping and helps maintain your floors’ condition.
Measure Water Accurately
Are you unsure how to get the water mixture just right for your robot mop? Accurate water measurement is key to preventing streaks and over-mopping. To ensure proper pad maintenance and avoid excess water, consider these tips:
- Use the recommended water-to-cleaning solution ratio specified by the manufacturer.
- Fill the water tank carefully, avoiding overfilling.
- Regularly check and clean the water reservoir to prevent buildup.
- Monitor the moisture level on the pad during cleaning, replacing or drying it as needed.
Proper water measurement helps maintain the right moisture level, ensuring effective cleaning without oversaturating floors. Keeping the pad clean and well-maintained also prevents water-related streaks and prolongs your mop’s lifespan.
Use Proper Cleaning Solution
Using the proper cleaning solution is essential for effective and safe mopping. Start by carefully selecting your cleaning solution, verifying it’s compatible with your robot mop and suitable for your flooring type. Check the label for cleaning solution selection tips, and avoid harsh chemicals that can damage surfaces or cause streaks. Pay attention to pH balance considerations, as solutions with the right pH help prevent residue buildup and streaking. Using overly concentrated or inappropriate solutions can lead to excess residue, requiring more frequent cleaning and risking damage. Always dilute the cleaning solution according to manufacturer instructions. This ensures your robot mop distributes the correct mixture, reducing over-mopping and maintaining your floors’ appearance and longevity.
Control Mopping Frequency
Controlling how often your robot mop cleans with water is key to preventing over-mopping and protecting your floors. Your mopping schedule should match your floor type to avoid excess moisture. For example, hardwood floors need less frequent mopping, while tile can handle more regular cleanings. Adjust settings to reduce water flow or frequency based on your needs. Keep these points in mind:
- Use a gentler mopping schedule for delicate floors
- Increase intervals for high-traffic areas
- Choose the right water mixture for your floor material
- Monitor water tank levels to prevent over-saturation
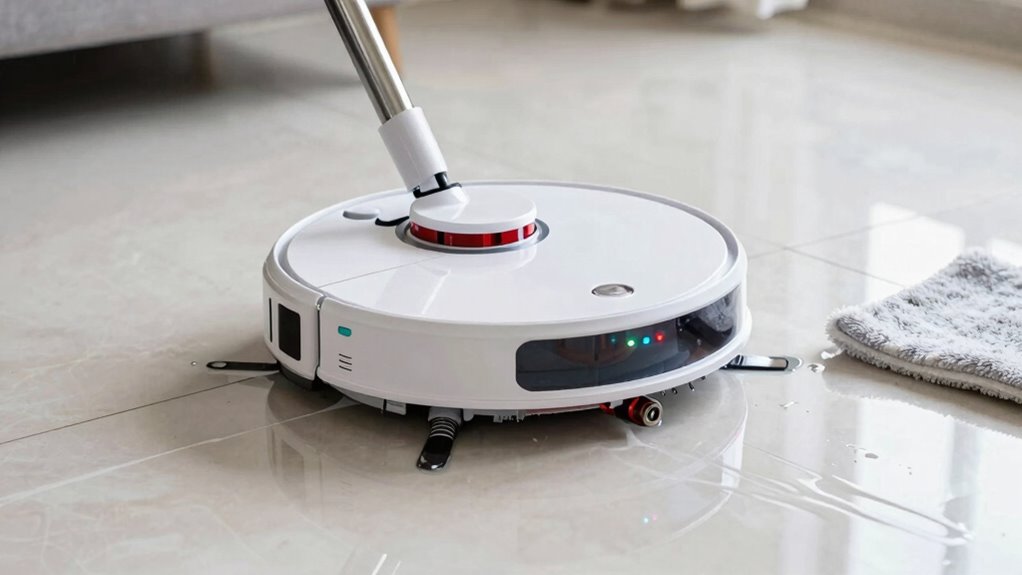
When and How Should I Reset Your Robot Mop to Fix Streaking?

When your robot mop starts leaving streaks despite regular cleaning, resetting it can often resolve the issue. First, perform a battery calibration by fully charging and then completely draining the battery, ensuring accurate power readings. This step helps prevent false streaking caused by misjudged battery levels. Next, check for any available software updates in the app or device settings—updating the firmware can fix bugs related to water flow and cleaning patterns. If streaking persists after these steps, perform a factory reset to clear any glitches in the system. Keep in mind, resetting should be your last resort after troubleshooting other factors, and always follow the manufacturer’s instructions to avoid unintended issues. This process can often restore ideal performance and eliminate streaking.
What Are Some Tips to Prevent Future Streaks and Keep Floors Spotless?
To keep your floors streak-free and spotless, it’s important to adopt proactive cleaning habits and proper maintenance routines. Regularly check and clean your robot mop’s pads and water filters to prevent buildup that causes streaks. Adjust your cleaning routines based on your flooring types—hardwood, tile, or laminate—to avoid damage or residue. Use the right cleaning solutions compatible with your flooring to prevent streaks and dullness. Keep the robot’s sensors and brushes clean for ideal performance. Additionally, consider sweeping or vacuuming floors beforehand to remove debris that could cause uneven cleaning.
- Use appropriate cleaning solutions for your flooring type
- Regularly clean or replace mop pads and filters
- Sweep or vacuum before mopping to remove loose dirt
- Schedule routine maintenance to keep your robot functioning smoothly
Frequently Asked Questions
Can Changing the Water Filter Improve Streaking Issues?
Yes, changing the water filter can improve streaking issues. A clean water filter guarantees proper water flow, which helps prevent excess water from pooling and causing streaks. When the filter is clogged or dirty, it restricts water flow, leading to uneven cleaning and streaks. Regularly replacing the water filter promotes streak prevention, keeps your robot mop working efficiently, and results in a cleaner, streak-free floor.
Does Uneven Floor Surface Cause Streaks During Mopping?
Uneven surfaces and varied floor textures can turn your mopping into a dance of streaks instead of shine. When your floor isn’t level, the mop glides unevenly, leaving behind trails rather than a spotless finish. Think of it like trying to paint a bumpy wall—you’ll struggle to get a smooth coat. To fix this, make sure your robot mop adapts to different textures and surfaces, giving your floors a consistent, streak-free shine.
Are There Specific Mop Pads Recommended for Certain Floor Types?
Yes, certain mop pads are better suited for specific floor types. Microfiber pads are highly compatible with most surfaces, especially hardwood and tile, because they clean effectively without scratching. When attaching pads, use the recommended pad attachment tips to guarantee a secure fit, preventing streaks. Always check that the pad is properly aligned to avoid uneven cleaning, and choose microfiber options for the best results on delicate floors.
How Often Should I Perform a Deep Clean on My Robot Mop?
You should perform a deep clean on your robot mop every 1 to 2 months, depending on usage and floor conditions. Incorporate this into your maintenance schedule to prevent streaking and guarantee peak performance. Regularly check and clean the water flow system and pads, especially if you notice streaks or residue. Consistent maintenance helps keep your robot mop working efficiently and extends its lifespan.
What Signs Indicate My Robot Mop’s Water Tank Needs Replacement?
Like a ship showing signs of a sinking, your robot mop’s water tank may need replacement if you notice persistent water tank contamination or tank leakage issues. These signs indicate the tank’s seals or materials have deteriorated, impeding proper water flow and causing streaks. If cleaning the tank doesn’t resolve the problem, it’s time to replace it, ensuring your robot continues to clean effectively without leaving streaks or leaks.
Conclusion
To keep your floors gleaming like a mirror, treat your robot mop like a trusted partner, regularly tuning its water flow and caring for its pads. Think of maintenance as watering a delicate plant—consistent care prevents streaks from creeping in like unwelcome shadows. With a little attention and patience, your robot will dance across your floors, leaving nothing but a streak-free shine, turning cleaning into a graceful performance rather than a chore.