
To prevent water rings when using a spot cleaner, master the blending technique by gradually mixing cleaning solutions to guarantee even coverage and absorption. Apply gentle, sweeping motions on smooth surfaces and adjust pressure for textured ones, avoiding excess moisture. Proper blending minimizes residue and uneven evaporation that causes rings. If you follow these steps, you can keep your surfaces spotless. Want to learn more tips to perfect your spot cleaning and prevent water rings? Keep exploring.
Key Takeaways
- Proper blending of cleaning solutions ensures even drying, preventing uneven moisture evaporation that causes water rings.
- Using gentle sweeping motions and matching colors during application minimizes residue and streaks.
- Adapting the technique based on surface texture helps avoid moisture trapping and ring formation.
- Maintaining clean applicators and testing solutions on hidden spots prevent staining and uneven drying.
- Applying protective mats or coasters reduces direct moisture contact, supporting the blending technique’s effectiveness.
Why Water Rings Appear When Using Spot Cleaners

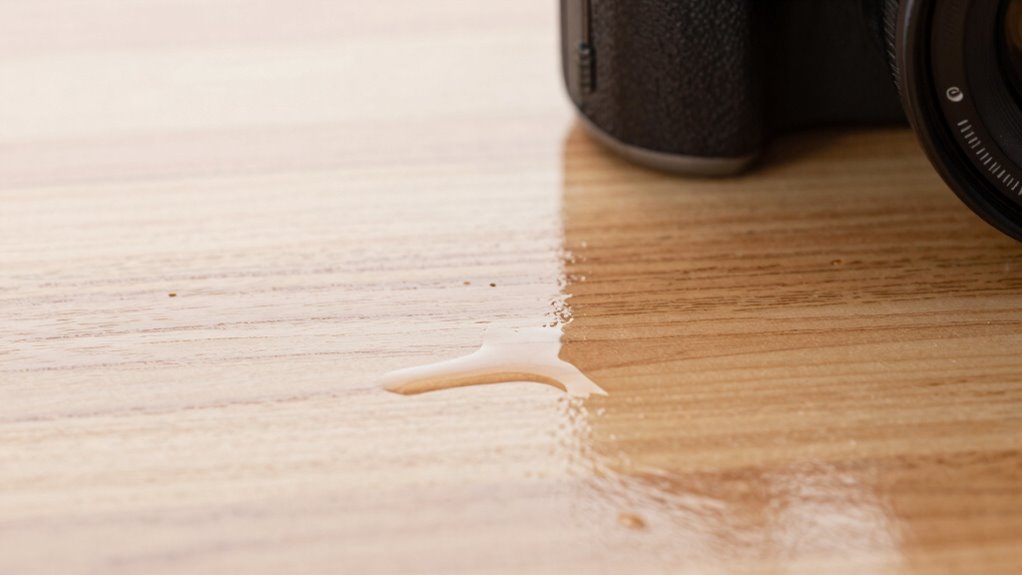
Water rings often appear after using spot cleaners because the cleaning process can leave behind residual moisture that evaporates unevenly. Different cleaning solutions interact with surface textures in unique ways, affecting how moisture distributes and dries. On smooth surfaces, water tends to evaporate evenly, minimizing rings, but rougher textures trap moisture in crevices, creating visible rings as the water dries unevenly. The type of cleaning solution you choose also impacts this process; some solutions may leave behind more residue or cause uneven drying due to their composition. Understanding how surface textures influence evaporation helps you anticipate water rings after cleaning and choose appropriate cleaning solutions. Recognizing this connection helps you achieve a more uniform, ring-free finish after your spot cleaning efforts. Additionally, selecting the right cleaning solutions can help reduce residue buildup, leading to cleaner and more consistent results. Being aware of surface texture differences can further guide you in preventing water rings and ensuring a thorough, even clean. Awareness of surface properties can also inform your cleaning techniques to minimize water marks, especially when considering the surface material involved in your cleaning process. Being mindful of surface porosity can significantly influence how quickly and evenly moisture evaporates during cleaning.
How the Blending Technique Prevents Water Rings During Cleaning

To prevent water rings during cleaning, the blending technique involves gradually mixing cleaning solutions to guarantee even distribution and absorption. This approach enhances surface protection by avoiding concentrated spots that can cause water rings. Using appropriate cleaning tools, such as soft cloths or sponges, to apply the solution gently is essential. Proper blending ensures the solution isn’t too harsh or too diluted, reducing the risk of moisture buildup. Additionally, understanding the importance of color accuracy in surface treatments can help achieve a more even finish. Recognizing the significance of surface compatibility helps select the best cleaning methods for different materials. Incorporating proper drying techniques further minimizes water spots and ensures a spotless finish. Being aware of energy-efficient cleaning practices can also contribute to more sustainable maintenance routines. Here’s a quick comparison:
| Technique | Surface Protection | Effectiveness |
|---|---|---|
| Direct Application | Less effective | Higher water ring risk |
| Blending Technique | Better protection | Less water rings |
How to Master the Blending Technique in Simple Steps
Mastering the blending technique starts with understanding how to combine cleaning solutions properly. Start by selecting colors that match the surface you’re cleaning to prevent noticeable streaks or color mismatches. Practice mixing small amounts to achieve a seamless blend before tackling larger areas. Proper tool maintenance is essential; clean your applicators regularly to avoid residue buildup that can interfere with color matching and smooth blending. Use soft, clean cloths or brushes designed for delicate surfaces to ensure even application. Always test your blended solution on a hidden spot first to check for color consistency. Additionally, understanding the history of pinball machines can inspire innovative design choices that enhance your cleaning projects. Developing an understanding of color matching techniques can further improve your blending results. Being aware of electric dirt bikes and their performance characteristics can provide inspiration for choosing the right tools and methods for different surfaces. Incorporating brand storytelling into your approach can also help you craft a more personalized cleaning routine that resonates with your style. Paying attention to surface types is crucial for selecting the appropriate cleaning solutions and techniques. With consistent practice, you’ll develop an instinct for blending solutions smoothly, reducing water rings and achieving a streak-free finish every time.
How to Use the Blending Technique on Different Surfaces
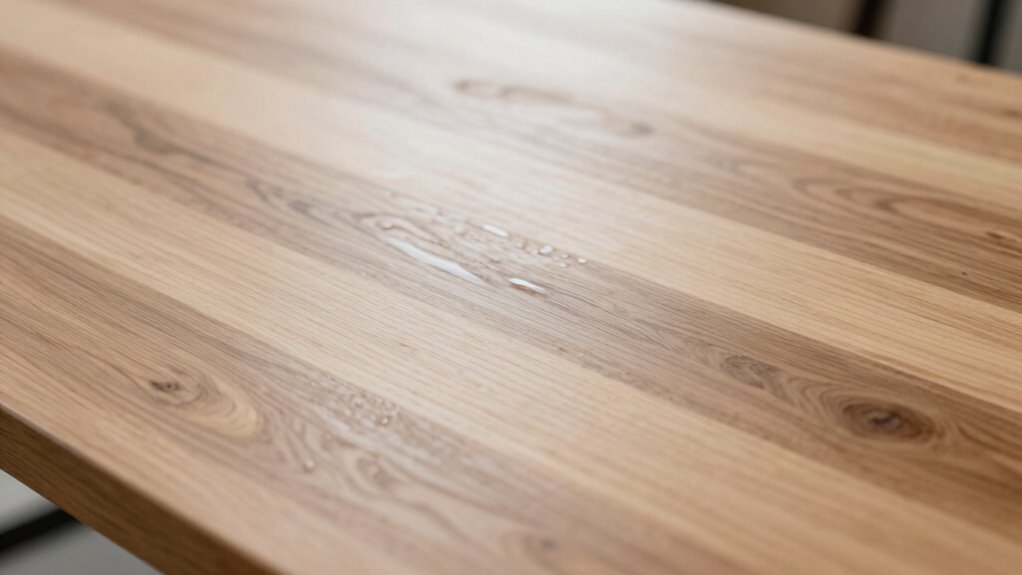
When applying the blending technique on different surfaces, it’s important to adjust your approach based on the material’s texture and finish. For smooth surfaces like glass or polished wood, use gentle, sweeping motions with a light cleaning solution to prevent streaks. For textured surfaces such as leather or rough wood, opt for slightly more pressure and a suitable cleaning solution that penetrates crevices without damaging the material. Always test your cleaning solution on a small, inconspicuous area first. Different surface textures respond differently to blending, so adapt your method accordingly. Using the right cleaning solutions ensures you don’t leave residue or water rings, maintaining the surface’s appearance while effectively blending to prevent water marks. Additionally, understanding proper ventilation considerations can help reduce moisture buildup and enhance drying. Proper juice extraction techniques can also minimize residue, ensuring a cleaner surface. Being aware of the surface material properties can further improve your cleaning results and prevent damage. Recognizing the importance of material-specific cleaning methods can lead to better maintenance and longer-lasting surfaces. Incorporating knowledge of credit card security measures can also help protect your financial information during cleaning processes that involve electronic equipment.
Common Mistakes to Avoid When Blending During Spot Cleaning

One common mistake during spot cleaning is applying too much pressure when blending, which can damage delicate surfaces or cause streaks. Using the wrong cleaning tools can worsen the problem, especially on fragile or textured surfaces. Avoid using harsh or abrasive materials that don’t match the surface texture, as they can scratch or mar finishes. Instead, choose soft, appropriate tools like microfiber cloths or gentle sponges. Also, rushing the process can lead to uneven blending or water rings. Take your time, and use light, consistent motions to spread the cleaner evenly. Remember, each surface texture reacts differently; what works on smooth wood may not suit rough stone. Being mindful of your tools and technique helps prevent damage and achieves a clean, streak-free finish. Additionally, understanding nanotechnology advancements can help you select more effective cleaning tools at the microscopic level, further preventing damage. Incorporating advanced cleaning techniques can also enhance your ability to avoid common mistakes and achieve better results. Proper knowledge of surface compatibility ensures that your cleaning methods are suitable for different materials, reducing the risk of harm. Exploring innovative cleaning tools can provide even more options for gentle yet effective spot cleaning.
Extra Tips to Prevent Water Rings and Keep Surfaces Spotless
To keep your surfaces spotless and prevent water rings, you should always use coasters and protective mats. Wipe up spills immediately to avoid stains and damage. These simple steps make a big difference in maintaining a clean, ring-free space. Additionally, choosing the right power source for your devices can help ensure your equipment operates efficiently during cleaning tasks.
Use Coasters Consistently
Using coasters consistently is one of the simplest yet most effective ways to prevent water rings from damaging your surfaces. When you always use coasters, you protect your furniture finishes and extend their lifespan. Incorporating a routine into your cleaning schedules guarantees you don’t forget this simple habit. To make it easier, consider these tips:
| Tip | Benefit |
|---|---|
| Keep coasters visible | Reminds you to use them every time |
| Use absorbent coasters | Prevents moisture from seeping in |
| Assign coasters to each surface | Maintains consistent protection |
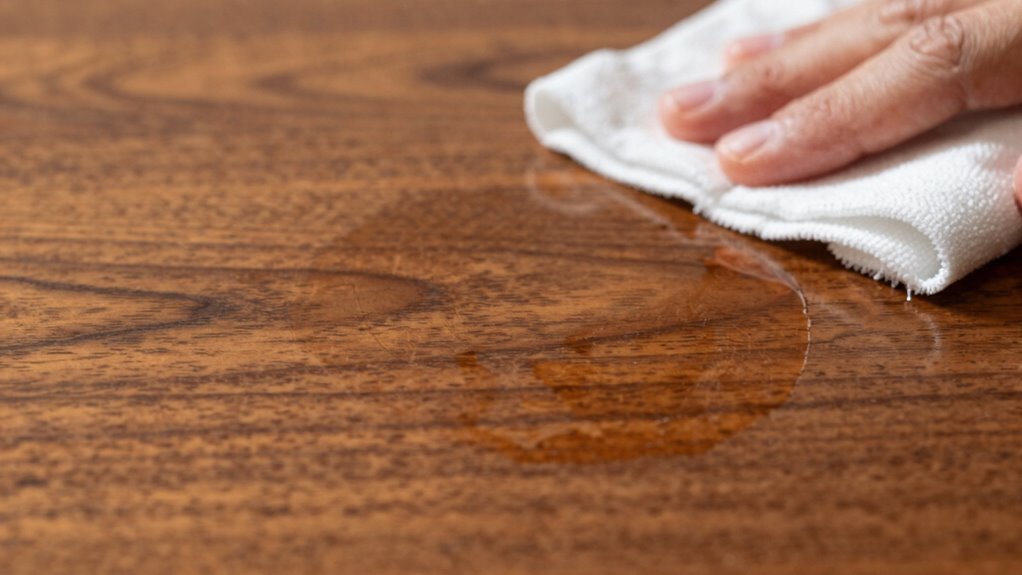
Wipe Spills Immediately
Act quickly when spills occur to prevent water rings from seeping into your furniture. Promptly wiping spills helps minimize damage and makes cleaning easier. Use appropriate cleaning solutions suited for your surface type to avoid staining or warping. Before wiping, verify proper surface preparation by removing any loose debris or dust. Gently blot the spill with a soft cloth or paper towel, working from the outside inward to contain the mess. Avoid rubbing, which can spread the moisture or damage the finish. Immediate action prevents water from penetrating the material, reducing the risk of unsightly rings. Developing this habit keeps your surfaces looking pristine and extends their lifespan. Remember, quick response combined with the right cleaning solutions is your best defense against water rings.
Apply Protective Mats
Applying protective mats is one of the simplest ways to prevent water rings and keep your surfaces looking their best. They act as a barrier between your surface materials and potential moisture, minimizing damage from spills or condensation. When choosing mats, consider the surface material—wood, glass, or stone—to ensure compatibility. Regularly clean your mats with appropriate cleaning tools to prevent dirt buildup that could stain surfaces. Protective mats are especially useful in high-traffic areas or around frequently used furniture. Additionally, they help preserve the finish of your surfaces and make cleanup easier. By investing in quality mats, you reduce the risk of water rings and extend the life of your furniture and surfaces.
- Use absorbent, non-slip mats for delicate surfaces
- Choose mats made of waterproof or water-resistant materials
- Clean mats regularly with gentle cleaning tools
- Avoid placing mats with rough textures on fragile surfaces
- Replace worn or stained mats promptly to maintain protection
Frequently Asked Questions
Can the Blending Technique Be Used With All Types of Spot Cleaners?
You can’t use the blending technique with all types of spot cleaners, as product compatibility and surface sensitivity vary. Before trying it, check the cleaner’s instructions and test a small area first. Some cleaners might not respond well to blending, risking damage or ineffective results. Always consider the specific product and surface you’re working on to guarantee safe and effective stain removal.
Does the Blending Method Work on Delicate or Porous Surfaces?
Think of delicate surfaces and porous materials as a fragile butterfly’s wing. The blending method might not be your best choice here, as it can risk damage or water rings. For these sensitive materials, you should opt for gentler cleaning techniques, like blotting or using specialized cleaners. Applying the blending technique on delicate or porous surfaces can lead to unintended water marks or deterioration, so proceed with caution.
How Long Does It Take to See Results Using the Blending Technique?
You’ll typically see results within a few minutes to an hour, depending on the water ring’s severity and your surface type. The effectiveness timeline varies, but with consistent application of the blending technique, you should notice a visible reduction in water rings fairly quickly. Keep in mind, patience is key, and giving it time guarantees better absorption and more effective results.
Are There Specific Cleaning Products Recommended for Blending?
Imagine a gentle ripple across a still pond—that’s how specific cleaning products should blend into your surface. Opt for eco-friendly formulas and pH-balanced solutions, which work seamlessly without damage. Look for products labeled as safe for your particular material, ensuring they won’t leave water rings or streaks. Using these gentle yet effective cleaners helps you achieve a flawless finish while protecting your surfaces and the environment.
Can the Blending Technique Be Applied to Large or Stubborn Stains?
Yes, you can apply the blending technique to large stains and stubborn marks. To do so, gently work the cleaner into the stain using a soft cloth or sponge, blending the edges outward to prevent rings. For stubborn marks, repeat the process as needed, ensuring you don’t oversaturate the area. This method helps lift large stains effectively while preventing water rings and maintaining the surface’s appearance.
Conclusion
By mastering the blending technique, you’ll effortlessly keep your surfaces looking flawless and free from those pesky water marks. Think of it as giving your cleaning routine a gentle touch of magic—no more awkward rings or stubborn stains. With a little practice, you’ll turn spot cleaning into a smooth, satisfying ritual that leaves everything gleaming and inviting. So go ahead, embrace the technique, and let your surfaces shine like new without a trace of worry.