
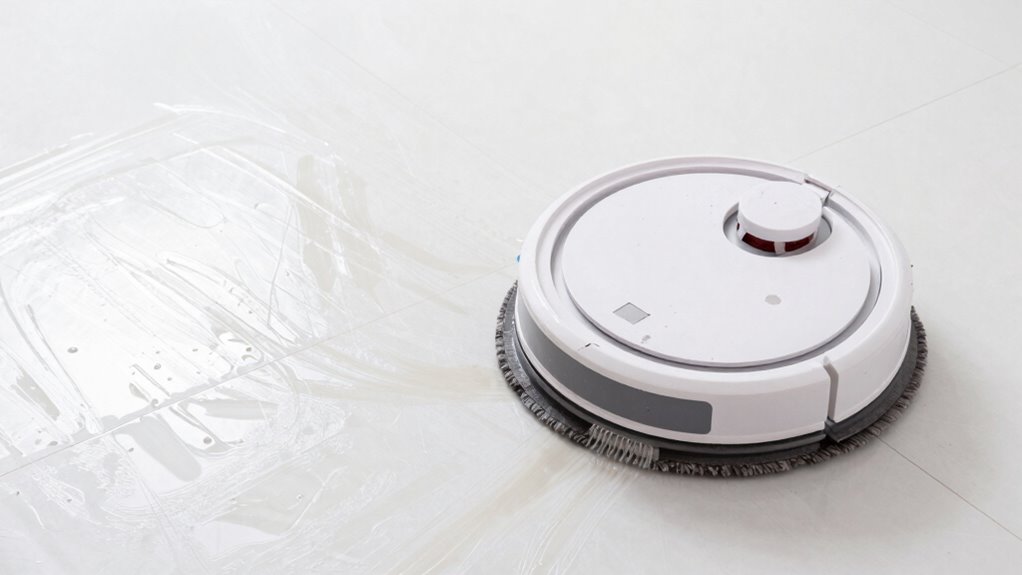
If your robot mop leaves streaks on tile floors, pad saturation is likely the culprit. When the pad becomes overly soaked with cleaning solution, it spreads excess liquid unevenly, causing dull spots and streaks. Regularly check and wring out or replace the pad to prevent saturation. Using the right amount of solution and maintaining your mop can really improve results. Keep going, and you’ll discover simple tips to keep your floors shiny and streak-free.
Key Takeaways
- Over-saturated pads release excess moisture, causing uneven spreading and streaks on tile surfaces.
- Regularly wring out or replace pads to prevent saturation and maintain streak-free cleaning.
- Use microfiber pads dampened to the proper level—not soaked—for consistent and streak-free results.
- Excess cleaning solution can saturate pads, leading to residue and dull streaks on tiles.
- Proper pad maintenance, including cleaning and drying, helps avoid saturation and ensures optimal cleaning performance.

Replacement Mop Pads Compatible with Shark AV2800ZE RV2820YE RV2820ZE AV2820S AV2820AE RV2800AE RV2800S PowerDetect Never Touch Pro Robot Vacuum,Washable Reusable Replacement Microfiber Soft Mop Pads
✅ 【Precise Compatibility】Designed for Shark AV2800ZE RV2820YE RV2820ZE AV2820S AV2820XEUS AV2820AE AV282BVEUS RV2800AE RV2800S AV2700ZE RV2920XE AV2900XE RV2800XTUS…
As an affiliate, we earn on qualifying purchases.
As an affiliate, we earn on qualifying purchases.
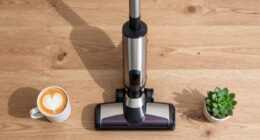
Why Do Robot Mops Leave Streaks on Tile Floors?
Robot mops often leave streaks on tile floors because their cleaning mechanisms can spread dirty water or cleaning solution unevenly across the surface. Limited battery life can cause the mop to pause mid-clean, leading to inconsistent coverage and streaks. When the battery drains too quickly, the mop may not finish its cycle properly, resulting in uneven cleaning. Additionally, noise levels can impact performance; noisier models might be less effective at thorough cleaning because they may be more prone to vibration or disturbance, affecting how evenly the mop moves. If your robot is constantly stopping or making loud noises, it might not clean uniformly, leaving streaks behind. Ensuring a good balance of battery capacity and choosing quieter models can help achieve a more streak-free finish. Moreover, projector technology such as advanced sensors can improve navigation and cleaning coverage, reducing streaks and ensuring a more thorough clean. Incorporating sensor-based navigation can further optimize movement patterns and enhance cleaning efficiency, minimizing streaks on your floors. Additionally, filter maintenance plays a role in preventing water contamination that can cause streaks during mopping.
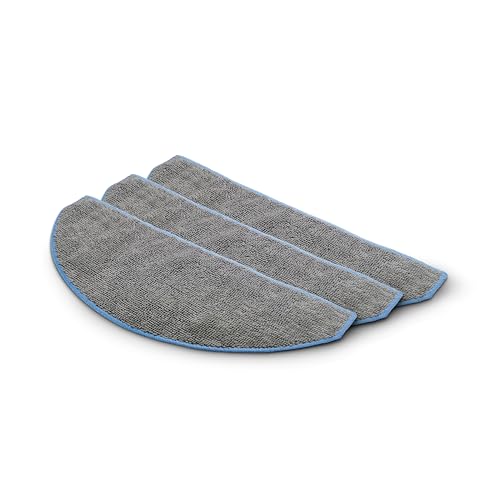
iRobot® Authentic Replacement Parts – Washable Mop Pads Roomba® 105 Combo & Roomba Combo® Essential Robots, 3-Pack
Microfiber mop pads are reusable for up to 30 washes.
As an affiliate, we earn on qualifying purchases.
As an affiliate, we earn on qualifying purchases.
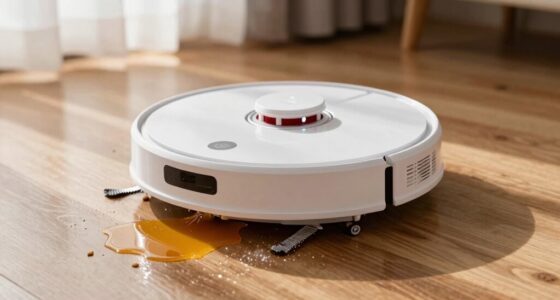
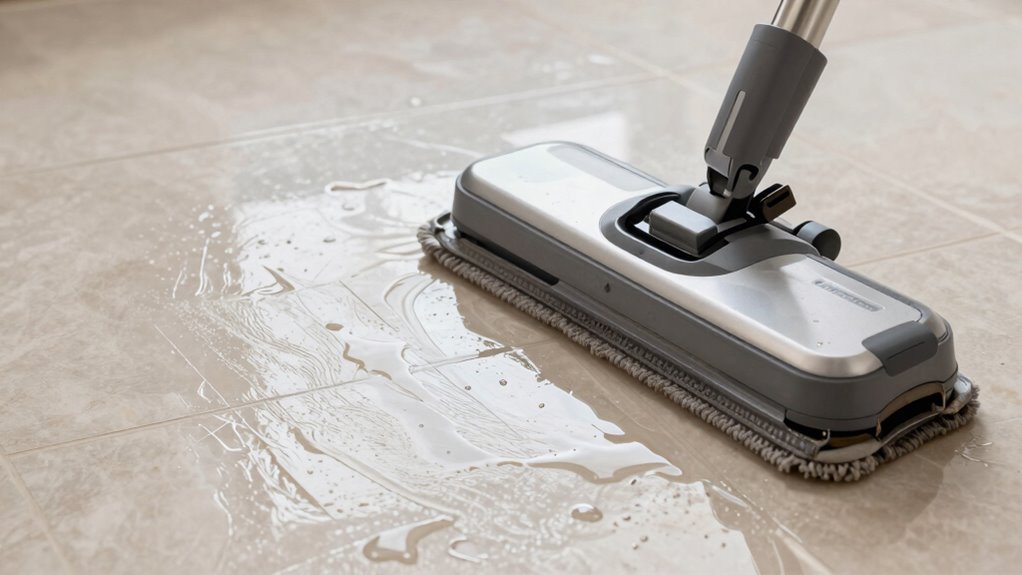
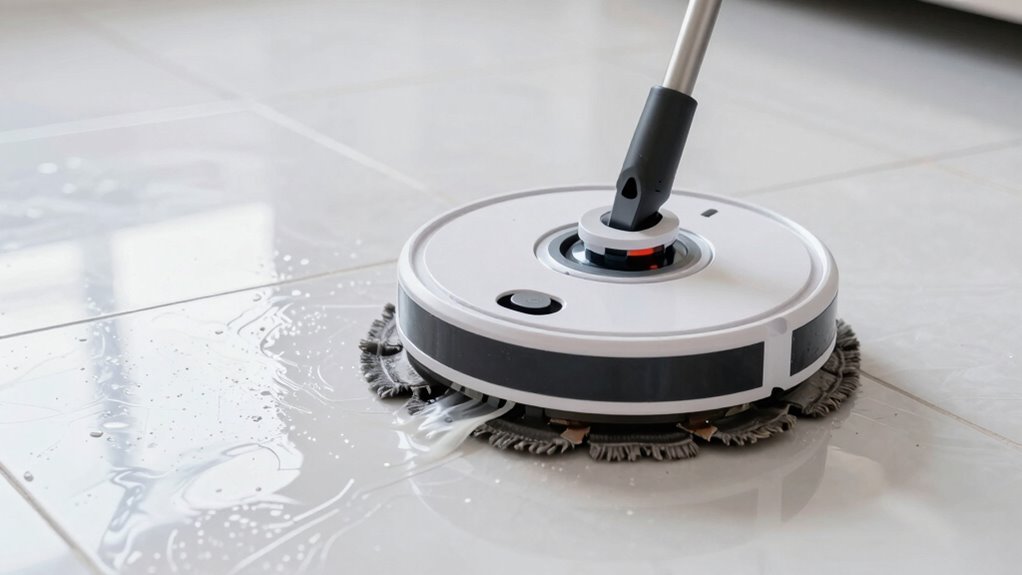
How Does Pad Saturation Cause Streaks?
When your robot mop’s pad becomes saturated, it leaves streaks on your tile floor. Too much cleaning solution or not wringing the pad enough causes excess liquid to spread unevenly. This results in visible streaks and a less-than-clean finish. Additionally, using a properly maintained pad can help prevent saturation and ensure even cleaning. Regularly checking and replacing worn pads can also improve overall cleaning performance and reduce streaking issues. Incorporating routine maintenance can further extend the lifespan of your mop and maintain optimal cleaning results. Proper use of exfoliating techniques, such as regular pad replacement, ensures consistent cleaning without streaking.
Excess Cleaning Solution
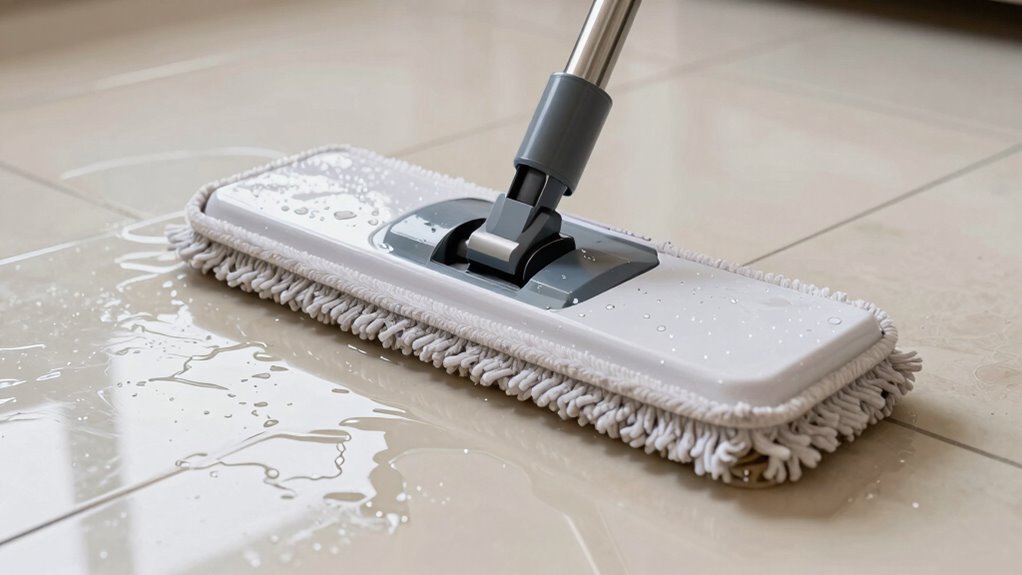
Excess cleaning solution can easily lead to streaks on your tile surface because a saturated mop pad leaves too much liquid behind. When you use too much cleaning solution, it causes pad saturation, making the mop pad overly wet. This surplus liquid doesn’t evaporate quickly and can leave streaks or dull spots on your tiles. Instead of helping, the excess cleaning solution creates a film that’s difficult to wipe away completely. As a result, your robot mop struggles to pick up all the liquid, leaving behind streaks and residue. To prevent this, use the recommended amount of cleaning solution and avoid pouring too much into the mop or reservoir. Keeping the solution in moderation helps ensure a streak-free, shiny tile finish. Proper accessory maintenance can also help your device perform optimally and prevent issues like streaking.
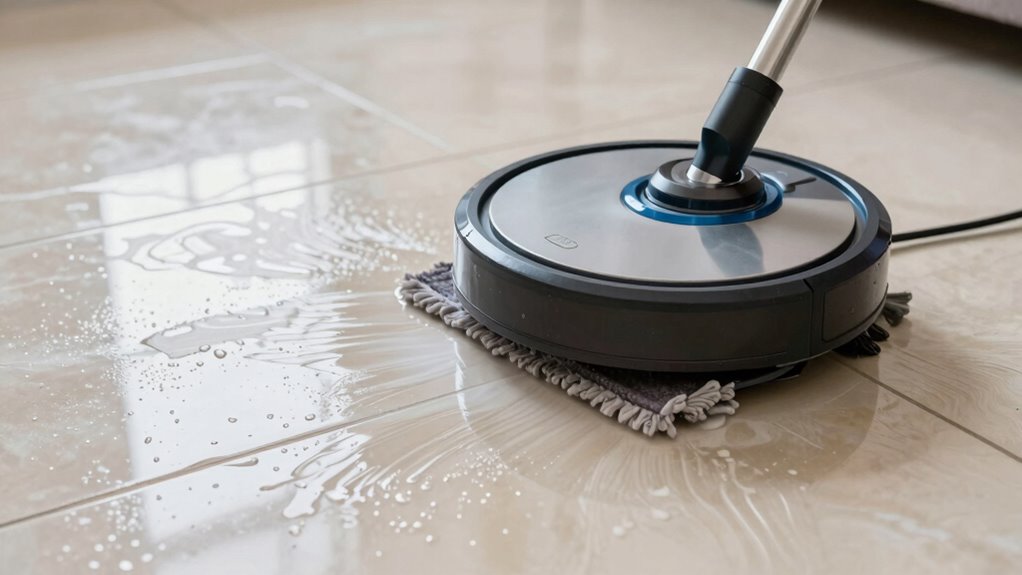
Insufficient Pad Wringing
If you don’t wring out your mop pad thoroughly after cleaning, it stays overly saturated with water and cleaning solution. This excess moisture can cause streaks on your tile as the robot mop spreads too much liquid. Proper pad wringing is essential for effective moisture control, preventing residue buildup that leads to streaks. When the pad is too wet, the mop can leave behind streaky patches because it doesn’t pick up dirt and excess water properly. To avoid this, regularly wring out your pad until it’s just damp. Keep in mind:
- Over-saturated pads spread excess liquids
- Lack of pad wringing reduces moisture control
- Wet pads cause streaks and residue
- Regular wringing ensures cleaner, streak-free floors
- Maintaining proper moisture levels supports effective cleaning to create a positive user experience. Additionally, ensuring your pad is properly maintained and replaced can prevent buildup that contributes to streaking. Using quality cleaning solutions also helps minimize residue and streaks on your tiles. Proper pad maintenance is crucial for consistent results.

33.8 Fl oz Multi-Surface Floor Cleaning Solution for Dreame All Wet Dry Vacuum and Robot Mop Cleaners Compatible with K Series/G Series/H Series/L Series/X Series/D Series, Low-Foam, Deep Cleaning
Wide Compatibility with Dreame Vacuums: Our floor cleaning solution is designed to work seamlessly with all major Dreame…
As an affiliate, we earn on qualifying purchases.
As an affiliate, we earn on qualifying purchases.
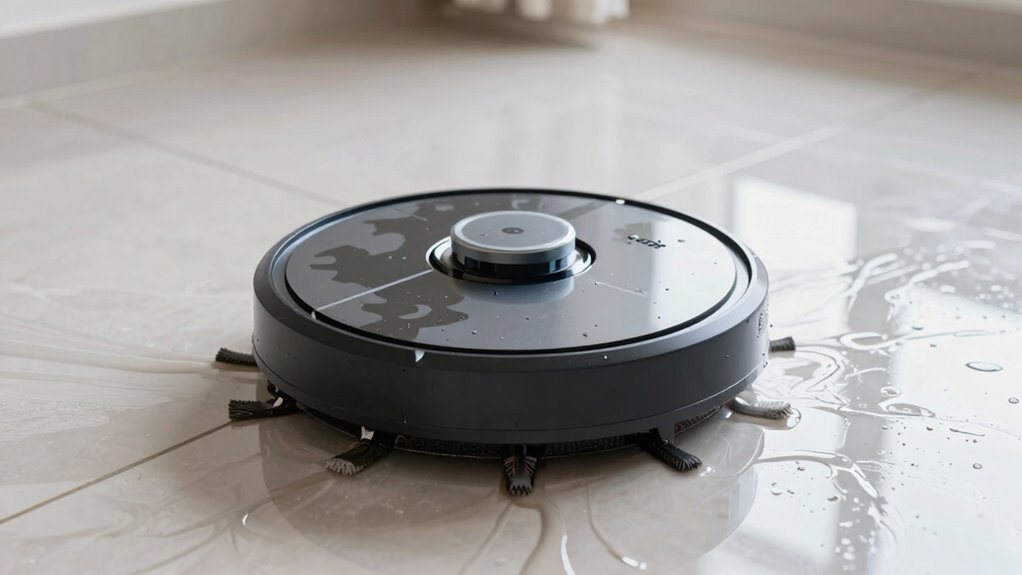
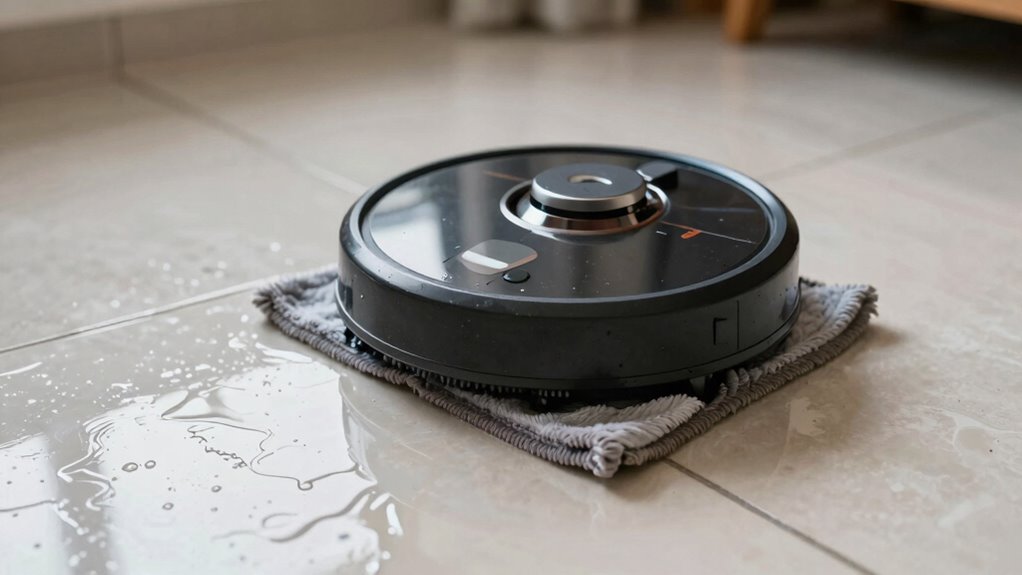
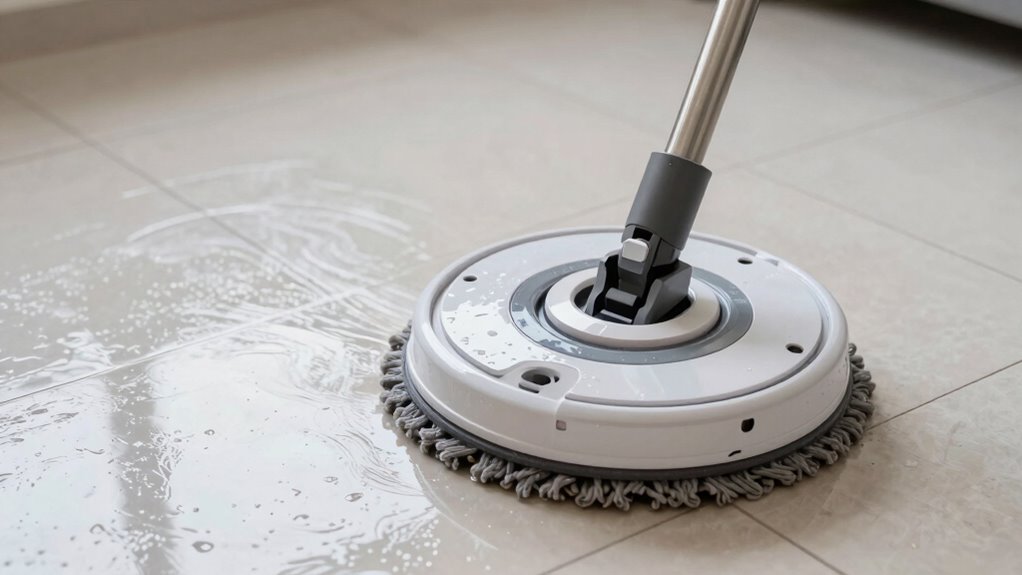
How to Recognize When Your Mop Pad Is Overly Saturated

A mop pad becomes overly saturated when it holds too much water, which can lead to streaks and inefficient cleaning. You’ll notice this through visible excess moisture on the pad or pooling water on your tile. During use, if your robot mop seems to glide slowly or leaves behind streaks, it’s a sign of saturation awareness. An excessively soaked pad can’t effectively pick up dirt and spreads water unevenly, causing streaks and haze. To recognize this, check the mop pad regularly for dampness and wringing out excess water if possible. Keep an eye on how the pad feels—if it’s dripping or feels heavy, it’s too saturated. Being attentive to these signs helps you maintain optimal saturation levels for a streak-free shine. Understanding kitchen fundamentals like proper moisture levels and environmental conditions ensures your cleaning tools work effectively and safely. Being aware of gadget maintenance tips can also extend the lifespan of your robot mop and improve its cleaning performance.

roborock Q7 L5 Robot Vacuum and Mop Combo, 8,000Pa Suction, Upgraded from Q5 Pro, Dual Anti-Tangle System, LiDAR Navigation, Multi-Level Mapping, Self-Charging Robotic Vacuum Cleaner, Black
*Roborock robot vacuum supports only 2.4 GHz WiFi. Please ensure your router is set to this frequency. If…
As an affiliate, we earn on qualifying purchases.
As an affiliate, we earn on qualifying purchases.
How to Prepare Your Robot Mop for Streak-Free Cleaning
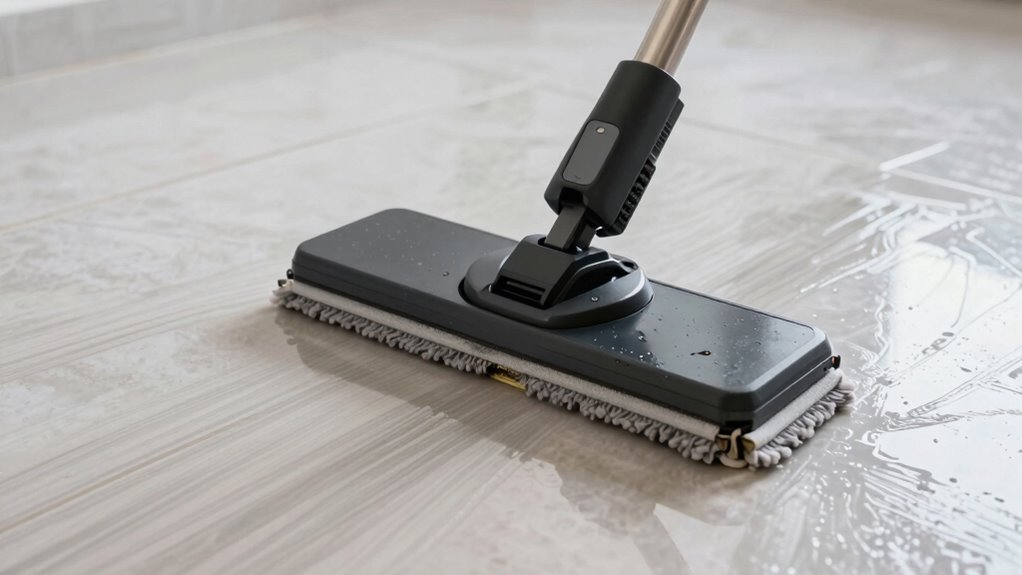
Before starting your robot mop, it’s important to make certain it’s properly prepared for streak-free cleaning. You can do this by inspecting the pad material and ensuring it’s suitable for your floor type. Keep a consistent cleaning schedule to prevent buildup, which can cause streaks. Also, check that the pad is clean and correctly attached to avoid uneven cleaning. Consider using pads designed for your specific floor and cleaning needs, like microfiber for tile surfaces. Regularly replacing or washing pads prevents saturation, reducing streaks. Additionally, clear debris from the mop’s path to improve efficiency. By maintaining a proper cleaning schedule and selecting the right pad material, you’ll help your robot mop deliver spotless, streak-free results every time. Regularly evaluating your equipment with simple tools like BTU and CADR quick‑calculators can also optimize cleaning performance and efficiency. Paying attention to the pad saturation levels and replacing pads when necessary will further enhance your cleaning results. For best results, consult floor safety guidelines to ensure your cleaning method is appropriate for your tile surfaces. Incorporating proper maintenance practices can extend the lifespan of your mop and maintain its cleaning effectiveness over time. Moreover, monitoring battery health can prevent interruptions during cleaning sessions and ensure consistent performance.
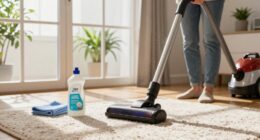
Best Practices for Applying Water and Cleaning Solutions in Robot Mops
Applying the right amount of water and cleaning solution is essential for effective robot mops performance. Too much liquid can cause excess water absorption by the pad, leading to streaks and residue. To prevent this, use the manufacturer’s recommended amount of solution, avoiding over-saturation. Pay attention to your mop’s pad material; microfiber pads typically absorb water evenly and release it efficiently, reducing streaks. Ensure the pad is properly damp but not soaked before starting. If your pad feels overly wet or saturated, wring it out or replace it as needed. Proper application helps maintain consistent cleaning results, minimizes streaks, and prolongs your mop’s lifespan. Consistent, moderate application of water and cleaning solution is key to achieving a streak-free, sparkling tile surface. Additionally, understanding the science behind cleaning devices can help you optimize your at-home cleaning routine for better results. Being aware of pad saturation can help you identify when it’s time to replace or re-wet your pad for optimal performance.
How to Replace or Refresh Your Mop Pad to Prevent Streaks
Over time, your mop pad can become saturated with dirt, residue, and built-up cleaning solution, which can lead to streaks and uneven cleaning results. To keep your floors spotless, it’s crucial to replace or refresh your mop pad regularly. Here’s how:
- Remove the old mop pad and discard it if it’s worn out or heavily stained.
- Rinse the pad thoroughly with water to remove trapped dirt and residue.
- Wash it according to the manufacturer’s instructions, using detergent if needed.
- Allow the pad to dry completely before reattaching.
- Properly maintaining your mop pad by following these steps can extend its lifespan and ensure effective cleaning. mop pad maintenance keeps your cleaning tools in optimal condition and prevents streaks caused by saturation.
Tips for Achieving Sparkling, Streak-Free Tile Floors
To get streak-free, sparkling tile floors, you need to focus on proper pad maintenance and using the right cleaning techniques. Make sure your mop pads are clean and replaced regularly to prevent dirt from causing streaks. Additionally, applying consistent pressure and using the correct cleaning solution can make a big difference in achieving a spotless finish.
Proper Pad Maintenance
Regularly maintaining your robot mop’s pad is essential for achieving sparkling, streak-free tile floors. Proper pad cleaning guarantees dirt and residue don’t cause streaks or streaky appearances. Make it a habit to inspect the pad after each use and remove any debris or buildup. When the pad shows signs of wear or is heavily saturated, consider pad replacement to maintain cleaning effectiveness. To keep your pad in top shape:
- Rinse thoroughly after each session
- Use mild detergent for deeper cleaning
- Allow the pad to dry completely before reuse
- Replace the pad when it’s frayed or no longer absorbs well
Consistent pad cleaning and timely pad replacement prevent streaks and ensure your robot mop performs at its best, leaving your tile floors spotless every time.
Optimal Cleaning Techniques
Achieving streak-free, sparkling tile floors with your robot mop requires employing effective cleaning techniques. Start by thoroughly preparing the tile surface—remove debris and dust to prevent dirt redistribution. Regularly perform robot mop maintenance, including cleaning sensors and brushes, to guarantee peak performance. Use high-quality, appropriately dampened pads to avoid saturation, which can cause streaks. For best results, select the correct cleaning mode for your tile type, and avoid excessive cleaning passes. Consider spot-cleaning stubborn stains manually before using the robot. Here’s a quick guide to maximize your process:
| Step | Action | Tip |
|---|---|---|
| Surface Preparation | Clear debris and dust | Keeps dirt from spreading |
| Mop Maintenance | Clean pads and sensors | Prevents streaks and malfunctions |
| Cleaning Technique | Use proper dampness | Avoid saturation for streak-free shine |
Common Mistakes That Lead to Pad Saturation and How to Avoid Them
One common mistake that causes pad saturation is overloading the mop with cleaning solution. When you use too much liquid, the pad becomes excessively wet, leading to streaks and inefficient cleaning. To avoid this, consider these tips:
Overloading your mop with solution causes streaks and inefficient cleaning—use the recommended amount for best results.
- Stick to a regular cleaning schedule to prevent buildup that may tempt you to add extra solution.
- Use the recommended amount of cleaning solution for your robot mop’s size and model.
- Monitor the pad’s saturation level and change it before it drips or remains overly wet.
- Keep in mind that excessive liquid can also shorten your robot’s battery lifespan, as it works harder to dry the pad and avoid water damage.
Properly managing solution amount helps maintain streak-free results and prolongs your device’s usability.
Troubleshooting Persistent Streaks Despite Proper Maintenance
Even when you maintain your robot mop properly, persistent streaks can still appear on the tiles. Sometimes, the issue isn’t pad saturation but improper sensor calibration, causing the robot to misjudge its cleaning path. Make certain your sensors are clean and correctly calibrated to guarantee accurate navigation and effective cleaning. Additionally, check your battery maintenance; a worn-out battery may reduce cleaning power, leading to incomplete mopping and streaks. Regularly charge your robot fully and replace the battery if it no longer holds a good charge. If streaks persist despite these steps, consider resetting your device’s calibration settings or updating its firmware. These measures help your mop perform at its best, reducing streaks and ensuring cleaner tiles.
Frequently Asked Questions
Can Using Too Much Cleaning Solution Cause Streaks on Tile Floors?
Yes, using too much cleaning solution can cause streaks on your tile floors. When you overuse it, the excess solution doesn’t dry properly, leaving streaks behind. To avoid this, adjust your cleaning frequency and dilute the solution to the recommended concentration. This helps prevent buildup and guarantees your floors stay spotless without streaks, making your cleaning more effective and your tile look fresh and shiny.
How Often Should I Replace My Robot Mop’s Cleaning Pad?
You should replace your robot mop’s cleaning pad every 2 to 3 months to maintain ideal mop pad longevity. Regular cleaning pad maintenance, like washing and drying the pad thoroughly after each use, helps prevent buildup and streaks. If you notice persistent streaks or reduced cleaning effectiveness, it’s time to swap out the pad sooner. Keeping your mop pads fresh ensures your floors stay spotless without streaks or residue.
Are There Specific Cleaning Solutions That Prevent Pad Saturation?
Using a cleaning solution specifically designed for robot mops helps prevent pad saturation. Avoid overly greasy or thick solutions, as they can cause the pad to become saturated quickly. Instead, opt for a diluted, gentle cleaner that effectively breaks down dirt without soaking the pad. Regularly rinsing and wringing out the pad during cleaning also minimizes saturation, ensuring streak-free results and prolonging your mop’s effectiveness.
Does Floor Type Affect How Often My Robot Mop Needs Maintenance?
Think of your floor as a storybook, each texture revealing different chapters. The type of floor, whether smooth or textured, influences how often your robot mop needs maintenance. Rough or uneven surfaces demand more attention, as they can trap dirt and wear out the mop faster. Always check for mop compatibility with your floor texture to prevent streaks and guarantee smooth cleaning. Regular maintenance keeps your robot ready for the next chapter.
Can Adjusting Water Levels Improve Streak-Free Results?
Yes, adjusting water flow can improve streak-free results. When you reduce water levels, the pad absorbs less liquid, preventing saturation and streaks. Too much water causes excess pooling and streaks, so find a balance suitable for your tile and pad absorption capacity. Experiment with water flow settings to see which produces the cleanest, streak-free surface, ensuring your robot mop works efficiently without leaving residue.
Conclusion
If you’ve tried everything but still see streaks, the real culprit might be closer than you think. Could your mop pad be secretly saturated, hiding the solution to your streaking woes? Don’t give up just yet—there’s a simple fix that might transform your floors overnight. Keep experimenting, stay attentive, and soon you’ll uncover the secret to flawlessly clean, streak-free tile floors. The answer is within reach—are you ready to find it?