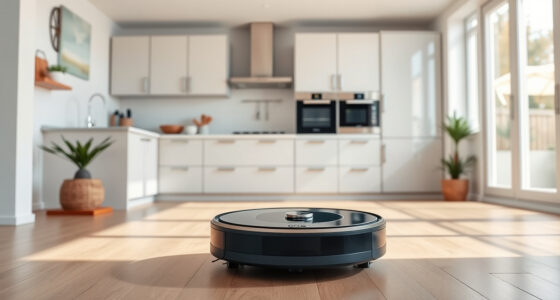
If your robot mop leaves wet trails, start by checking the water flow settings—adjust them to prevent over-wetting. Inspect and clean your water reservoir, hoses, and outlets for clogs or damage. Confirm the mop pad is properly installed and secured, as improper placement can cause leaks. Use the app to fine-tune water dispensing and monitor flow. For persistent issues, regular maintenance and support options can help you keep floors dry—more tips ahead.
Key Takeaways
- Check and clean the water tank, hoses, and outlets to remove clogs or damage affecting flow.
- Adjust water flow settings via the app or manual controls to prevent over-wetting floors.
- Ensure the water pad is properly installed and securely locked for even water distribution.
- Inspect for leaks or kinks in tubing and replace damaged parts to maintain consistent flow.
- Perform routine maintenance, including reservoir cleaning and hardware checks, to optimize water dispensing.

ilovelife Replacement Water Tank Box Compatible with IROBOT Braava Jet M6 Series Robot Mop (6110) (6012) (6112) (6113) Ultimate Robot Vacuum Mop, Water Tank Repair Maintenance Accessories
Applicable Model: Designed for IROBOT Braava Jet M6 Series (6110) (6012) (6112) (6113) Ultimate Robot Cleaners.
As an affiliate, we earn on qualifying purchases.
As an affiliate, we earn on qualifying purchases.
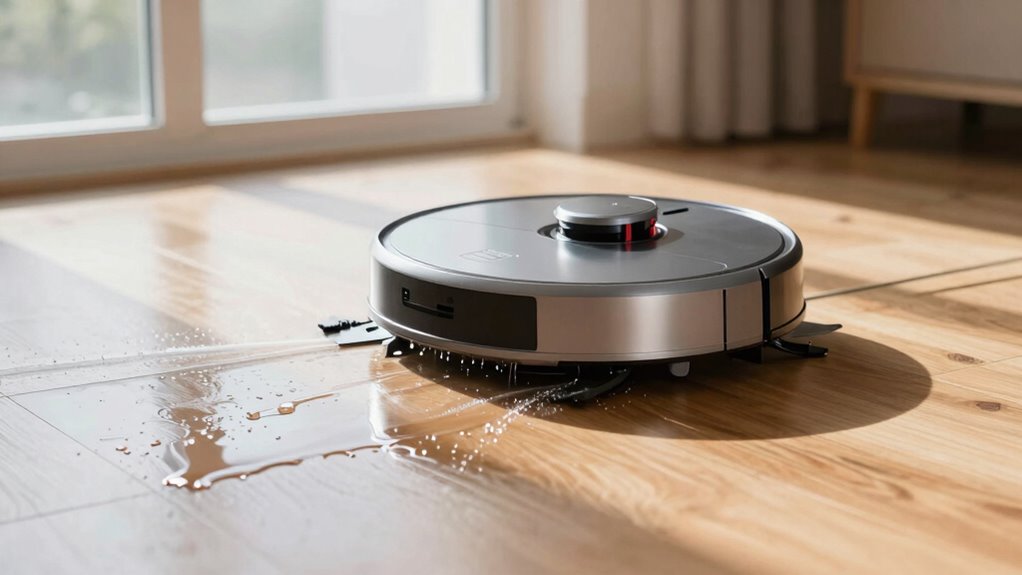
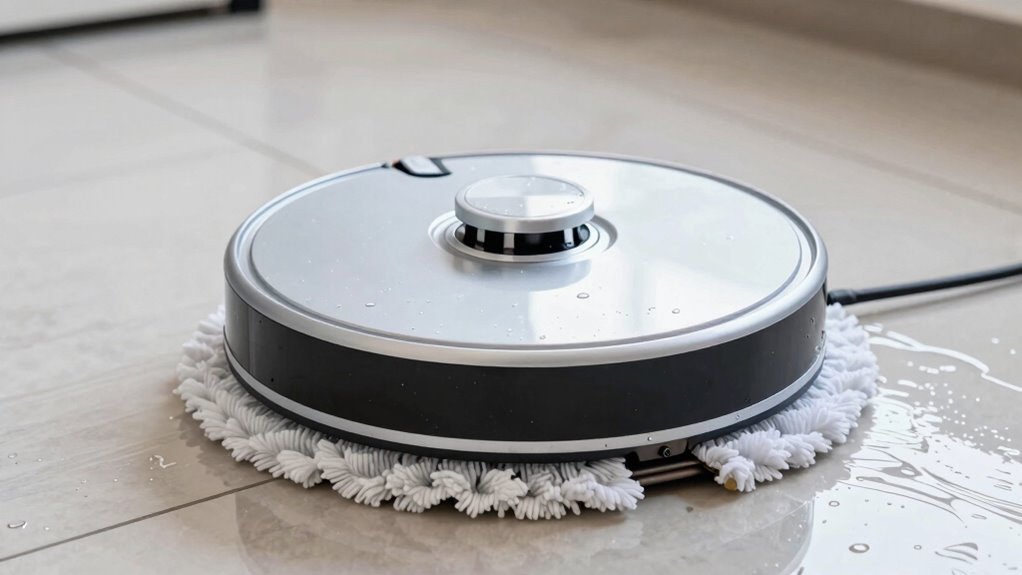
Why Is My Robot Mop Leaving Wet Trails?
If your robot mop is leaving wet trails behind, it’s often because the water flow is too high or uneven. When the water flow is excessive, the mop releases more liquid than needed, causing streaks and puddles on your floor. An inconsistent water flow can also lead to uneven cleaning, leaving some areas too wet while others stay dry. Many robot mops have adjustable water flow settings; if yours doesn’t, the issue might be with the water tank or delivery system. Confirm the water reservoir isn’t clogged or damaged, as this can cause irregular flow. Additionally, understanding proper water distribution helps prevent excess moisture and achieve a cleaner, streak-free floor. Ensuring your robot mop has correct water flow settings is crucial for effective, efficient mopping and maintaining a smart home environment. Proper water flow management is essential to prevent over-wetting and ensure consistent cleaning results. Regularly inspecting and cleaning the water delivery components can also help maintain consistent flow rates.

Copeeanzy Auto Water Kit for Robot Vacuum,Automatic Water Filling, Automatic Sewage Discharge, Automatic add Cleaning Solution,for Roborock Water Change Module,for dreame Accessories
[Transform Your Robot into a Hands-Free Cleaning Pro]Unlock the ultimate convenience without buying a new machine! This Module…
As an affiliate, we earn on qualifying purchases.
As an affiliate, we earn on qualifying purchases.
Check and Adjust Water Flow Settings
First, locate the water flow settings on your robot mop’s control panel or app. Then, adjust the flow to find the balance that cleans well without leaving excess moisture. Fine-tuning these settings helps guarantee your mop works efficiently and leaves no wet trails. Additionally, referring to the vacuum features to consider can help you understand optimal settings for your device. Understanding the water flow adjustment options specific to your model can further improve your cleaning results. For example, examining your cleaning pattern can help you determine if different flow levels produce better coverage without over-wetting. Checking the water reservoir capacity can also ensure consistent water flow during cleaning sessions. Being mindful of the device’s sensor technology can help prevent over-wetting by adjusting water output based on surface type or dirt level.
Locate Water Flow Settings
To effectively troubleshoot water flow issues, you need to locate and check the water flow settings on your robot mop. Begin by consulting your user manual or app, as most models allow you to access these settings digitally. Typically, the water flow controls are found within the device’s settings menu or cleaning preferences. Look for options labeled “water flow,” “misting level,” or similar terms. Once located, ensure the setting is not set too high, which can cause excess wetness, or too low, which might result in insufficient cleaning. Making precise setting adjustments can help you regulate water output accurately. Take your time to navigate through the menu, verifying that the water flow controls are accessible and adjustable, setting the stage for an effective cleaning process. Understanding water flow mechanisms can help you better troubleshoot and optimize your robot mop’s performance. Additionally, familiarizing yourself with water flow control features can assist in avoiding common mistakes, and knowing how to adjust water output ensures optimal cleaning without leaving wet trails.
Adjust for Optimal Flow
Ensuring the water flow is set correctly is crucial for peak cleaning performance. If your robot mop leaves wet trails, it’s time to fine-tune the water pressure through flow adjustment. Proper flow prevents excess water and streaks, guaranteeing a spotless floor. Using energy-efficient European cloud solutions can further optimize your device’s connectivity and performance. Here’s what to do: 1. Check the current water pressure setting on your mop’s control panel. 2. Gradually reduce or increase the flow adjustment until the water output matches your flooring needs. 3. Test on a small area to observe the water distribution. 4. Fine-tune again if you notice streaks or dry patches, balancing flow for optimal cleaning without oversaturating. 5. Remember, correct water flow not only improves cleaning results but also extends your device’s lifespan by preventing unnecessary strain. Additionally, understanding water pressure settings can help you troubleshoot issues more effectively. Properly adjusting water flow control can help prevent damage to your flooring and improve overall efficiency. Being aware of projector technology can also assist in customizing your cleaning routines for different surfaces. Adjusting the flow properly ensures your robot mop works efficiently, leaving your floors clean and dry without guesswork.
Copeeanzy Auto Water Kit for Robot Vacuum,Automatic Water Filling, Automatic Sewage Discharge, Automatic add Cleaning Solution,for Roborock Water Change Module,for dreame Accessories
[Transform Your Robot into a Hands-Free Cleaning Pro]Unlock the ultimate convenience without buying a new machine! This Module…
As an affiliate, we earn on qualifying purchases.
As an affiliate, we earn on qualifying purchases.
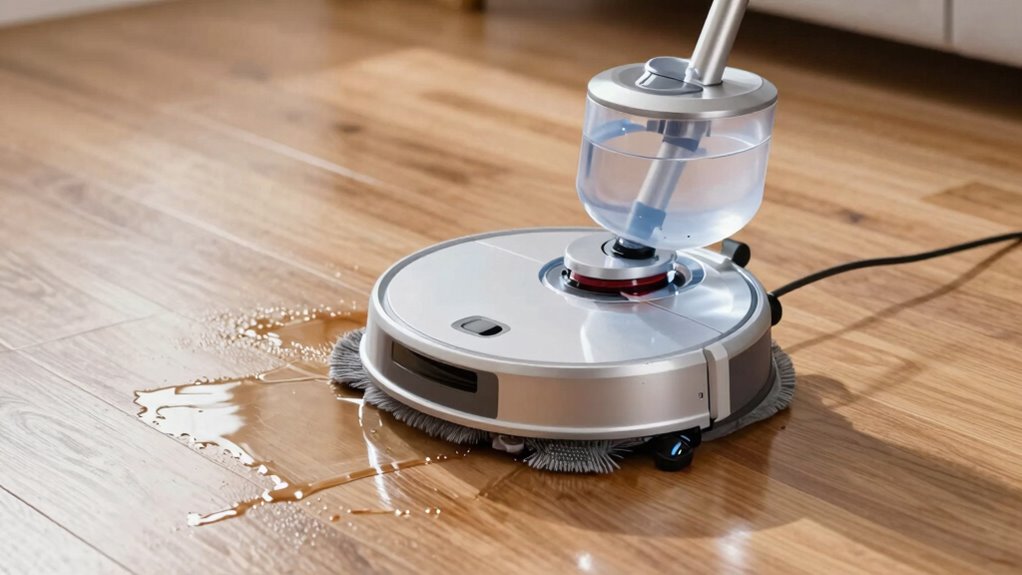
Clean and Inspect the Water Reservoir

Before attempting to fix the water flow issue, you should clean and inspect the water reservoir thoroughly. Start with reservoir cleaning to remove any buildup of debris, mineral deposits, or mold that could block water flow. Carefully detach the reservoir from your robot mop, then rinse it with warm water, ensuring all residue is gone. During water inspection, check for cracks, leaks, or clogs in the reservoir and its connectors. Look for any obstructions in the water inlet or outlet that could hinder proper flow. If you notice any damage or persistent clogs, replacing the reservoir might be necessary. Regular cleaning and inspection help maintain optimal water delivery, reducing the chances of wet trails or inconsistent spray patterns during mopping. Additionally, inspecting the water flow system can prevent future issues and ensure your robot mop works efficiently. Being aware of common blockages in the water delivery system can also help you troubleshoot more effectively. It may also be helpful to review the water flow mechanism, including its wearing parts, to identify potential malfunctions or worn components.

RichVibe For i2A Robot Vacuum Mop Water Tank Replacement Accessory, Large Capacity Leak-Proof Design with Transparent Window for Easy Refilling, Black Semi-Transparent
[EFFICIENT CLEANING SOLUTION] The large capacity of this mop water tank allows for efficient cleaning over larger areas…
As an affiliate, we earn on qualifying purchases.
As an affiliate, we earn on qualifying purchases.
Ensure Mop Pads Are Installed Correctly
Make sure the mop pad is aligned properly with the base to avoid water flow issues. Check that the pad clicks into place and the locking mechanism is secure before starting your robot. Proper installation guarantees ideal cleaning and prevents potential problems. Ensuring comprehensive financial education can help you make informed decisions about your investments and savings.
Proper Pad Alignment
Proper pad alignment is essential for your robot mop to function effectively and avoid water flow issues. When the mop pad isn’t aligned correctly, water may leak or unevenly distribute, causing wet trails. To guarantee ideal water flow adjustment, follow these steps:
- Check that the pad sits flat and snug against the mop base.
- Confirm the pad’s edges are properly aligned with the locking mechanism.
- Avoid over-tightening or loose fitting, as this can disrupt water flow.
- Regularly inspect and reposition the pad if it shifts during cleaning.
Correct pad alignment guarantees even water distribution and prevents leaks. Properly aligned pads improve water flow adjustment, reducing excess moisture and wet trails. Always double-check your pad placement before starting a cleaning cycle.
Secure Locking Mechanism
Ensuring the mop pads are securely locked in place is crucial for ideal water flow and cleaning performance. A proper locking mechanism prevents water from leaking or uneven distribution, maintaining optimal water flow control. Check that the pad clicks firmly into the locking mechanism—if it feels loose, it won’t seal properly. Use this table to verify your setup:
| Locking Mechanism Status | Effect on Water Flow |
|---|---|
| Fully engaged | Consistent water flow |
| Partially engaged | Uneven water distribution |
| Not engaged | Excess water leakage |
| Damaged lock | Poor water flow control |
| Proper installation | Effective cleaning |
Secure locks ensure water flows evenly, preventing wet trails and maximizing cleaning efficiency.
Fix Hardware Problems Causing Water Flow Issues

Hardware problems often cause water flow issues in your robot mop, and identifying these faults is essential for quick repairs. To resolve these, start with targeted hardware troubleshooting to locate faulty parts. Here are key steps:
- Check the water pump for clogs or damage, and clean or replace it if necessary.
- Inspect the water reservoir for cracks or blockages, ensuring proper sealing.
- Examine the tubing for kinks or leaks; replace damaged hoses.
- Verify the flow control valve’s operation, replacing it if it’s stuck or broken.
Use the App to Control Water Dispensing
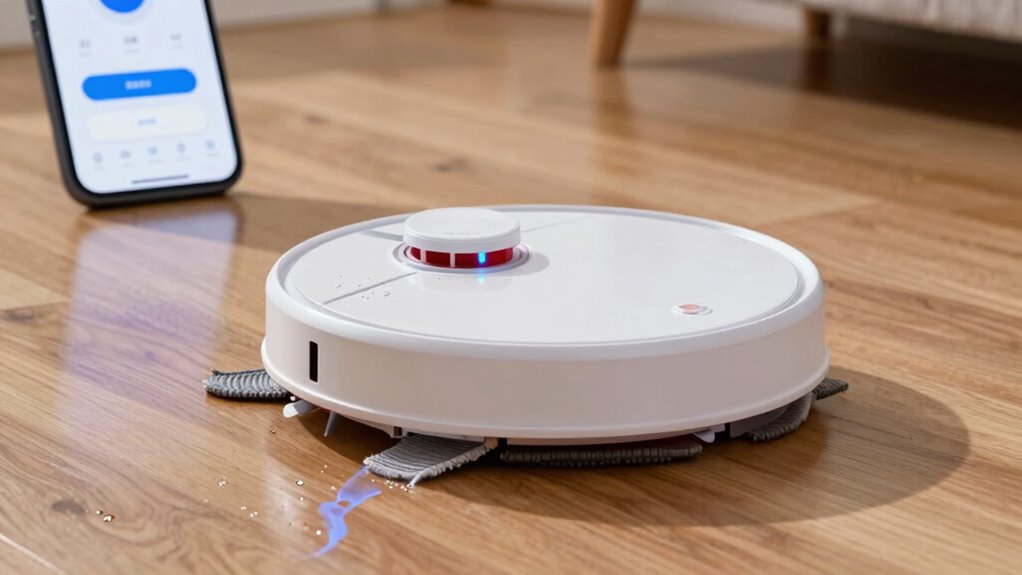
Using your robot mop’s app to control water dispensing allows for precise adjustments and immediate response to any issues. The water app lets you fine-tune flow control, ensuring the right amount of water is released during cleaning. With a few taps, you can increase or decrease water flow, preventing excess moisture that causes wet trails. Many apps also offer real-time monitoring, so you can see how much water is being dispensed and make quick changes if needed. This control helps you avoid guesswork, making your cleaning more efficient and effective. Just access the flow control feature in the app, set your preferred water level, and keep an eye on performance. Using the water app simplifies managing water flow, reducing wet spots and improving overall cleaning results.
Maintain Your Robot Mop to Prevent Water Problems

Regularly maintaining your robot mop helps prevent water-related issues and keeps it working smoothly. Proper upkeep ensures peak water flow and avoids wet trails. Here are some essential maintenance tips and troubleshooting steps:
- Clean the water tank regularly to prevent clogs and buildup.
- Check and clear the water outlet for any blockages.
- Inspect the water flow control settings in the app to ensure proper adjustment.
- Replace worn or damaged hoses and seals promptly.
When to Contact Support for Persistent Water Flow Issues
If your robot mop continues to have water flow problems despite following maintenance tips, it’s time to contact support. Persistent issues may indicate a mechanical fault or a defective part that requires professional assistance. Reach out to the manufacturer’s customer support for guidance and troubleshooting beyond basic fixes. If your device is still under warranty, inquire about warranty claims to cover repairs or replacements. Keep track of your purchase receipt and any diagnostic steps you’ve tried. Support teams can often identify if your problem is covered and advise on the next steps. Don’t delay if simple adjustments don’t resolve the issue—professional support ensures your robot is fixed correctly and efficiently.
Test Your Fixes and Make Sure Floors Dry Quickly
After making adjustments or repairs to your robot mop’s water flow system, it’s important to test whether it’s working correctly. This ensures proper water absorption and effective wet floor cleanup without leaving trails. To do this:
After repairs, test your robot mop to ensure proper water flow and effective cleaning without trails.
- Run the mop on a small, unobtrusive area to observe water distribution.
- Check if the floor feels damp or wet after cleaning—ideally, it should be nearly dry.
- Inspect the mop’s water flow to confirm water isn’t dripping excessively or too little.
- Wait a few minutes and verify the floor dries quickly, indicating proper water absorption and efficient drying.
Frequently Asked Questions
Can Different Floor Types Affect Water Flow From My Robot Mop?
Yes, different floor materials can influence water flow from your robot mop. For example, highly absorbent floors like tile or vinyl may soak up excess water, reducing wet trails, while porous surfaces like hardwood might cause more moisture to spread. Adjust your water flow settings accordingly, considering the floor material’s water absorption rate, to prevent wet trails and ensure efficient cleaning without guesswork.
How Often Should I Replace the Water Reservoir Filter?
You should replace the water reservoir filter every 2 to 3 months to maintain reservoir maintenance and guarantee ideal water flow. Regularly check the filter’s condition, especially if you notice wet trails or inconsistent cleaning. A clean filter extends its lifespan and keeps your robot mop working efficiently. Don’t wait too long—timely replacement prevents buildup and keeps your floors spotless without guesswork.
Is There a Way to Customize Water Flow for Specific Rooms?
Yes, you can customize water flow for specific rooms with room-specific adjustments. Start by using your robot mop’s app or control panel to access the water flow settings. Many models let you set different levels for each room, so you can increase or decrease water flow based on your cleaning needs. This customization helps prevent wet trails and guarantees ideal cleaning performance tailored to each space.
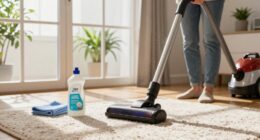
What Safety Precautions Should I Take When Cleaning the Water System?
Your safety is your first line of defense—think of it as protecting your home from a storm. Always unplug the robot before cleaning the water system. Wear gloves to avoid chemical hazards, and guarantee electrical safety by inspecting cords and connections for damage. Keep water and electrical parts away from each other, and work in a dry, well-ventilated area. These precautions help prevent accidents and keep your robot functioning smoothly.
Can Environmental Factors Influence Water Dispensing Accuracy?
Yes, environmental factors like humidity interference and water temperature can affect water dispensing accuracy. High humidity can cause condensation, leading to inconsistent water flow, while fluctuations in water temperature can alter the viscosity, impacting how smoothly water is dispensed. You should monitor these factors and adjust your robot mop’s settings accordingly to maintain consistent water flow and prevent wet trails. Staying aware of environmental conditions helps guarantee ideal cleaning performance.
Conclusion
By checking your water settings, cleaning the reservoir, and ensuring proper pad installation, you can stop your robot mop from leaving wet trails. If problems persist, adjusting the app controls or fixing hardware might be needed. Think of it like tuning a faucet—small tweaks make a big difference. With a little maintenance, your floors will dry quickly, leaving a spotless, streak-free shine without the guesswork. Just follow these steps, and you’ll regain control in no time.