
To fix your robot vacuum from getting stuck, start by clearing clutter and organizing your furniture to create wider pathways, ideally over 1.5 feet wide. Elevate or move low furniture that traps the vacuum, and use barriers or virtual boundaries to block problem areas. Regularly clean and calibrate sensors for better obstacle detection. If you keep experiencing issues, reconfiguring your layout or upgrading your device could help—stay tuned to learn more.
Key Takeaways
- Clear clutter and loose items from floors and furniture edges to prevent sensor blockage and entrapment.
- Rearrange furniture to create wider gaps (at least 1.5 ft) for smoother vacuum navigation.
- Elevate or remove low-clearance furniture that causes sticking issues.
- Regularly clean and calibrate sensors to maintain optimal obstacle detection.
- Use virtual boundaries or physical barriers to restrict access to tricky or narrow areas.
Why Does My Robot Vacuum Keep Getting Stuck Under Furniture?

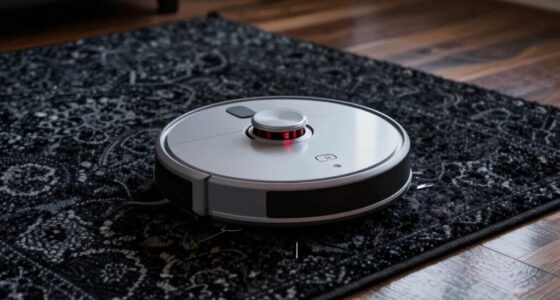
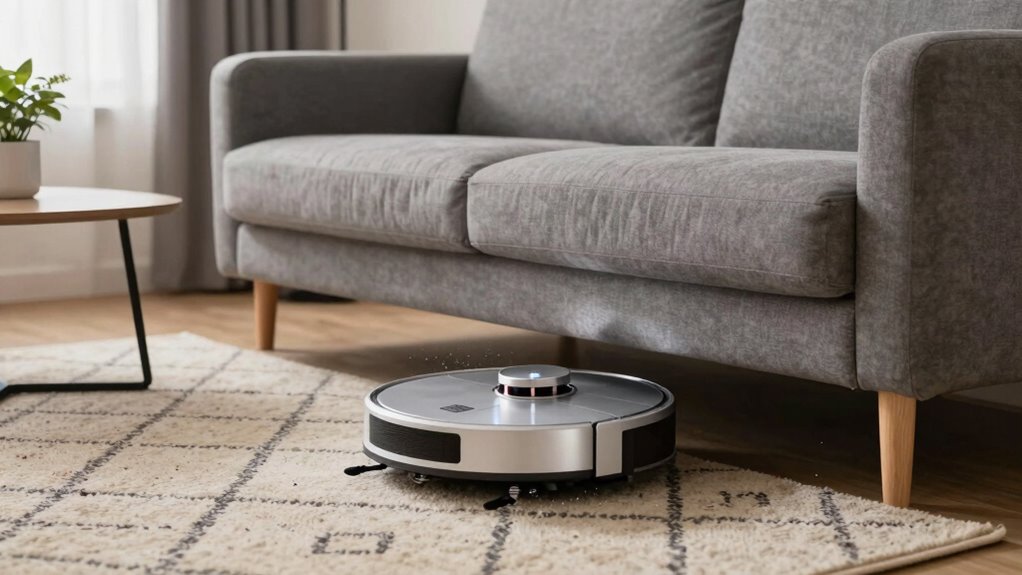
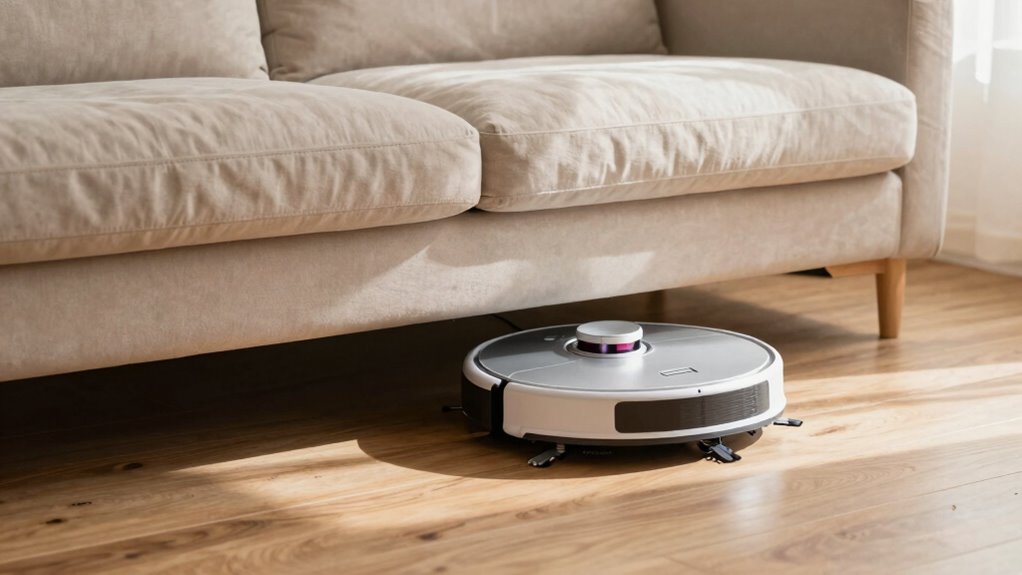
Have you ever wondered why your robot vacuum keeps getting stuck under furniture? It often happens because the space is too tight or the furniture’s height isn’t compatible with your vacuum’s sensors. Similar to how cordless drills can struggle in cramped spots, your robot needs enough clearance to navigate smoothly. Outdoor lighting can also play a role—poorly lit areas may confuse sensors, causing your vacuum to misjudge obstacles. If the furniture is low or has uneven legs, it can trap your robot just like narrow gaps do for power tools or outdoor fixtures. To fix this, check your furniture’s height and lighting, making sure there’s enough space for your vacuum to pass freely without getting caught. Ensuring proper home setup can significantly improve your robot vacuum’s performance. Additionally, adjusting the placement of furniture or adding sensor-friendly obstacles can help your vacuum navigate more effectively. Understanding the sensor technology used in your robot can also help you troubleshoot and optimize its movement around your home. Moreover, considering the projector specifications in your space can enhance your overall home entertainment setup, making navigation and viewing more seamless.
How to Identify Common Obstacles That Trap Your Robot
To prevent your robot vacuum from getting stuck, you need to identify common obstacles like narrow furniture gaps and hidden clutter. Check for spaces where the vacuum can easily slip under or get trapped, and look for items left on the floor that might block its path. Recognizing these obstacles will help you adjust your setup and keep your cleaning smooth. Being aware of pinball machine weight can also be helpful if you plan to move or reposition heavy furniture to create a safer environment for your robot. Additionally, understanding the horsepower of electric dirt bikes can give you insights into how much force is needed to move or lift certain large furniture pieces safely. Incorporating European cloud servers into your smart home setup can enhance your device integration and improve overall efficiency. Considering home layout can also assist in optimizing your space for better robot navigation.
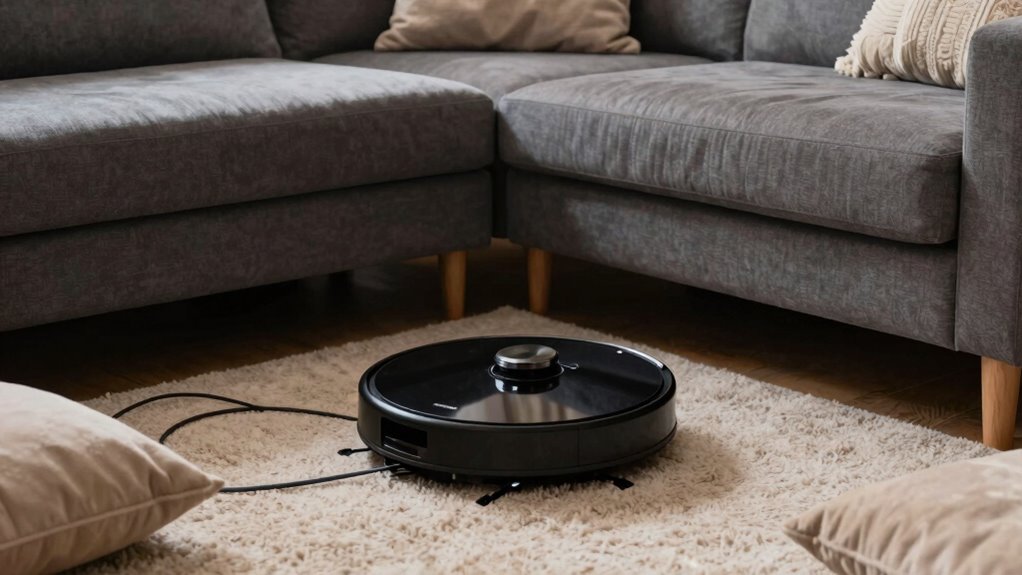
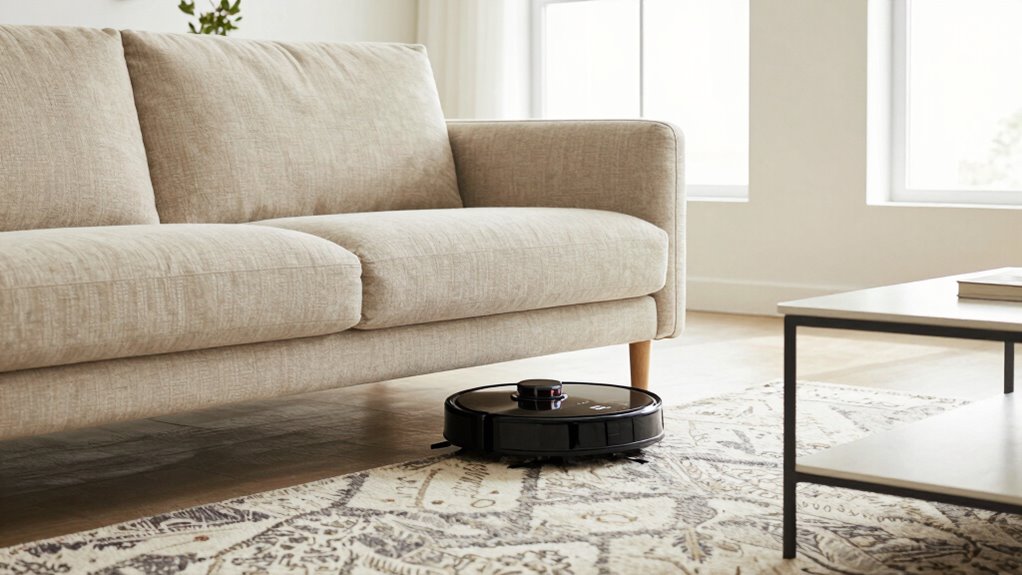
Identifying Furniture Gaps
Many furniture pieces create hidden gaps that can trap your robot vacuum, making it difficult for the device to navigate smoothly. To identify these trouble spots, focus on areas where obstacle detection might fail. Look for:
- Narrow spaces between the furniture and the floor, such as under couches or beds, that are too small for the vacuum to pass through.
- Large gaps behind or between furniture pieces that can cause the robot to get stuck trying to navigate through.
- Open areas beneath tables or cabinets with uneven clearance, which can confuse obstacle detection sensors.
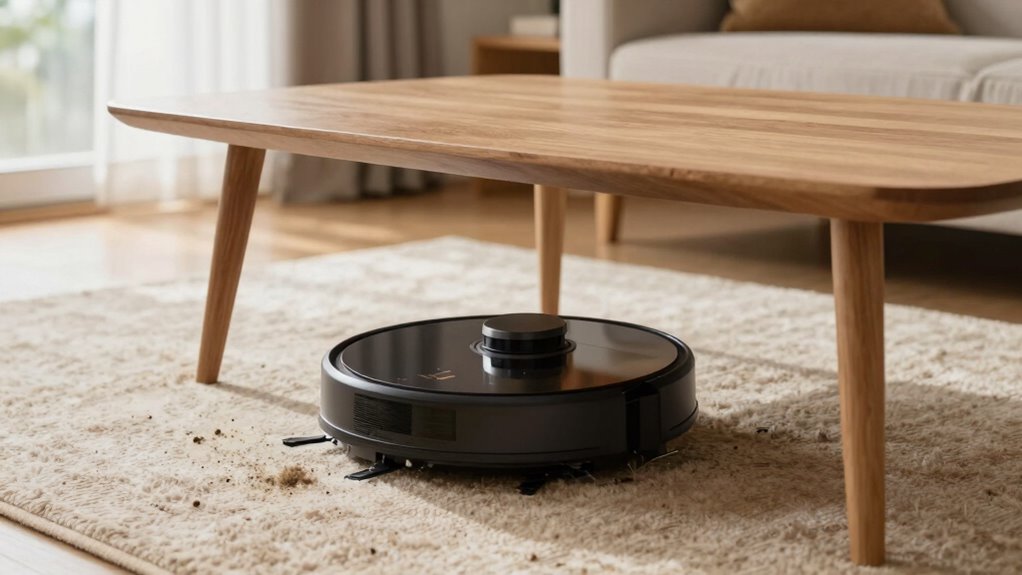
Spotting Hidden Clutter
Hidden clutter is often the main culprit when your robot vacuum gets stuck, so it’s essential to spot these obstacles before starting a cleaning session. Look closely around your space for hidden clutter like small toys, cords, or loose items that may not be immediately visible but can obstruct obstacle detection sensors. These items can easily trap your robot, especially in tight spots or under furniture. Regularly clear away clutter from the floor and check the edges of furniture and corners. Use your robot’s sensor alerts or mapping features to identify areas where obstacle detection is weak. Being proactive in spotting hidden clutter ensures smoother navigation and prevents your robot from getting stuck under furniture or in tight spots. Additionally, keeping your home environment updated with smart appliance integrations can enhance overall navigation and obstacle recognition, helping your robot adapt to changing home layout conditions. Incorporating home automation systems can further improve obstacle detection and make your cleaning process more efficient. For optimal results, regularly maintain your robot vacuum’s sensors and software to keep obstacle detection functioning at its best.
Rearrange Your Furniture and Home Layout to Prevent Stuck Vacuums
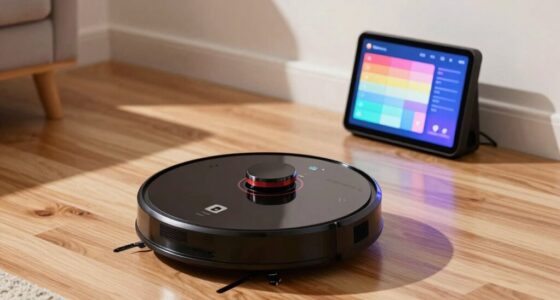
To prevent your robot vacuum from getting stuck, you should optimize your furniture placement and create clear pathways. Rearranging bulky or low-hanging furniture makes it easier for the vacuum to move smoothly around your home. By simplifying your layout, you reduce obstacles and improve cleaning efficiency. Additionally, assessing your floor safety features can help ensure that your vacuum navigates without issues. Incorporating mapping technology can further enhance navigation and prevent future entrapments. Implementing obstacle detection systems can also help your vacuum identify and avoid potential hazards proactively. Utilizing local automation features can streamline your home’s layout and further reduce navigation challenges.
Optimize Furniture Placement
Rearranging your furniture and adjusting your home layout can considerably reduce the chances of your robot vacuum getting stuck. Focus on optimizing furniture arrangement and obstacle placement to create a smooth cleaning path. First, elevate or remove low-clearance furniture that traps the vacuum. Second, position larger pieces like sofas or cabinets to leave wide gaps—at least 1.5 feet—so your robot can pass easily. Third, group smaller items and clutter to one side, preventing the vacuum from steering around scattered obstacles. By carefully planning your furniture placement, you minimize tight spaces and awkward angles that cause the vacuum to get stuck. This strategic setup ensures a more efficient clean while reducing the need for manual intervention.
Create Clear Pathways
Creating clear pathways through your home layout is key to preventing your robot vacuum from getting stuck. Start by reviewing your furniture arrangements and identifying potential obstacles that could block its path. Move bulky or low-hanging furniture away from main traffic areas to create open routes. Keep pathways wide enough for the vacuum to pass through easily, ideally at least 36 inches wide. Avoid placing items or cords in high-traffic zones that could trap or slow down your robot. Regular obstacle identification helps you spot new hazards as your furniture shifts or as you add new pieces. Proper home layout can significantly improve your vacuum’s navigation. Additionally, assessing navigation and mapping features of your robot vacuum can help you optimize its pathfinding capabilities. Implementing home environment management strategies, such as decluttering and organizing cords, can further enhance navigation. For best results, consider software updates that improve the vacuum’s ability to recognize and adapt to obstacles. Regularly reviewing your home layout ensures that new furniture or reconfigurations do not hinder your vacuum’s operation. By rearranging furniture and maintaining clear pathways, you ensure smoother navigation, reduce the chances of getting stuck, and keep your robot vacuum running efficiently.
Set Up Barriers and Use Sensors to Keep Your Robot Moving

Setting up barriers and utilizing sensors can considerably improve your robot vacuum’s performance. Proper barrier setup prevents it from entering tight spaces, while strategic sensor placement ensures accurate navigation. To do this effectively:
Using barriers and sensors enhances your robot vacuum’s navigation and cleaning efficiency.
- Place physical barriers like doorstops or furniture bumpers near problem areas to block off cluttered zones.
- Adjust sensor placement so they face open areas, helping your vacuum detect obstacles early.
- Use virtual boundaries if available, setting no-go zones around furniture or under low-clearance spots.
- Regularly maintain sensor calibration to keep obstacle detection accurate and prevent getting stuck.
- Monitoring your vacuum’s navigation through sensor feedback can help identify and address recurring issues promptly.
These measures help your robot avoid getting trapped under furniture and improve overall cleaning efficiency. By combining physical barriers with well-positioned sensors, you give your vacuum clearer cues to stay on track and avoid sticking issues.
Maintain Your Robot Vacuum’s Sensors and Clean It for Better Navigation
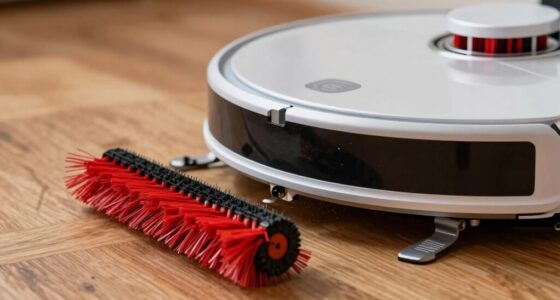
To guarantee your robot vacuum navigates efficiently, regularly maintaining and cleaning its sensors is essential. Dust cleaning prevents buildup that can interfere with sensor calibration, ensuring accurate detection of furniture and obstacles. Use a soft, dry cloth or a gentle brush to remove dust from the sensors, avoiding harsh cleaners that could damage them. Check the sensors periodically and calibrate them if your vacuum offers that feature, following the manufacturer’s instructions. Proper sensor maintenance improves obstacle detection and prevents your vacuum from getting stuck or missing spots. Keeping sensors clean and calibrated ensures your robot can navigate smoothly around furniture and tight spaces. Consistent upkeep minimizes navigation issues and extends your vacuum’s lifespan, making your cleaning routine more effective. Sensor calibration is an important aspect of maintaining optimal navigation performance.
When Should You Consider Reconfiguring Your Home or Upgrading Your Robot?
If your robot vacuum frequently gets stuck or misses spots despite regular maintenance, it might be time to reconfigure your home or consider upgrading your device. Changes in your home decor or lighting fixtures can create navigation challenges. Consider reconfiguring if:
- Your furniture layout is cluttered, with narrow pathways that trap the vacuum.
- New lighting fixtures cast shadows or create glare, confusing sensors.
- You’ve added bulky decor that blocks robot access to certain areas.
Upgrading your robot might also help if your current model lacks advanced mapping or obstacle detection. A more sophisticated vacuum can adapt better to changes in your home setup, reducing frequent getting stuck and ensuring thorough cleaning. Recognizing these signs helps you decide when a home reconfiguration or device upgrade is necessary.
Frequently Asked Questions
Can Robot Vacuums Detect and Avoid Small or Thin Objects?
Robot vacuums can struggle with small or thin objects due to sensor limitations, which affect obstacle recognition. They often can’t detect tiny items like thin cords or small toys, causing them to get stuck or miss spots. To improve performance, you should clear clutter and consider models with advanced sensors that better recognize obstacles. Regularly cleaning sensors also helps maintain their ability to detect and avoid small or thin objects effectively.
How Often Should I Update My Robot Vacuum’s Software?
You should update your robot vacuum’s software as often as you remember—ideally, every few weeks. Regular software updates are your maintenance routines’ secret weapon, ensuring your device runs smoothly and avoids getting stuck. Don’t neglect this essential step; it keeps your robot sharp, fixes bugs, and adds new features. Think of it as a spa day for your vacuum—refresh, reboot, and keep it performing at its best.
Are There Specific Flooring Types That Cause More Navigation Issues?
Certain flooring types, like hardwood, can cause sensitivity issues, making your robot vacuum more prone to getting stuck. Carpet challenges also pose navigation difficulties, especially if the carpet is thick or plush. To improve performance, consider adjusting the vacuum’s settings for hardwood sensitivity and using boundary strips or rugs to prevent it from entering problematic areas. Regularly cleaning sensors and updating software can also help your robot navigate more effectively around these surfaces.
What Accessories Can Improve My Robot Vacuum’s Obstacle Detection?
To improve your robot vacuum’s obstacle detection, consider accessory upgrades like obstacle sensors or bumper guards. These accessories help your vacuum better recognize and navigate around furniture and objects, reducing getting stuck. You can also add boundary strips or virtual wall barriers to create safe zones. Regularly updating your vacuum’s firmware can optimize obstacle detection features, ensuring smoother navigation and fewer hang-ups under furniture.
How Do I Reset My Robot Vacuum’s Navigation System After an Error?
If your robot vacuum’s navigation system isn’t working properly, don’t worry—just perform a navigation reset. To do error troubleshooting, turn off your vacuum, remove the battery if possible, then wait a few minutes. Reinstall the battery, turn it back on, and let it recalibrate. This simple navigation reset can fix most errors, helping your vacuum clean efficiently again without needing a full factory reset.
Conclusion
Now that you know the common pitfalls and solutions, your robot vacuum can run smoothly. But what if there’s an unexpected obstacle you haven’t considered? Stay alert—sometimes, the tiniest change in your home layout or an overlooked sensor issue could be the key to flawless navigation. Will your next move be a simple tweak or a full upgrade? The answer might surprise you, and your cleaning routine will never be the same.