
If your robot window cleaner isn’t sticking, start by inspecting the suction cups for dirt, damage, or debris, and test the seal on a smooth surface. Make sure the glass is clean, dry, and free of scratches that could hinder adhesion. Activate the vacuum and listen for proper suction, checking the battery and pads. Also, confirm the surface and setup meet the manufacturer’s recommendations. For more detailed tips, keep going to find out how to troubleshoot further.
Key Takeaways
- Inspect and clean the suction cups regularly, checking for cracks or damage, to ensure a proper seal.
- Ensure the window surface is clean, dry, and smooth for optimal adhesion.
- Activate the suction mechanism, listen for proper engagement, and verify the battery is fully charged.
- Confirm the surface type is compatible—preferably smooth, clean glass—and remove any residues or dirt.
- Perform routine maintenance, inspect for debris, and consider surface or suction component issues if sticking persists.
Why Won’t Your Robot Window Cleaner Stick? Common Causes
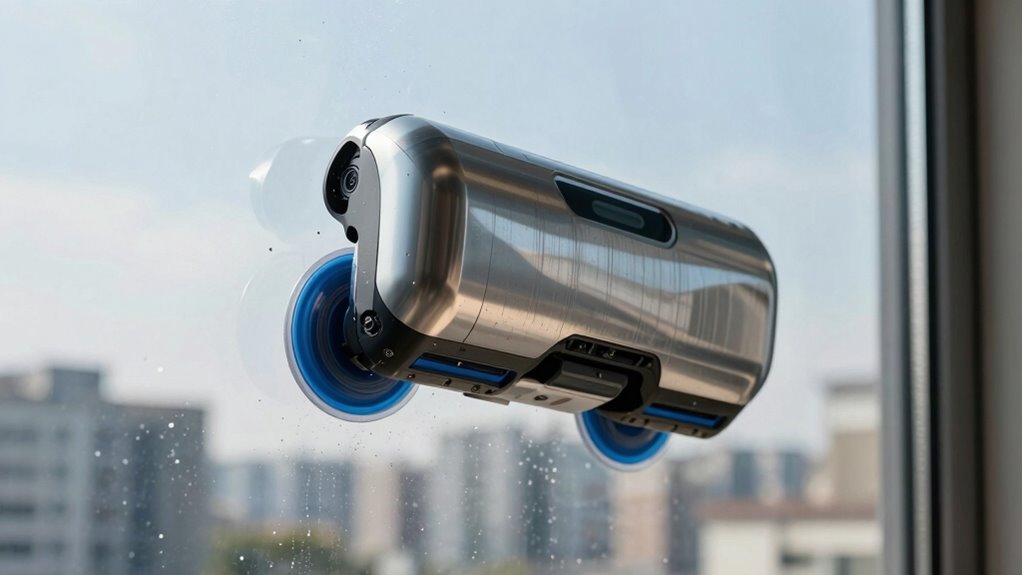
If your robot window cleaner isn’t sticking properly, several common issues could be to blame. First, check the robot accessory, especially the suction cups. Dirt, dust, or debris on the cups can prevent a good seal. Make sure to clean them regularly to maintain their grip. Also, consult your user manual for specific cleaning instructions and compatibility tips. Incorrect installation or positioning can cause poor adhesion, so double-check that the device is properly aligned and securely attached. Temperature and surface smoothness matter too; very cold or rough surfaces reduce suction effectiveness. If these steps don’t help, consider replacing worn suction cups or inspecting for damage. Understanding these common causes helps you troubleshoot more effectively and ensures your robot window cleaner sticks reliably. Additionally, using a high-quality projector screen surface can improve overall adhesion and viewing performance if the device interacts with surfaces beyond just glass.
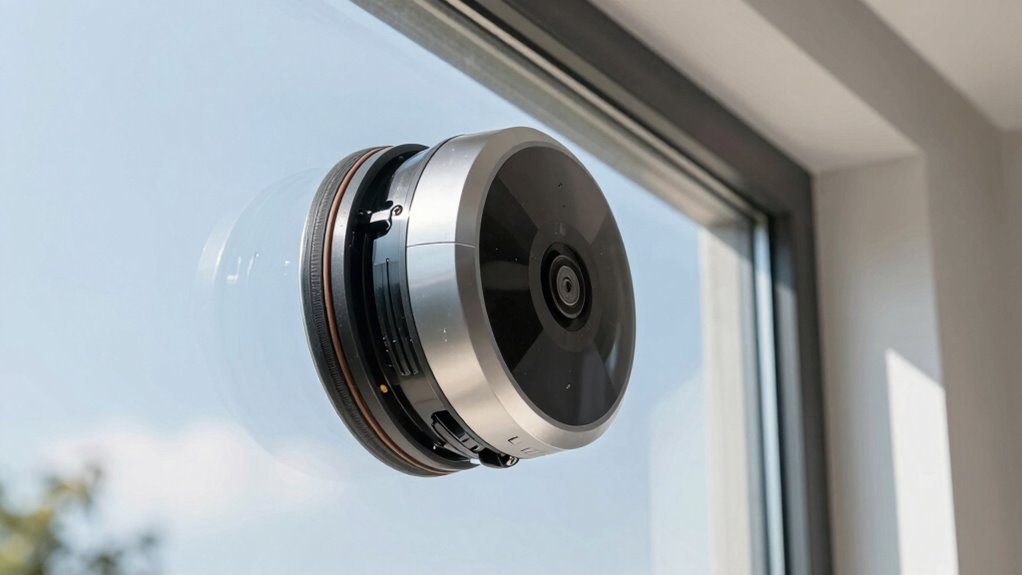
Check the Suction Cup for Damage or Dirt and Test the Seal
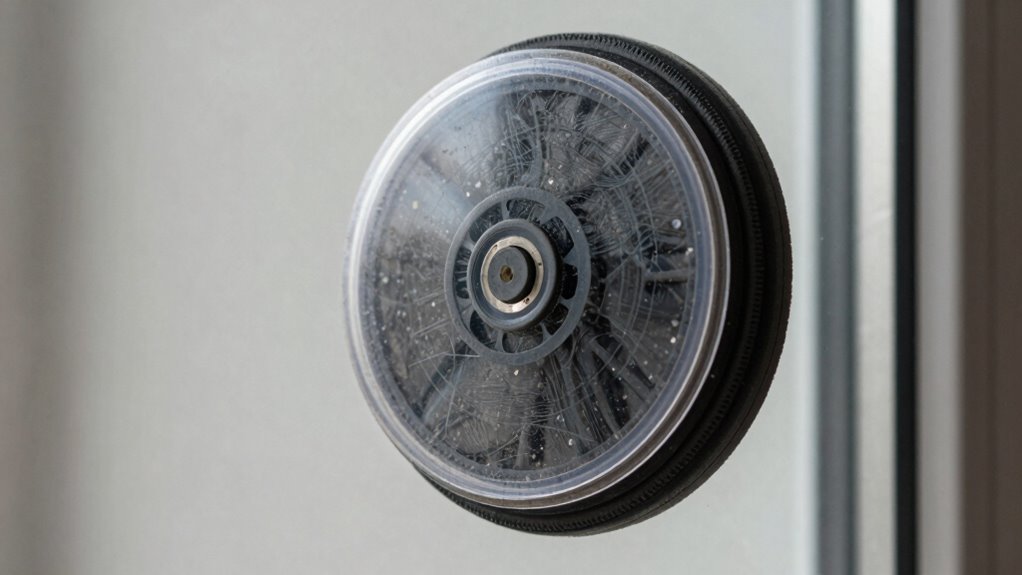
To guarantee your robot window cleaner sticks properly, start by inspecting the suction cups for dirt, dust, or debris. Dirty or obstructed cups can compromise the seal, reducing suction power. Check for any signs of suction cup damage, such as cracks, tears, or warping, which can prevent a proper seal. If you notice damage, replace the faulty suction cup. Next, perform seal testing by pressing the suction cups onto a smooth surface and lifting gently. If the cups don’t hold or release easily, the seal isn’t secure enough. A poor seal allows air to enter, causing suction loss. Cleaning or replacing damaged cups and ensuring a tight, intact seal can markedly improve your robot window cleaner’s sticking ability. Additionally, verifying the hydraulics of the device can help identify if any internal issues are affecting suction performance. Regular maintenance of the suction cups and checking for proper sealing can prevent recurring sticking problems. Ensuring the material quality of the suction cups influences their ability to maintain a strong grip over time. Also, assessing the surface compatibility of the cups with your window type can significantly impact their effectiveness.
Make Sure the Surface Is Clean, Dry, and Suitable
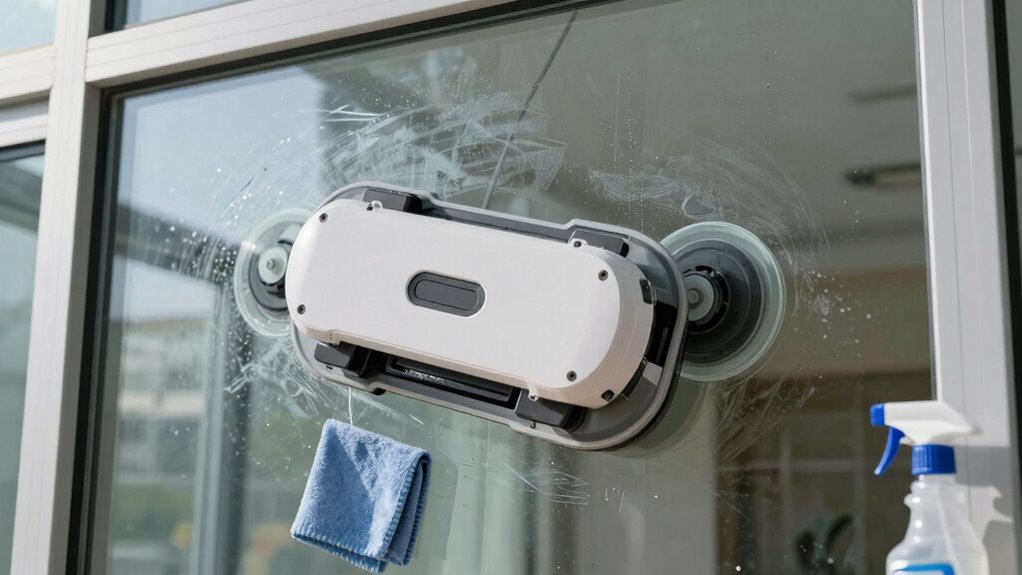
A clean, dry, and smooth surface is vital for your robot window cleaner to adhere properly. Before operating, ensure the glass or surface is free of dust, dirt, and streaks, which can compromise suction. This not only enhances the cleaning efficiency but also prevent damage to the device’s suction system. Additionally, ensuring the surface has no auditory processing challenges can prevent unexpected issues during operation. Regularly inspecting the surface for proper adhesion and cleaning as needed can extend the lifespan of your robot cleaner. To improve suction, consider checking the surface material compatibility with your device’s suction system. Wipe the surface with a lint-free cloth and a gentle cleaner. Avoid using abrasive or oily products that can leave residues. Confirm the surface is completely dry before starting. Check for any cracks or uneven spots that may affect adhesion. Proper surface preparation is a simple yet vital part of maintaining your robot’s functionality, and paying attention to moisture levels can help ensure optimal suction performance. Taking these steps guarantees safety precautions are met and maximizes suction performance, preventing unnecessary issues.
Activate and Test Your Robot’s Suction Mechanism
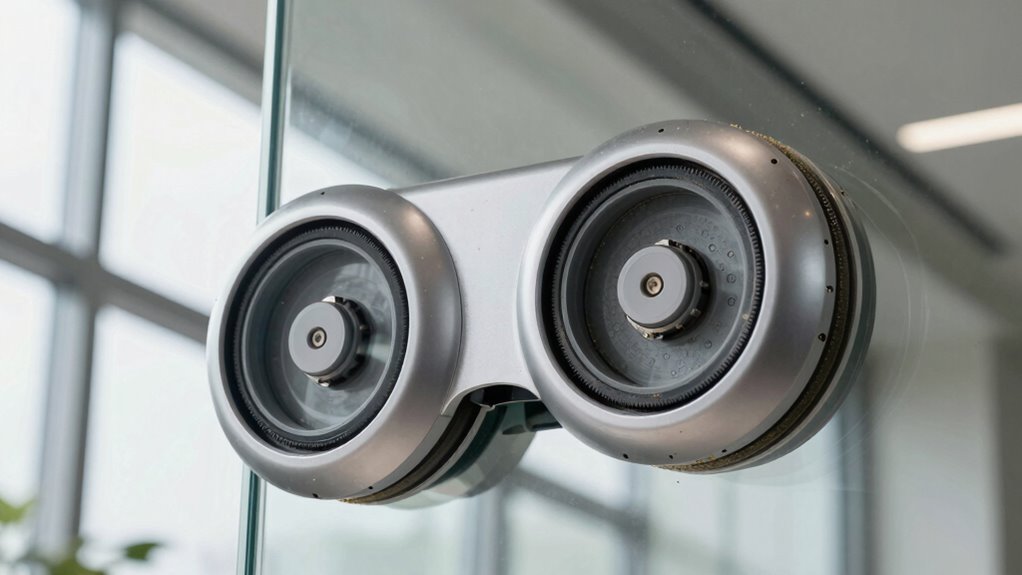
Before you start cleaning, activate your robot’s suction mechanism and verify that it’s working correctly. Ensure the robot arm calibration is accurate; if it’s off, the suction may not engage properly. Check the battery performance, as a weak or partially drained battery can reduce suction power. Power on the device and observe if the suction increases when the robot contacts the window surface. Listen for the sound of the motor or feel for suction at the pads. If the suction isn’t strong enough, try recalibrating the robot arm to guarantee proper contact, and charge the battery fully before testing again. Confirm that the suction mechanism engages correctly, as this is essential for the robot’s ability to stick during cleaning. Proper suction engagement is vital to ensure the robot can effectively cling to and clean the window surface. Additionally, inspecting the suction pads and ports for debris or damage can help maintain optimal suction performance. Regularly perform maintenance checks to keep the suction system in top condition can prevent common issues, especially since ventilation considerations can influence the robot’s overall adhesion and operation. Ensuring proper suction system functionality can extend the lifespan of your device and improve cleaning results.
Confirm Your Window Surface and Setup Are Compatible
Ensuring your window surface and setup are compatible is essential for effective cleaning. Not all windows support the robot’s suction mechanism, so check the window compatibility before troubleshooting. Smooth, clean glass usually works best, but textured or dirty surfaces can hinder suction. If your window isn’t suitable, consider adhesive alternatives like special pads or suction cups designed for uneven surfaces. Make sure your setup aligns with the manufacturer’s recommendations to avoid issues. Also, verify there’s no residue, grease, or dirt that could reduce suction strength. Using incompatible surfaces can cause the robot to lose grip, so confirming compatibility saves time and effort. Proper surface compatibility is a key factor in successful cleaning. Additionally, inspecting your suction system regularly can help identify potential issues early. For optimal performance, regularly cleaning the suction components can prevent blockages and maintain strong grip. When selecting surfaces, consider surface material and how it interacts with the robot’s suction. Keep in mind that surface cleanliness directly impacts suction performance and should be maintained for best results. Adjust your approach accordingly if your window doesn’t meet these criteria, and explore adhesive alternatives for better results.
Frequently Asked Questions
How Often Should I Clean the Robot’s Suction Cups?
You should clean the robot’s suction cups at least once a month to guarantee the best suction cup maintenance. Regular cleaning prevents dirt, dust, and debris from building up, which can reduce sticking ability. If you notice your robot isn’t sticking well, increase the cleaning frequency. Use a damp cloth or gentle brush to remove any buildup, keeping the suction cups in top condition for effective cleaning performance.
Can Temperature Affect the Suction Performance?
When it comes to temperature effects, they can definitely impact suction performance. Extreme heat or cold can make the suction cups less sticky, like trying to hold water with a sieve. Cold temperatures can cause materials to contract, reducing grip, while heat may soften the cups, decreasing their ability to stick. Keep your robot within the recommended temperature range to guarantee consistent suction and ideal cleaning results.
What Types of Windows Are Unsuitable for Robot Cleaners?
Certain windows aren’t suitable for robot cleaners. You should avoid those with unusual window frame materials like wood or fragile aluminum, as they might damage the robot or reduce suction. Also, textured glass surfaces, such as frosted or patterned glass, can hinder the cleaner’s grip and effectiveness. Smooth, clean surfaces with sturdy frames are ideal, ensuring your robot can stick properly and clean efficiently without issues.
How Do I Reset the Robot’s Suction System?
To reset your robot’s suction system, start with suction system maintenance by turning off the device. Then, locate the reset button or follow your model’s robot reset procedures, usually found in the user manual or on the device itself. Press and hold the reset button for a few seconds, then turn the robot back on. This helps clear any blockages or malfunctions affecting the suction, restoring peak cleaning performance.
Is It Safe to Use on Tinted or Frosted Glass?
You can safely use your robot window cleaner on tinted or frosted glass, but keep in mind that window tinting and frost protection films might affect its grip. Imagine the glass as a delicate canvas; the cleaner’s suction needs a firm hold without damaging the tint. Check your manufacturer’s guidelines, and avoid excessive pressure. With proper care, your robot can clean beautifully without harming your tinted or frosted windows.
Conclusion
Did you know that over 60% of window cleaner issues stem from simple suction problems? By checking the suction cup, ensuring your surface is clean, and testing your robot’s mechanism, you can usually fix the issue yourself. Don’t overlook compatibility — a suitable, smooth surface makes all the difference. With a few quick adjustments, your robot cleaner can get back to spotless windows, saving you time and frustration. Keep these tips in mind for a hassle-free cleaning experience!