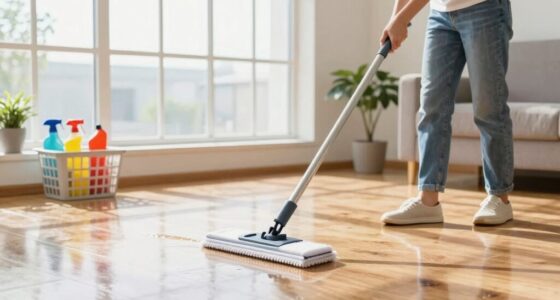

After renovation, to clean floors without smearing dust everywhere, start by removing loose debris with a broom or vacuum using a HEPA filter. Use a damp microfiber mop to trap dust, ensuring it’s not overly wet to prevent smears. Sweep gently in short strokes to avoid pushing dust into cracks. Sealing edges and working from the far corner toward the exit helps contain dust. Learn more tips for a spotless finish by exploring further.
Key Takeaways
- Use a damp microfiber mop to trap dust without spreading it, avoiding overly wet tools that cause smearing.
- Rinse and wring out cleaning tools frequently to prevent redistributing dust during cleaning.
- Sweep gently with soft-bristled brooms in short strokes toward a dustpan to minimize airborne particles.
- Seal edges and vulnerable areas with protective tape to prevent dust smearing during cleaning.
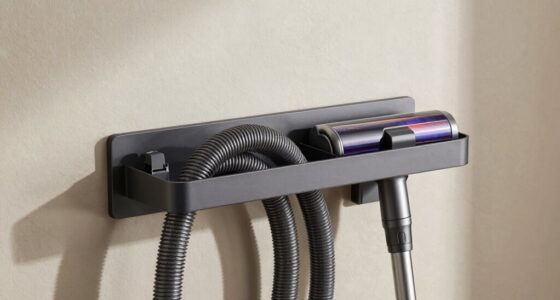
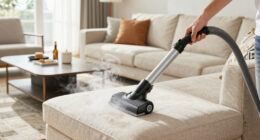
- Vacuum thoroughly with a HEPA-filter vacuum, using appropriate attachments and sealing off areas to contain dust.

Bissell Pet Hair Eraser Allergen Lift-Off with Powerful Suction, HEPA, Tangle-Free Brush Roll, 39883
POWERFUL SUCTION. Dirt, fur & dust don’t stand a chance against the Pet Hair Eraser Allergen Lift-Off vacuum’s…
As an affiliate, we earn on qualifying purchases.
As an affiliate, we earn on qualifying purchases.
Why Does Renovation Dust Smear on Floors: and How Does It Happen?
Renovation dust often smears on floors because tiny particles become airborne during construction and settle unevenly. Without proper dust containment measures, these particles spread throughout the space, making cleanup difficult. Surface sealing is an essential step to minimize dust smear because it creates a barrier that keeps dust from penetrating porous surfaces and reduces the amount that settles on floors. When dust is not contained or surface sealing isn’t used, the dust can be disturbed easily, smudging across surfaces as you walk or clean. This uneven settling causes streaks and smears that are hard to remove later. To prevent this, you should implement effective dust containment strategies and seal surfaces before beginning renovation, which markedly reduces dust spread and makes cleaning easier afterward. Additionally, understanding dust containment techniques can significantly improve the cleanliness and safety of your renovation space. Implementing proper dust barriers can further minimize dust migration during construction activities. Using specialized vacuum systems during cleanup can also help reduce residual dust particles that might cause smearing. Proper airflow control and ventilation during renovation can also play a crucial role in managing airborne dust and preventing it from settling unevenly.

CLEANHOME Microfiber Dust Mop for Hardwood Floor Cleaning, Dry and Wet Baseboard and Floor Duster, Household Cleaning Tool for Kitchen, Bathroom
Microfiber Dust Mop for Deep Cleaning:The microfiber mop designed to excel as a floor mop for deep cleaning….
As an affiliate, we earn on qualifying purchases.
As an affiliate, we earn on qualifying purchases.
Preparing Your Floors Before Cleaning to Minimize Dust Spreading
Before you start cleaning, clear away any loose debris to prevent it from spreading further. Use a damp mop to trap dust and dirt, reducing airborne particles. Don’t forget to seal carpet edges to keep dust from seeping underneath and spreading into other areas. Additionally, proper sealing techniques can help maintain a cleaner garage environment over time. Incorporating dust control strategies can further minimize airborne dust during and after cleaning. Implementing connected home fitness technology can also support ongoing monitoring of air quality and cleanliness levels to promote a healthier space. Understanding native dust management practices can provide insights into more effective cleaning techniques. Employing modern kitchen automation principles can streamline your cleaning process, making it more efficient and less dusty.
Clear Debris First
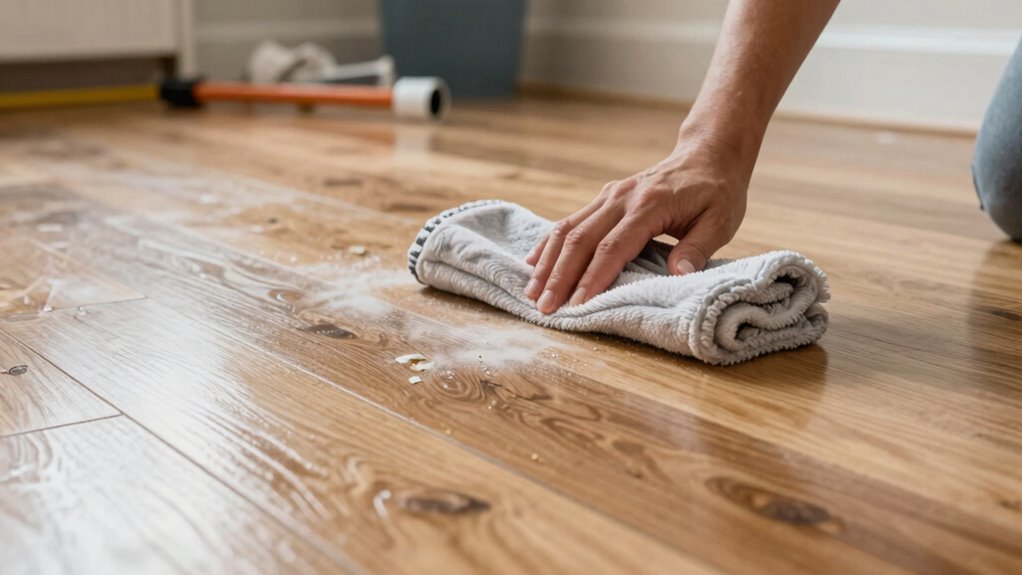
Have you ever noticed how quickly dust and debris spread during a cleaning session? That’s why proper floor prep is essential before you start cleaning. Begin by thoroughly debris removal, picking up loose objects, dirt, and any leftover construction materials. Use a broom or handheld vacuum to sweep the surface, ensuring you catch all loose particles. Clearing debris first prevents it from smearing or spreading further when you begin mopping or wiping. Additionally, dust containment techniques can help keep airborne particles to a minimum, making the cleaning process more effective. Incorporating effective cleaning strategies can further reduce dust dispersion and improve overall results. Clearing debris first prevents it from smearing or spreading further when you begin mopping or wiping. This initial step minimizes airborne dust and reduces the risk of creating a cloud of particles that settle back onto your floors. By taking time to clear debris upfront, you set a solid foundation for a cleaner, dust-free finish without smudges or streaks. Proper floor preparation is crucial for achieving a spotless, streak-free surface after renovation. Implementing a high-quality vacuum cleaner can also significantly enhance debris removal efficiency, especially in hard-to-reach areas. Simple, focused debris removal makes a significant difference in post-renovation floor cleaning. Additionally, AI-powered tools can assist in identifying hard-to-see dust or debris for more thorough cleaning.
Damp Mopping Method
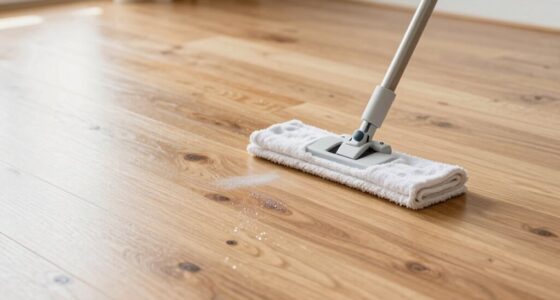
Using a damp mop instead of a dry one helps prevent dust from becoming airborne during cleaning. Before you start, set up dust barriers around the area to contain residual dust and prevent it from spreading further. Follow a consistent cleaning schedule to ensure dust doesn’t accumulate, making removal easier. Dampen your mop thoroughly, but avoid excess water that could damage floors or spread dust deeper. Work methodically, starting from the farthest corner and moving toward the exit, to avoid recontamination. Lightly wring the mop to keep it just damp, not soaking. Regularly rinse and wring out the mop to prevent redistributing dust. Incorporating energy-efficient cleaning tools can further reduce environmental impact and improve cleaning effectiveness. This approach minimizes dust smearing and ensures a cleaner, dust-free surface after renovation.
Seal Carpet Edges
Sealing the edges of your carpet is a crucial step in minimizing dust spread during floor cleaning after renovation. Proper carpet sealing creates a barrier that prevents dust and debris from seeping underneath and spreading into adjacent areas. To achieve effective edge protection, consider these tips:
- Use specialized carpet sealing tape or edge protectors for a tight seal
- Ensure the tape adheres firmly to prevent gaps where dust can escape
- Cover all vulnerable edges, especially near walls and doorways
- Additionally, choosing the right cleaning techniques can enhance dust containment and prevent smearing during the cleaning process. Employing effective dust control methods can significantly improve your cleanup results and reduce airborne particles. This simple step helps contain dust, making your cleaning process cleaner and more efficient. It reduces the risk of dust smearing across surfaces and keeps your space tidier. Proper edge protection is an easy yet essential part of preparing your floors for a thorough post-renovation clean, especially considering dust containment and the importance of effective cleaning techniques. Incorporating sealed carpet edges into your cleaning prep can further minimize dust migration and improve overall results.

ZIP-UP Double Sided Dust Barrier Tape – 2" x 60' Poly Sheeting Containment Tape with Dual High/Low Strength Adhesive & Peel and Stick Application – CT-260
KEEPS DUST OUT – Zip-Up Products containment tape is a double sided adhesive tape specially engineered for holding…
As an affiliate, we earn on qualifying purchases.
As an affiliate, we earn on qualifying purchases.
Choosing the Best Tools for Post-Renovation Floor Cleaning
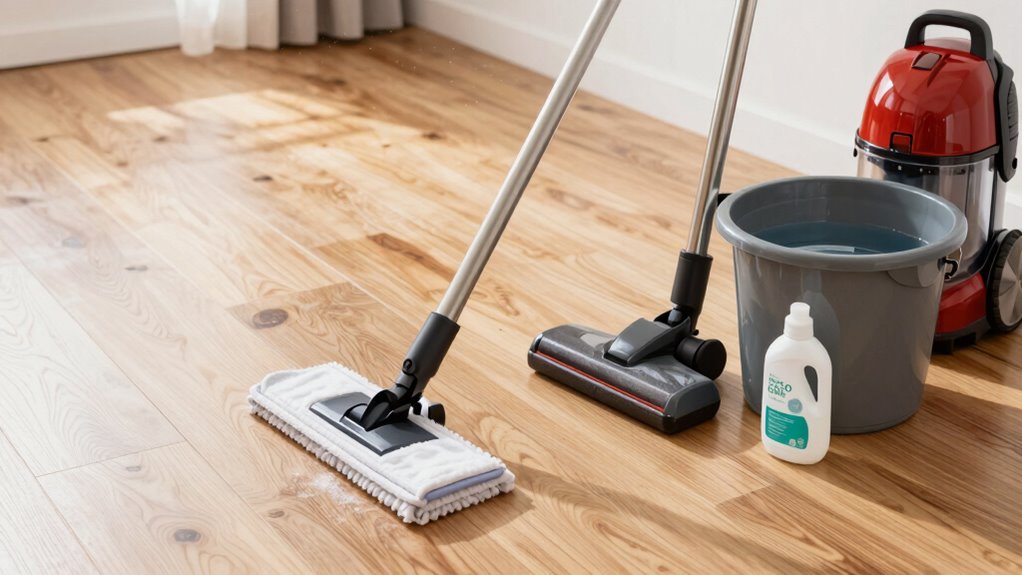
To get your floors thoroughly cleaned after renovation, choosing the right tools is essential. You need suitable cleaning equipment, effective solutions, and proper handling techniques to do the job efficiently. Let’s explore how to select the best tools to restore your floors to their original shine. Incorporating robotic cleaning devices can also streamline the process, especially for large or heavily soiled areas. Additionally, selecting appropriate cleaning solutions ensures that residues from renovation materials are effectively removed without damaging your flooring. Understanding the types of flooring you have can help tailor your cleaning approach and prevent potential damage.
Suitable Cleaning Tools
Choosing the right cleaning tools is essential for effectively removing dust, debris, and stubborn stains left behind after renovation. Proper equipment *guarantees* thorough cleaning without smearing dust or causing damage. Use a high-quality vacuum with good suction and easy vacuum maintenance to pick up loose particles efficiently. For floors, select a mop suited to your surface; microfiber mops excel at trapping dust and debris. Focus on your mop technique—use gentle, overlapping strokes to avoid spreading dust around. Consider a soft-bristled broom for initial sweeping, especially on uneven surfaces. Also, keep an extra set of cleaning cloths or pads handy for multiple passes. The right tools combined with proper techniques make your post-renovation cleaning faster and more effective.
Effective Cleaning Solutions
Selecting the right cleaning solutions can make a significant difference in how effectively you remove dust, paint splatters, and stubborn stains after renovation. Focus on solutions that promote dust containment to prevent spreading particles to untouched areas. Use gentle, pH-neutral cleaners for delicate surfaces and stronger formulas for tougher stains, but always follow recommended cleaning schedules to avoid over-wetting floors. Incorporate microfiber mops and soft scrub brushes to lift dust without smearing it. Avoid harsh chemicals that could damage your flooring or create additional mess. Properly chosen cleaning solutions work hand-in-hand with your tools to maintain a clean, dust-free environment. Regularly inspecting your cleaning tools ensures they remain effective and do not contribute to dust redistribution. Consistent cleaning schedules ensure you stay ahead of dust buildup, making post-renovation cleaning more efficient and less stressful.
Proper Equipment Handling
Using the right tools is essential for efficiently cleaning floors after renovation. Proper equipment handling ensures safety and prevents damage to your surfaces. Always check that your tools are in good condition before use—worn brushes or malfunctioning vacuums can smear dust or spread debris. Keep equipment safe by following manufacturer instructions and wearing protective gear when necessary. Regular tool maintenance, like cleaning filters and sharpening blades, extends their lifespan and maintains peak performance. To make your job easier, focus on:
- Choosing lightweight, ergonomic tools for comfort and control
- Using vacuum cleaners with HEPA filters to trap fine dust
- Maintaining equipment regularly to ensure safety and efficiency
This approach helps you avoid accidents, ensures thorough cleaning, and keeps your floors spotless.

CalFlor TA82350 BlueZone Perimeter Sealant Tape, for Installing Laminate, Vinyl & Hybrid Flooring Where an exspansion Space, Gap or Edge occurs.
BlueZone seals expansion gaps and edges around laminate, vinyl & hybrid flooring. Prevents spills, moisture, and pet accidents…
As an affiliate, we earn on qualifying purchases.
As an affiliate, we earn on qualifying purchases.
How to Sweep Dust Without Smearing It on Your Floors
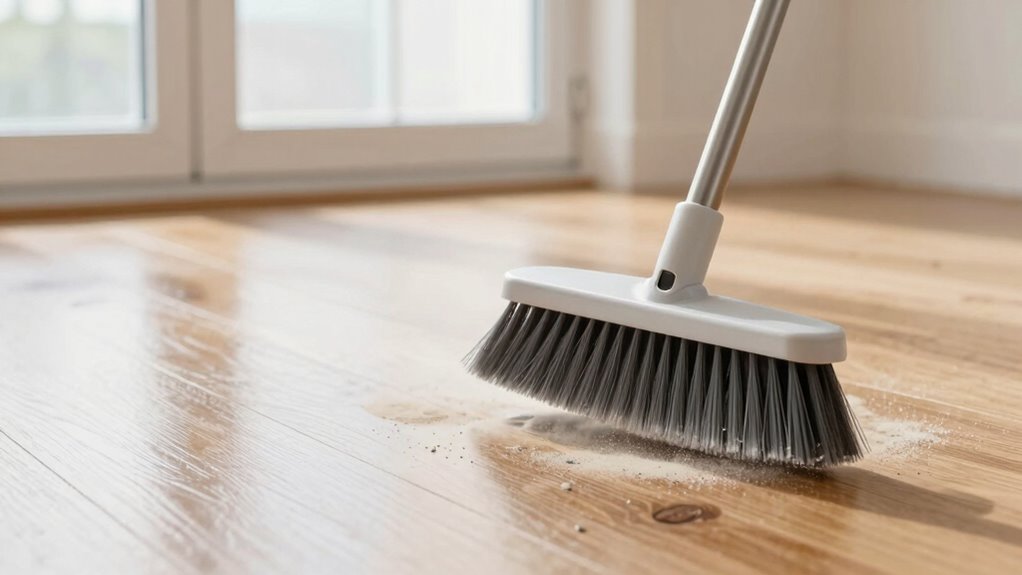
Have you ever swept dust only to find it smudged across your floors instead of removed? To prevent this, focus on dust containment by using a broom with fine, soft bristles that lift dust rather than push it around. Sweep in gentle, short strokes to avoid spreading particles further. Regular cleaning frequency is key—sweeping daily during renovation minimizes dust buildup and reduces smearing. Clear the area beforehand so dust doesn’t get trapped in furniture or clutter, which can cause smudges when disturbed. Always sweep toward a dustpan rather than flicking dust away, ensuring particles are collected instead of spread. Proper technique and consistent cleaning help keep your floors dust-free and smudge-free, making post-renovation cleanup more effective.
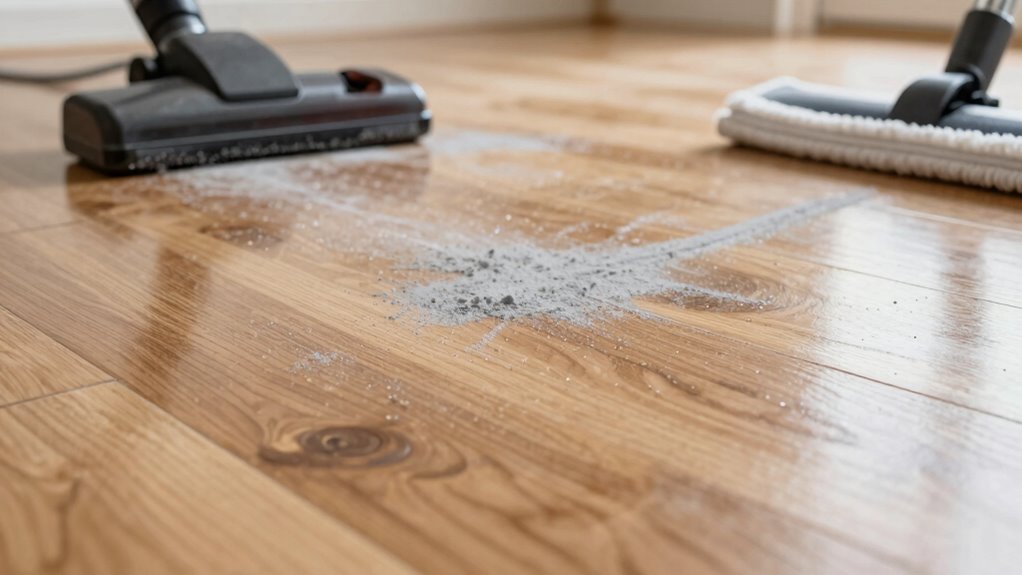
Vacuum Tips: Removing Dust Effectively Without Spreading Particles
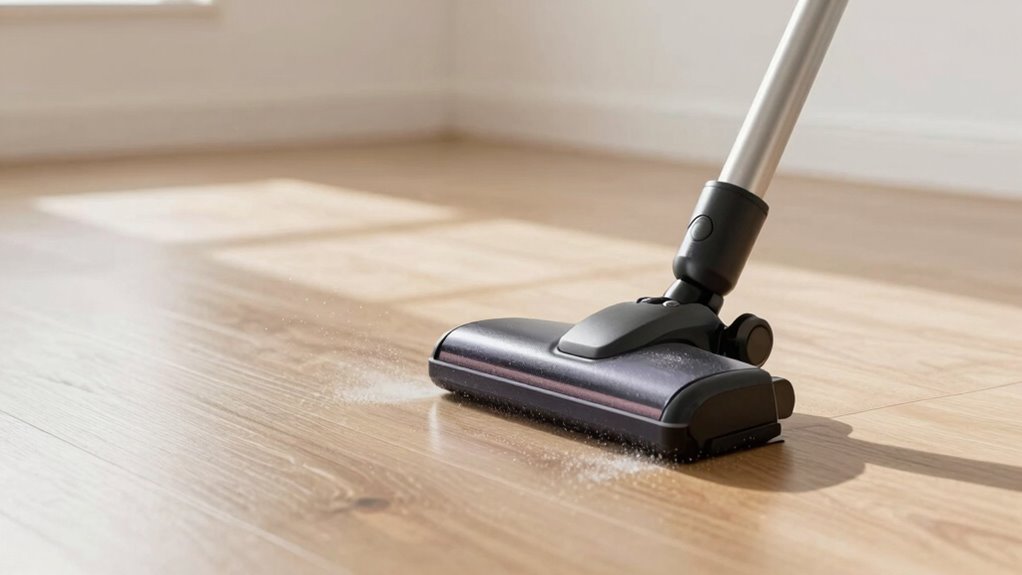
To remove dust effectively with a vacuum, it’s important to choose the right settings and attachments. Use a HEPA filter vacuum to trap tiny particles and prevent spreading dust into the air. Attachments matter—use a brush nozzle or crevice tool to target corners and edges without scattering debris. To prevent dust from escaping back into the room, create dust barriers with plastic sheeting or seal off doorways. For extra air quality, run an air purifier nearby to catch airborne particles missed by vacuuming. Keep these tips in mind:
- Set your vacuum to a low or upholstery setting for delicate surfaces
- Use a HEPA filter to trap fine dust particles
- Seal off areas with plastic barriers to contain dust
Following these steps ensures you remove dust thoroughly without spreading it everywhere.
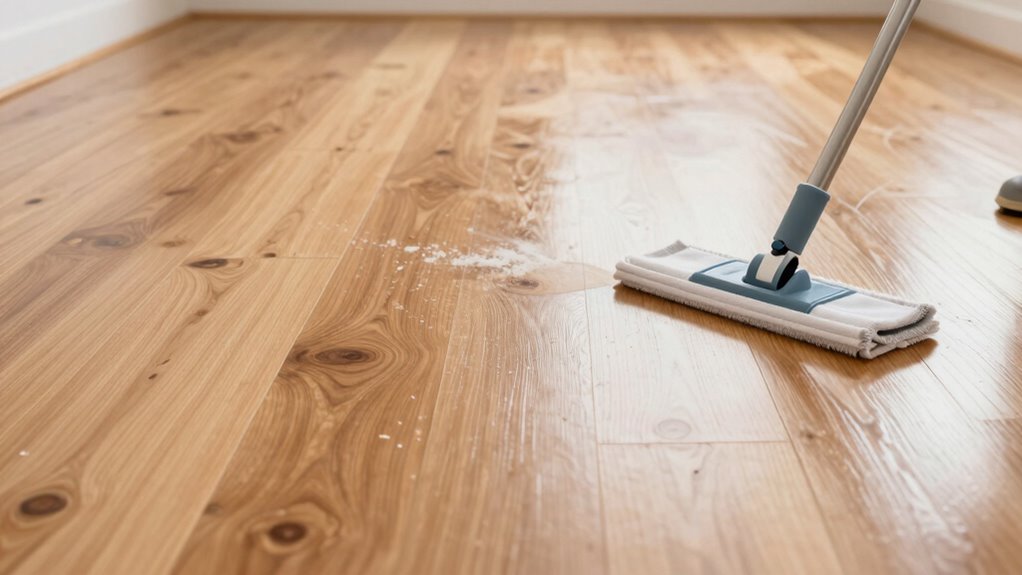
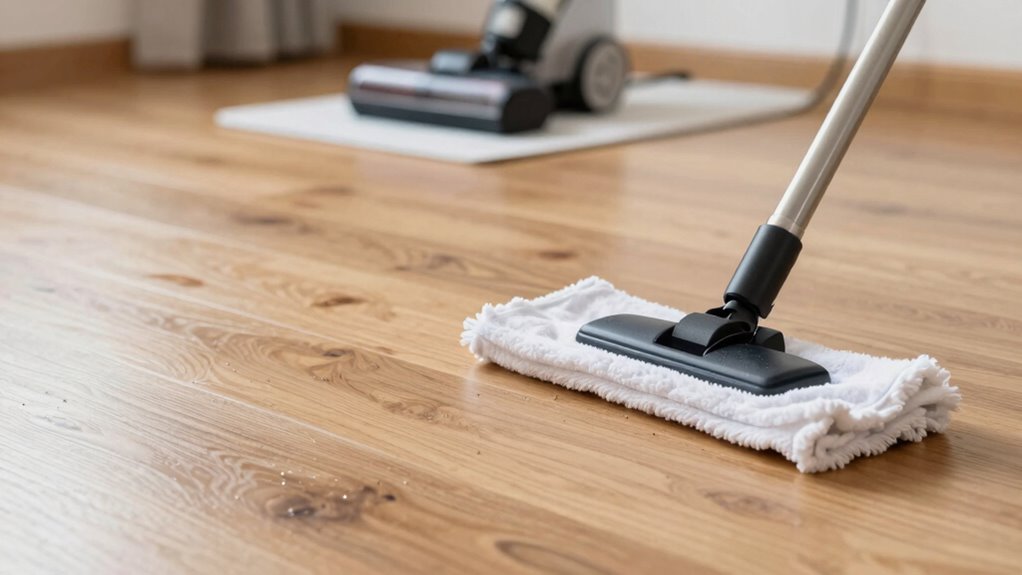
How to Mop Floors After Renovation Without Smearing Dust
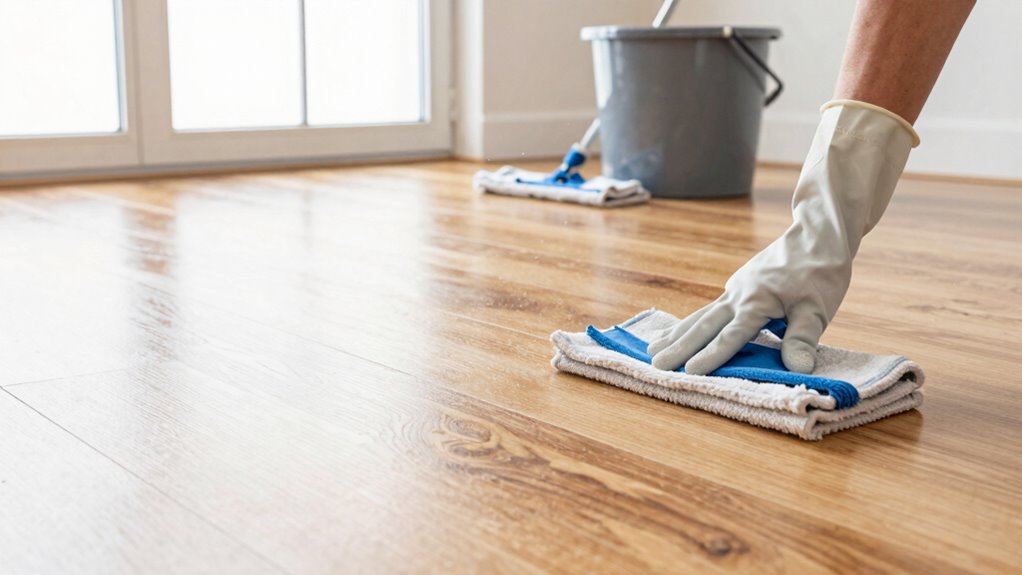
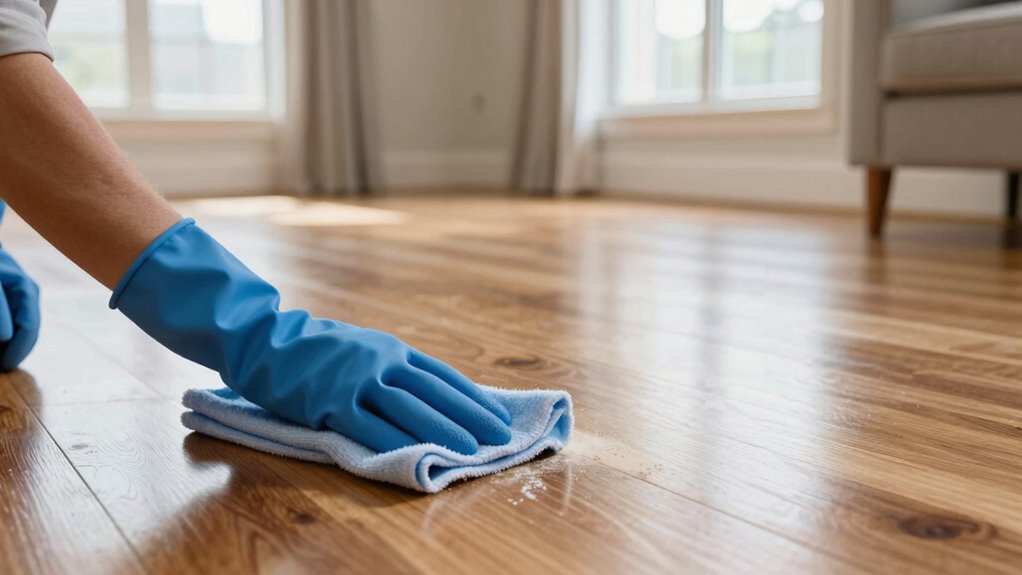
After vacuuming, it is essential to mop carefully to prevent smearing dust across your floors. To achieve this, use a damp mop with a microfiber cloth to trap dust rather than spread it. Before mopping, confirm your cleaning tools promote dust containment by rinsing frequently and wringing out excess water. This prevents dust from resettling and smearing. Maintain a consistent cleaning frequency—mop more often during heavy renovation periods to stay ahead of dust buildup. Avoid overly wet mops, as excess moisture can push dust into grout lines and crevices. Instead, use light, controlled strokes, and rinse your mop regularly. This approach ensures your floors stay clean, dust-free, and free of smears, leaving your space refreshed and properly maintained.
Common Mistakes to Avoid When Cleaning Different Floor Types
When cleaning different floor types, it’s easy to make mistakes that can cause damage or reduce their lifespan. Using incorrect cleaning methods or neglecting proper cleaning frequency can harm your flooring material. For example, using too much water on hardwood can cause warping, while harsh chemicals can damage tile or vinyl.
Avoid these common mistakes:
- Using abrasive tools on delicate surfaces
- Over-wetting or under-wetting floors during cleaning
- Neglecting regular cleaning schedule based on flooring material
Always tailor your cleaning routine to the specific flooring material and stick to recommended cleaning frequency. This prevents unnecessary wear and keeps your floors looking their best longer. Proper care guarantees longevity and preserves the aesthetic appeal of every floor type.
Final Tips for Keeping Your Floors Dust-Free Long-Term
Maintaining a dust-free floor long-term requires consistent effort and smart strategies. Regularly dust and sweep to prevent dust accumulation, which can negatively impact your air quality over time. Use a microfiber mop or vacuum with a HEPA filter to efficiently trap dust particles without spreading them around. Keep windows open when possible to improve ventilation and reduce airborne dust. Place doormats at entrances to catch dirt and prevent it from spreading inside. Establish a routine cleaning schedule, especially in high-traffic areas, to stay ahead of dust buildup. Additionally, consider using air purifiers to enhance indoor air quality and minimize dust circulation. By staying proactive and attentive, you’ll keep your floors pristine and your indoor environment healthier long-term.
Frequently Asked Questions
Can Specific Cleaning Products Prevent Dust Smearing on Floors?
Yes, specific cleaning products can help prevent dust smearing. Use a dust mop for dry dust removal, and for stubborn dust, attach a vacuum with suitable attachments to loosen debris without spreading it. Avoid harsh chemicals; instead, opt for gentle, dust-friendly cleaners. These products, combined with a dust mop and vacuum attachments, guarantee your floors stay clean without smearing dust around, leaving a fresh, spotless finish.
How Often Should I Clean My Floors After Renovation?
Like a knight in shining armor, you should vacuum your floors daily during the first week after renovation to remove loose dust. Follow this with mopping every 2-3 days, using a damp mop and gentle cleaner. Keep your vacuum frequency high and stick to a consistent mop schedule to prevent dust buildup and smearing. Regular cleaning guarantees your floors remain pristine and dust-free without chaos or mess.
Are There Differences in Cleaning Methods for Hardwood Versus Tile Floors?
Yes, cleaning techniques vary based on your floor type. For hardwood floors, use a damp mop with a gentle cleaner to avoid damage and prevent smearing dust. With tile floors, you can use a slightly wetter mop and a standard tile cleaner for thorough removal. Always follow manufacturer recommendations for your specific floor type, and avoid excessive water to keep your floors looking their best without smears or damage.
What Safety Precautions Should I Take When Cleaning Dust Post-Renovation?
When cleaning dust post-renovation, wear protective gear like masks and gloves to avoid inhaling or touching harmful particles. Make sure proper ventilation by opening windows and using fans to circulate air, reducing dust buildup. Before starting, dampen your mop or cloth to prevent dust from smearing across surfaces. These precautions help keep you safe while effectively cleaning your floors without spreading dust everywhere.
How Can I Remove Stubborn Dust Stains From Floors Effectively?
To remove stubborn dust stains, start by sweeping or vacuuming to eliminate loose debris. Then, use a damp microfiber cloth or mop with a gentle cleaning solution designed for your floor type. For stain elimination, apply a mixture of water and mild detergent, scrubbing lightly. Rinse with clean water and dry thoroughly. Consistent dust removal and careful cleaning make certain your floors stay spotless without smearing.
Conclusion
Think of your floors as a canvas that needs gentle, deliberate strokes. By choosing the right tools and techniques, you can sweep away renovation dust without smearing it into a muddy mess. With patience and care, your floors will shine like a freshly painted masterpiece, free from stubborn smudges. Remember, a clean floor isn’t just about appearance—it’s about creating a fresh start after chaos, turning your space into a sanctuary of clarity and comfort.