To safely remove adhesive residue from floors, start gently with warm water and a mild detergent to loosen the glue. If that doesn’t work, try natural remedies like vinegar or baking soda before moving on to plastic scrapers or specialized adhesive removers. Always test on a small area first and work carefully to avoid damage. For more detailed steps and tips, you’ll find effective methods to protect your floors in the next steps.
Key Takeaways
- Identify the adhesive type to choose the safest removal method for your floor.
- Gather gentle tools and natural cleaning solutions like warm water, vinegar, or baking soda first.
- Use plastic scrapers and mild chemical removers cautiously, testing small areas before full application.
- Rinse thoroughly and inspect for stubborn residues, reapplying gentle methods as needed.
- Maintain regular cleaning and protective treatments to prevent future adhesive buildup.

Goo Gone Spray Adhesive Remover Gel, 12 oz, Removes Glue, Stickers, Tape Residue, Grease, Gum & Wax, Adhesive Spray with Citrus Cleaning Power for Hard Surfaces, Carpets & Fabrics
Thick Spray Gel for adhesives: Goo Gone Adhesive Remover Spray Gel, which won a 2026 Good Housekeeping Cleaning…
As an affiliate, we earn on qualifying purchases.
As an affiliate, we earn on qualifying purchases.
Identify the Type of Adhesive Residue on Your Floor
How can you tell what kind of adhesive residue is on your floor? First, look closely at the texture and appearance. Some common floor residues come from different types of adhesives, like sticky tape remnants, glue from labels, or construction adhesives. For example, rubbery residues often indicate rubber-based adhesives, while sticky, oily patches suggest solvent-based glues. Water-based adhesives tend to leave a softer, more easily removable film. The key is to identify whether the residue is tacky, hardened, or oily, which helps determine the adhesive type. Recognizing these common floor residues allows you to choose the safest and most effective removal method, preventing damage to your flooring. Understanding the adhesive composition can significantly influence your removal approach. Knowing your residue type is the first step in a successful removal process. Additionally, proper identification can help you avoid using harsh chemicals that might harm your flooring surface.
Furthermore, being aware of adhesive properties can guide you in selecting the safest removal techniques.
4 Pcs Plastic Razor Blade Scraper and 100 Pcs Blades, Remove Label Decal Tool, Forwithout Scratches Plastic Razor Blade Scraper, Adhesive Remover for Stickers, Gaskets and Paints on Window Car Glass
A VERSATILE TOOL: Scraper tool is ideal for removing vinyl, debris, decals, sign, glue, stickers, labels, grease and…
As an affiliate, we earn on qualifying purchases.
As an affiliate, we earn on qualifying purchases.
Gather the Right Tools and Supplies for Safe Removal
Before you start removing adhesive residue, make sure you have the essential tools on hand, like scrapers and brushes. Wear protective gear such as gloves and goggles to keep yourself safe during the process. Additionally, ensure you understand support breakfast options to help you effectively and safely complete the removal. Using the right cleaning supplies like solvents and rags can make the task easier and safer. Remember, understanding how everyday kitchen tools work can help you choose the right equipment and avoid unnecessary risks during the process. Knowing basic material properties and safe handling can further improve your safety and effectiveness. Familiarizing yourself with art preservation principles can also guide you in choosing the most gentle removal methods to protect your flooring. Incorporating knowledge about air purifier maintenance can help you create a clean environment that minimizes dust and airborne particles during your work.
Essential Removal Tools
To effectively remove adhesive residue from floors, you need to gather the right tools and supplies to guarantee the process is safe and efficient. Start by identifying the adhesive types, as different adhesives require specific removal methods. For example, hot water or solvents work well for water-based adhesives, while solvent-based adhesives may need stronger chemicals. Consider the floor surface compatibility—some tools or chemicals could damage delicate surfaces like hardwood or laminate. Common tools include scrapers, putty knives, and plastic spatulas to gently lift residue without scratches. You might also need a stiff-bristled brush or a microfiber cloth for stubborn spots. Using energy-efficient tools can help reduce overall removal time and minimize environmental impact. Having the right removal tools ensures you can tackle adhesive residue effectively without risking damage to your floor.
Protective Gear Necessities
When working with adhesive residue removal, wearing the right protective gear guarantees your safety and prevents potential skin or eye irritation. Use gloves to protect your skin from harsh chemicals and scrapers that might cause cuts or scratches, which could compromise floor durability. Safety goggles are essential to shield your eyes from splashes or dust particles. A mask or respirator helps prevent inhaling fumes from adhesives or cleaning solvents. Proper protective gear not only keeps you safe but also preserves your flooring by avoiding accidental damage. Always choose gear that fits well and is appropriate for the chemicals you’re using. Additionally, understanding toilet maintenance and repairs can help you avoid accidental damage to flooring during cleanup. Being aware of personal safety precautions is crucial to prevent injuries and ensure a smooth removal process. Prioritizing safety ensures your removal process is effective without risking injury or damaging the floor’s integrity. Moreover, consulting with cleaning safety guidelines can provide further insights into safe handling practices for various substances. Remember, safety protocols are vital when working with chemical agents to minimize health risks and ensure a safe workspace. It is also helpful to familiarize yourself with adhesive types to select the most suitable removal method.
Cleaning Supplies Checklist
Gathering the right cleaning supplies is essential for effective and safe adhesive residue removal. Start with basic tools like plastic scrapers and soft cloths to avoid damaging the floor surface. You’ll also need cleaning solutions such as mild detergents, adhesive removers, or solvents like rubbing alcohol, depending on the adhesive comparison and residue science. A spray bottle helps apply these solutions evenly. Keep a bucket of warm water nearby for rinsing and wiping. Using gloves and safety goggles protects you during the process. Remember, understanding residue science helps you choose the gentlest yet effective supplies, preventing unnecessary damage. Additionally, knowing the residue science behind adhesives guides you in selecting the most appropriate removal method. Having the right tools ensures you start with the least invasive methods, gradually progressing if needed, all while keeping safety and floor integrity a top priority.

Max Strip Floor Adhesive Remover – 1 Gallon – Professional Fast Working Gel Strips Multiple Layers – Removes Tough Mastics and Construction Adhesives – No Harsh Odor Leaves Surface Clean
DESIGNED TO REMOVE TOUGH MASTICS AND CONSTRUCTION ADHESIVES FROM MULTIPLE SURFACES – Remove Mastics, Construction adhesives and Glues,…
As an affiliate, we earn on qualifying purchases.
As an affiliate, we earn on qualifying purchases.
Start With Warm Water and Mild Detergent to Loosen Residue
Start by using warm water to help loosen the adhesive residue, making it easier to remove. Be sure to apply a mild detergent carefully, so you don’t damage your flooring. Allow the solution to sit briefly to break down the residue before gently scrubbing. For best results, use proper cleaning techniques to avoid damaging your flooring surface. Incorporating smart cleaning tools such as robotic vacuums can help ensure thorough cleaning without harming delicate surfaces. Using the right cleaning methods can further prevent damage and ensure a safe, effective removal process. Additionally, selecting appropriate cleaning agents designed for your specific flooring type can enhance safety and effectiveness. Employing safety and privacy tips can also help protect your home during the cleaning process.
Use Warm Water Effectively
To effectively loosen adhesive residue on floors, begin by applying warm water mixed with a mild detergent. Proper temperature control is key—you want it warm enough to soften the adhesive without damaging the surface. Always check surface compatibility first; some floors may react poorly to certain temperature levels. Use a sponge or cloth to gently apply the mixture, ensuring even coverage. Additionally, understanding the fundamentals of home theater and surface care helps ensure safe and effective cleaning without unintended damage. Employing cleaning technique can further optimize residue removal while protecting your flooring. Employing the right ventilation considerations can also help disperse any fumes or residues released during cleaning. Being aware of surface material properties can guide you in choosing the safest cleaning methods for different flooring types.
Apply Mild Detergent Carefully
After warming the water and applying it to the adhesive, add a few drops of mild detergent to the mixture. This gentle solution helps loosen the residue without risking damage to your floor. Avoid rushing to chemical solvents or adhesive primers, as they can harm the surface or cause unwanted reactions. Instead, use a mild detergent designed for delicate cleaning, which can weaken the bond of the adhesive. Be careful not to use too much, as excess soap can make removal messier. Test a small area first to ensure it doesn’t discolor or damage your floor. Patience is key—let the detergent work on softening the residue so you can remove it more easily later.
Let Solution Sit Briefly
Allow the warm water and mild detergent mixture to sit on the adhesive for a few minutes. This helps loosen different adhesive types, making removal easier and reducing the risk of damaging your floor. Depending on the adhesive’s strength and age, the ideal removal timing may vary—so patience is key. For lighter residues, a brief wait might suffice; for tougher adhesives, you may need to let the solution sit a bit longer. During this time, avoid rushing or scrubbing aggressively, as it can cause damage. The goal is to soften the residue for easier removal, so monitor the process and adjust the waiting period accordingly. This gentle approach minimizes potential harm, setting a solid foundation for the next removal steps.
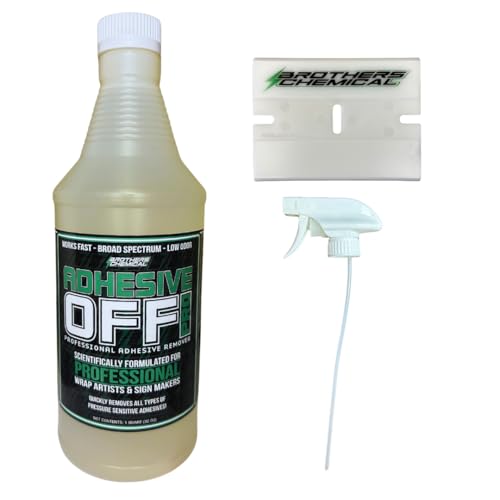
Brothers Chemical Adhesive-Off PRO Adhesive Remover for Vinyl Wraps and Graphics, 32 oz, with 3 x 4 Chemical Resistant Big Blade Scraper
Powerful Adhesive Remover: Scientifically formulated to quickly and effectively remove all types of pressure-sensitive adhesives used by professional…
As an affiliate, we earn on qualifying purchases.
As an affiliate, we earn on qualifying purchases.
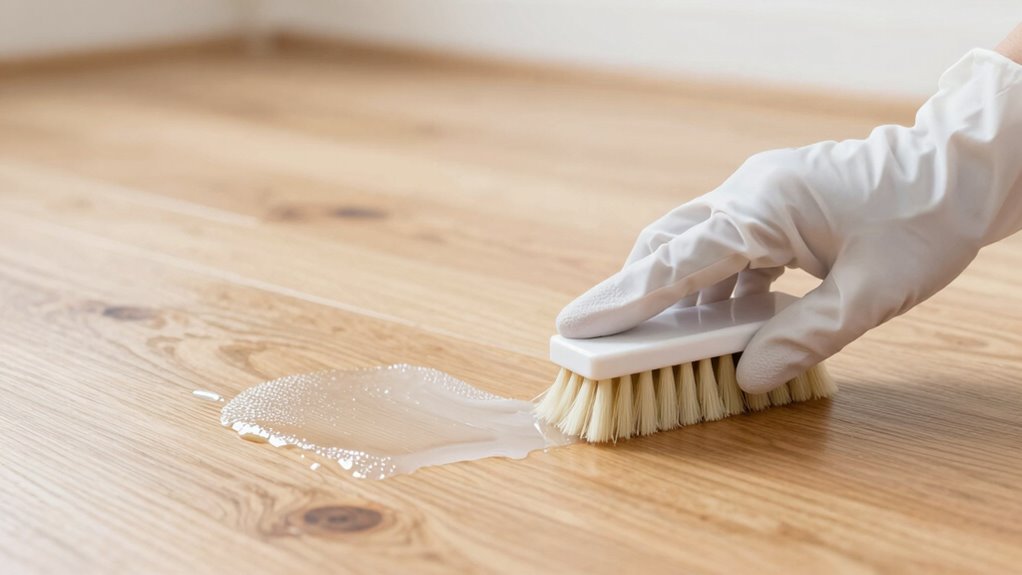
Use Vinegar or Baking Soda First as Natural Remedies
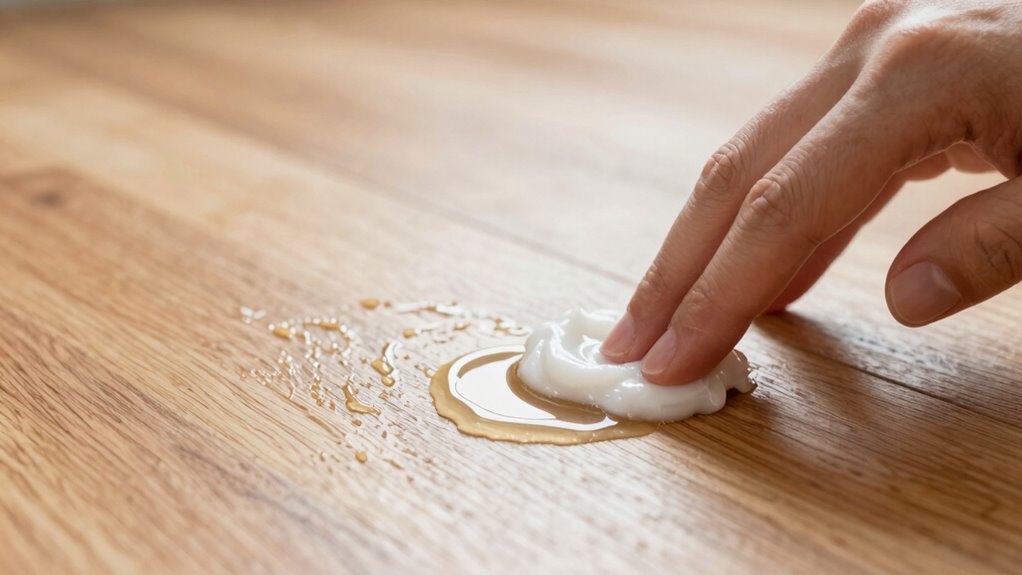
When dealing with adhesive residue on floors, starting with natural remedies like vinegar or baking soda is often effective. These eco friendly solutions are gentle on your flooring and reduce chemical exposure. To use vinegar, mix equal parts distilled white vinegar and warm water, then apply the solution to the residue with a cloth or sponge. Let it sit for a few minutes to loosen the adhesive. Baking soda can also help; sprinkle it directly on the residue and add a small amount of water to form a paste. Gently scrub with a soft cloth or sponge. Both options are safe, inexpensive, and environmentally friendly. Trying these natural remedies first minimizes potential damage and prepares the surface for easier removal, making your cleaning process safer and more sustainable.
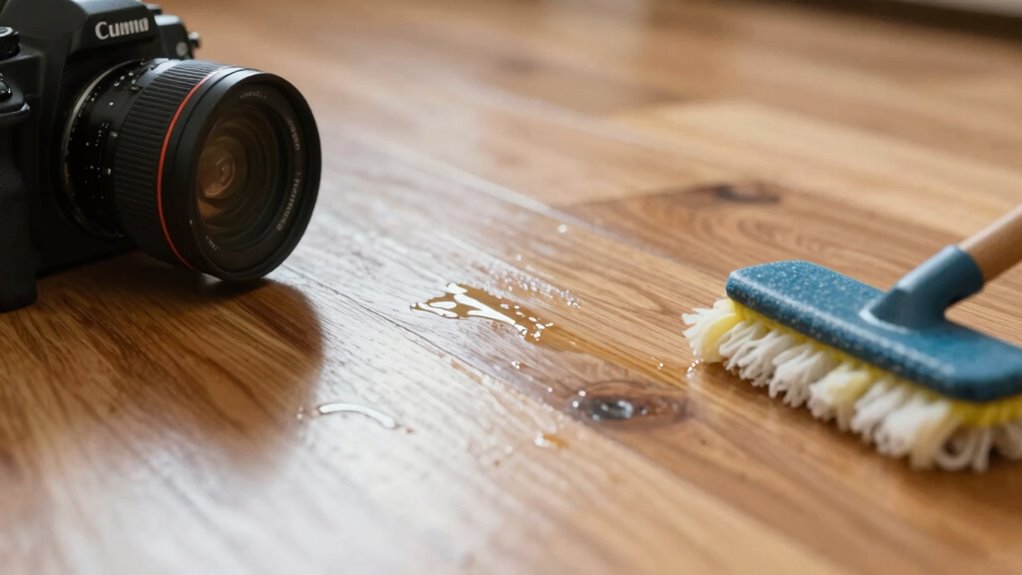
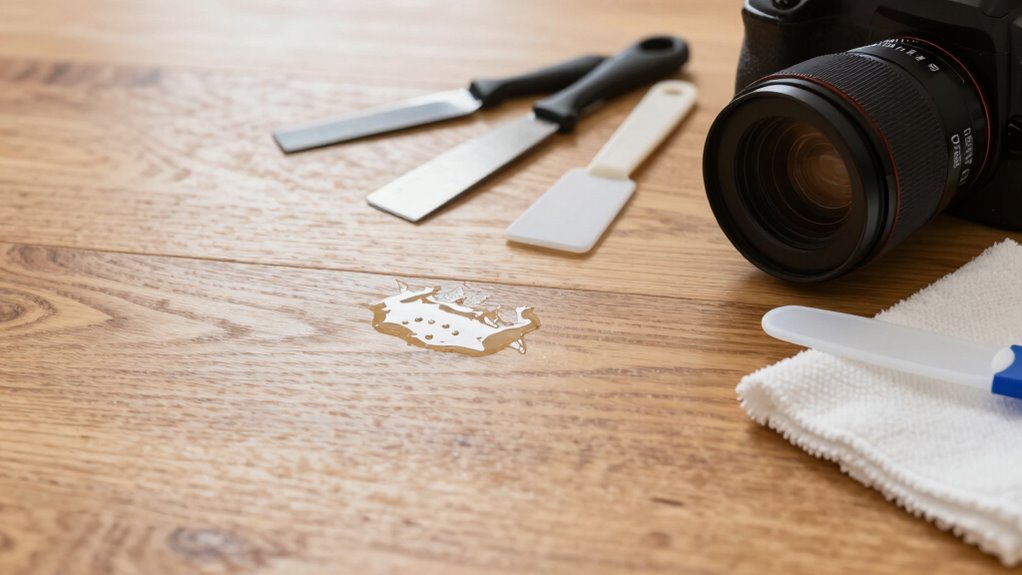
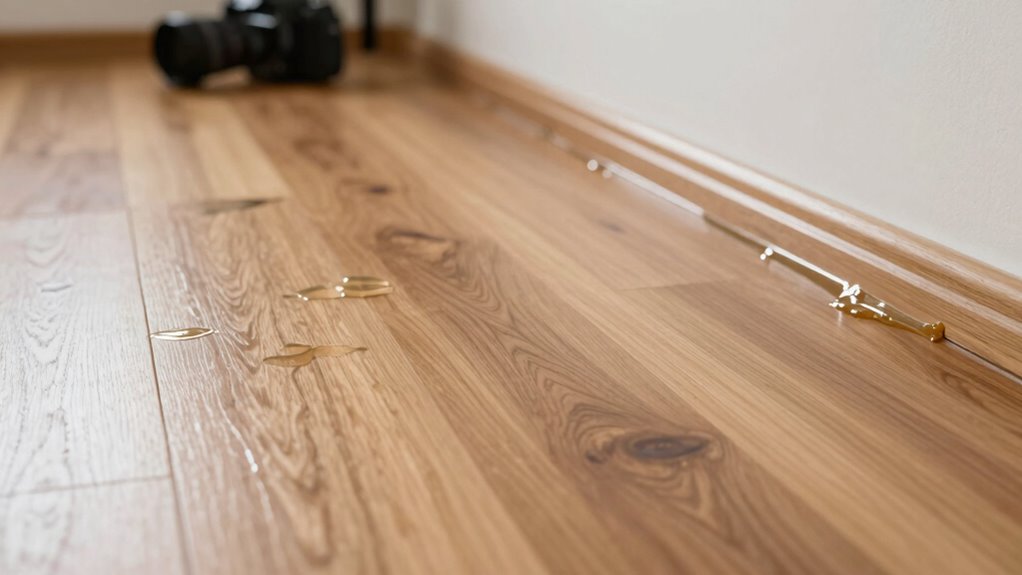
Gently Scrape Away Residue With Plastic Tools
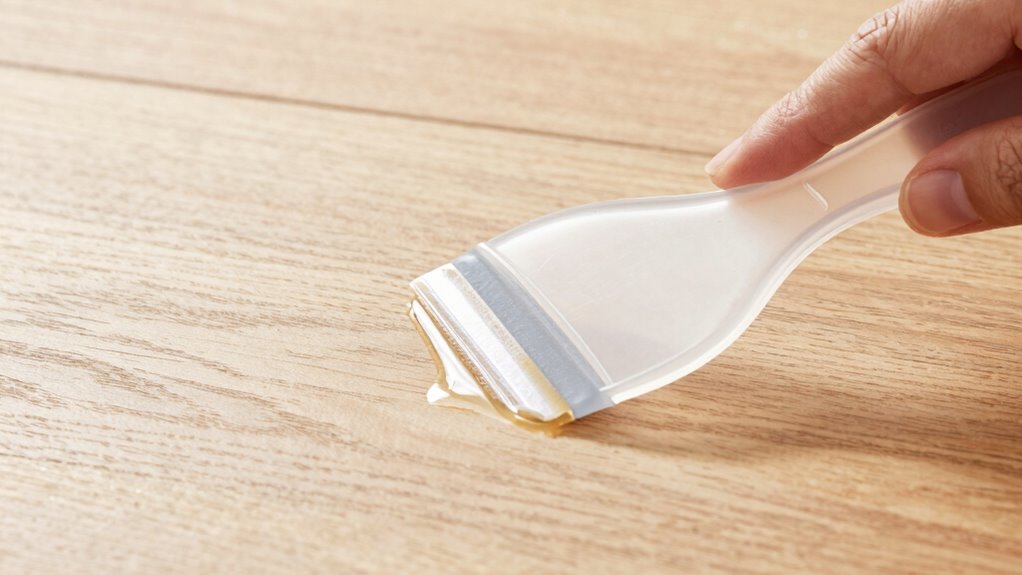
To remove adhesive residue without damaging your floors, gently scrape it away using plastic tools such as a plastic scraper or an old credit card. This method relies on gentle peeling to lift the adhesive without scratching the surface. Use light pressure and keep the tool at a shallow angle to avoid gouging your flooring. Here’s a quick guide:
| Tool Type | Best Use | Tip |
|---|---|---|
| Plastic scraper | Larger, stubborn residue | Apply gentle peeling |
| Old credit card | Smaller patches | Use as a pry tool |
| Plastic putty knife | Delicate areas | Keep scraping light |
This approach guarantees your floors stay intact while removing adhesive effectively.
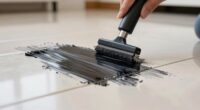
Test and Apply Commercial Adhesive Removers Carefully
Before applying a commercial adhesive remover, it’s essential to test it on a small, inconspicuous area of your floor first. Different adhesive types react differently to removers, so testing guarantees you won’t damage your flooring. Follow the manufacturer’s instructions carefully, and use gloves and ventilation for removal safety. Apply a small amount of the remover to the test spot and wait the recommended time. Check for any discoloration, warping, or damage. If the test area remains unaffected, proceed with applying the remover to the rest of the adhesive residue. Always follow safety guidelines, and avoid using harsh chemicals on delicate surfaces. Testing first helps prevent costly mistakes and guarantees effective, safe removal without harming your floor.
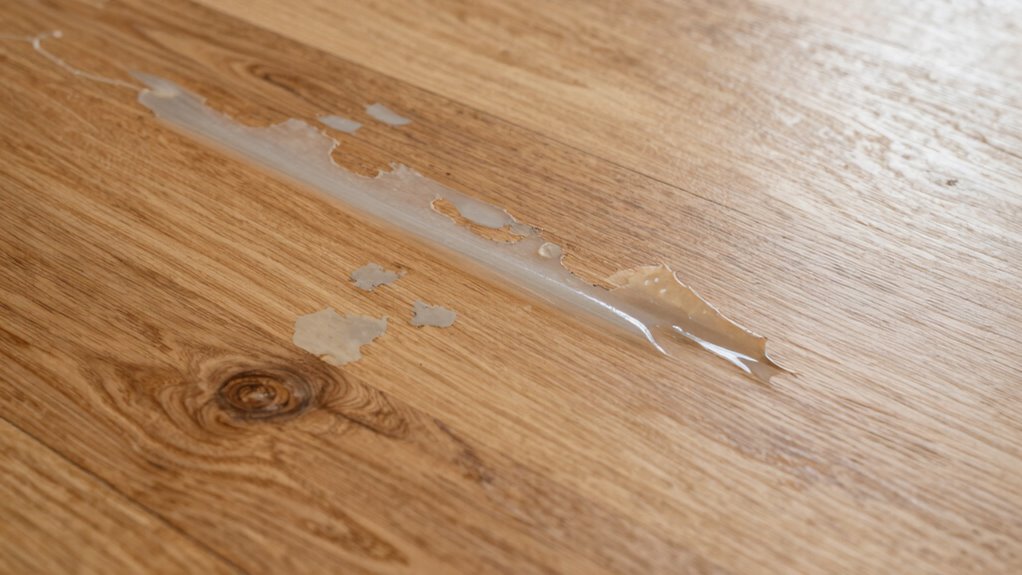
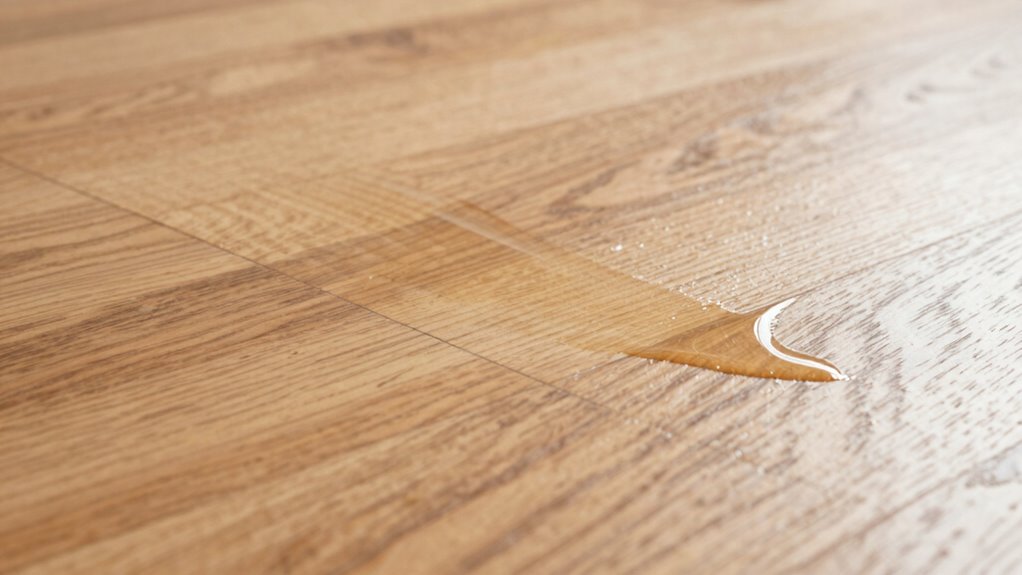
Rinse the Area and Check if Residue Is Completely Removed
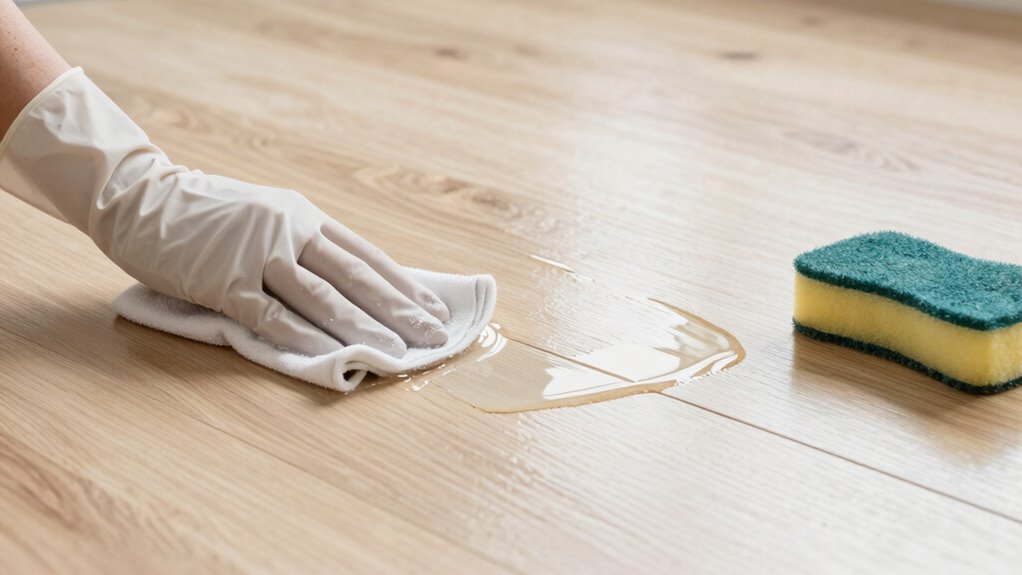
After applying the adhesive remover, thoroughly rinse the area with clean water to wash away any remaining residue. This step guarantees that no residue lingers, which could interfere with floor polishing or damage the surface. As you rinse, observe if the adhesive comes off easily and check for any stubborn spots. Use a soft cloth or sponge to gently wipe the area, verifying that the adhesive is completely removed. It’s important to contemplate the adhesive’s compatibility with your floor type, as some removers or rinsing methods may affect certain surfaces. Once rinsed, dry the area with a clean towel and inspect closely. If the residue persists, repeat the process or consider a different approach for better results.
Try Special Solutions for Stubborn Residues
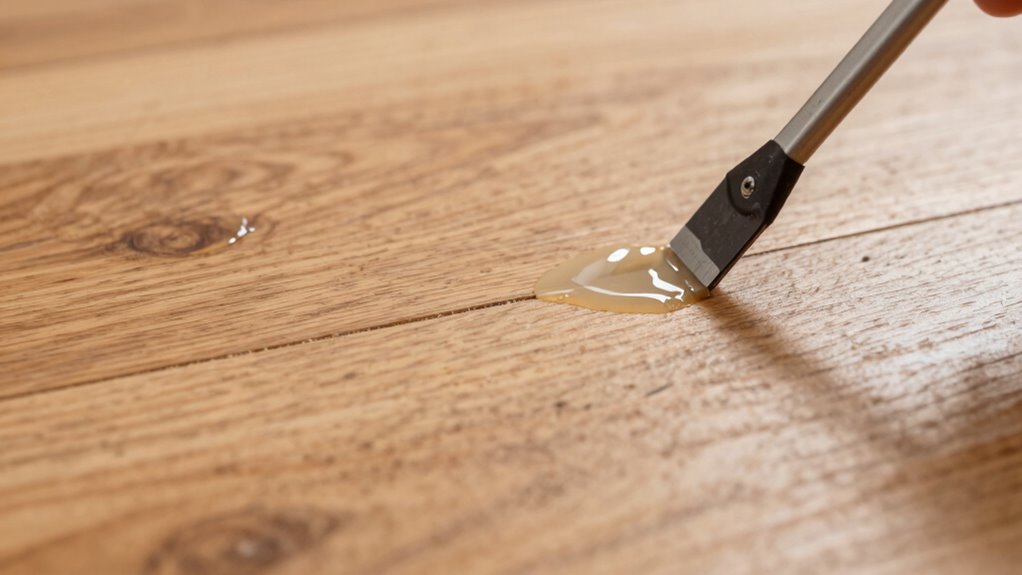
Sometimes, even after rinsing thoroughly, stubborn adhesive residues stubbornly cling to the floor. When gentle methods don’t work, you can try special solutions like chemical solvents designed for adhesives. These products can break down tough residues more effectively. Be sure to follow the instructions carefully and test a small area first to avoid damage. Additionally, adhesive primers can sometimes loosen residues if applied strategically, especially on stubborn spots. These primers soften old adhesives, making removal easier. Always use these solutions in well-ventilated areas and wear gloves for safety. If one method doesn’t work, don’t hesitate to try another, but avoid harsh chemicals that could harm your flooring. Patience and the right chemicals can make stubborn residues much easier to remove.
Prevent Future Residue Buildup With Proper Floor Care
Regularly maintaining your floors with proper cleaning techniques can prevent adhesive residues from building up over time. Start by applying a good floor sealing treatment, which creates a protective barrier against adhesive seepage and makes future removal easier. Using gentle, non-abrasive cleaners helps prevent damage that could trap residues. Avoid harsh chemicals that might degrade your flooring surface, leading to more adhesive buildup. Consistent cleaning, especially after any adhesive-related work, minimizes residue accumulation and keeps your floors looking their best. Proper floor sealing not only enhances durability but also acts as a preventive measure against adhesive prevention issues. By establishing a routine of careful maintenance, you’ll reduce the need for aggressive removal methods and keep your floors residue-free longer.
Frequently Asked Questions
Can I Use Household Items to Remove Different Types of Adhesive?
Yes, you can use household items to remove different types of adhesive. DIY solutions like warm water and dish soap work on mild residues, while household chemicals like vinegar or baking soda can tackle tougher adhesives. Always test a small area first to avoid damage. Use gentle tools and start with the mildest method, gradually moving to stronger solutions if needed, to make certain of safe and effective removal.
How Long Should I Wait Between Applying Natural Remedies and Commercial Removers?
Think of applying remedies like tending a garden; patience is key. You should wait at least 24 hours between natural remedies and commercial removers to prevent unwanted chemical interactions. This allows each treatment to work fully and minimizes damage to your floor. Rushing the removal timing risks compromising the surface or creating more residue. Give each method time to act, ensuring a safe and effective removal process.
Are There Specific Floor Types That Require Special Removal Techniques?
Certain floor types, like hardwood or laminate, need special removal techniques due to their surface sensitivity. You should consider floor type considerations and adhesive compatibility before starting. For delicate surfaces, use gentle methods like warm water or mild solvents, avoiding harsh chemicals that could cause damage. Always test a small area first to verify the removal method won’t harm your flooring. This approach helps protect your floor while effectively removing adhesive residue.
What Safety Precautions Should I Take During Adhesive Removal?
When removing adhesive residue, you should wear personal protective gear like gloves and goggles to protect your skin and eyes. Make certain proper ventilation by opening windows or using fans to avoid inhaling fumes. Keep a clean workspace, and follow manufacturer instructions for any chemicals used. Taking these precautions minimizes health risks, keeps you safe, and makes the removal process smoother and more effective.
How Can I Prevent Adhesive Buildup on Floors in the Future?
Think of your floor like a garden; regular preventive measures keep it thriving. To prevent adhesive buildup, clean spills promptly and choose low-residue adhesives. Use proper flooring maintenance techniques, like sealing surfaces and avoiding harsh chemicals. I once ignored these steps, and scrubbing stubborn residue took hours. By staying proactive, you maintain a pristine floor, saving effort and preserving its beauty for years to come.
Conclusion
By starting gentle and working your way up, you’ll clear adhesive residue like a pro, turning a sticky situation into a smooth finish. Think of your floor as a blank canvas waiting to shine again — with patience and the right tools, you’ll restore its beauty without a scratch. Remember, a careful touch keeps your floors happy and pristine, proving that sometimes the softest approach makes the strongest impression.