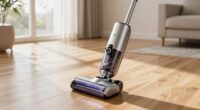
If your cordless vacuum won’t turn on, start by checking the battery and charging port for dirt, corrosion, or loose connections. Reset the vacuum by removing the battery, holding the power button for 10-15 seconds, then reinserting it firmly. You can also reset the motor or power button, and inspect the fuse or circuit breaker. Clearing blockages and testing or replacing the battery might be necessary. Keep exploring for detailed steps to troubleshoot and fix the issue.
Key Takeaways
- Ensure the battery is properly seated, clean contacts, and check for corrosion or damage.
- Reset the vacuum by removing the battery, pressing the power button for 10-15 seconds, then reinserting it.
- Inspect and clean the charging port, and verify the charger and indicator lights are functioning correctly.
- Check for electrical faults by resetting circuit breakers and inspecting internal wiring and fuses.
- Clear blockages in hoses, brush rolls, and filters to ensure proper airflow and prevent operational issues.
Why Won’t My Cordless Vacuum Turn On? Common Causes
If your cordless vacuum won’t turn on, several common issues could be the culprit. One potential cause is a worn-out battery, which affects its overall lifespan and ability to hold a charge. If the battery has reached the end of its lifespan, the vacuum might not power on at all. Additionally, check the charging indicator; if it’s not lighting up or blinking as expected, it could signal a charging problem or a dead battery. Sometimes, the battery isn’t properly seated, or the contacts are dirty, preventing a good connection. It’s also worth considering if the vacuum has been used excessively or stored improperly, which can accelerate battery degradation. Ensuring proper battery calibration can sometimes resolve power issues and extend the device’s lifespan. Proper maintenance of battery contacts and understanding battery health can help prevent these issues from recurring. Recognizing signs of battery deterioration early can guide you to replace the battery before further damage occurs. Regularly inspecting and cleaning the contacts can also help maintain optimal battery connection and performance. Identifying these issues early helps you determine whether the battery needs replacing or if other repairs are necessary.
How to Check the Battery and Charging Port in Your Cordless Vacuum
Start by inspecting the battery connections to guarantee they’re secure and free of corrosion. To ensure optimal performance, consider periodically checking the battery health to prevent unexpected failures. Regularly cleaning and maintaining the charging port can also improve its longevity and ensure a reliable connection. Next, examine the charging port for dirt, damage, or loose parts that might prevent proper charging. These simple checks can often identify the cause of your vacuum not turning on. Additionally, understanding feature vulnerabilities can help prevent future issues with your device. Recognizing common failure points can also guide you in troubleshooting or seeking professional repair services. Regular maintenance of the air purifier components can extend the lifespan of your vacuum and prevent unexpected failures.
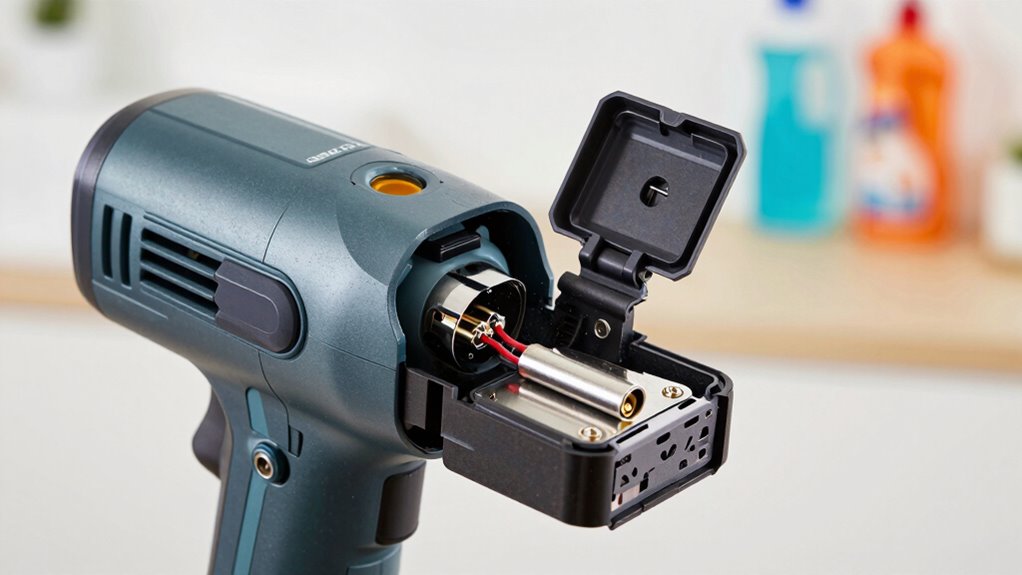
Inspect Battery Connections
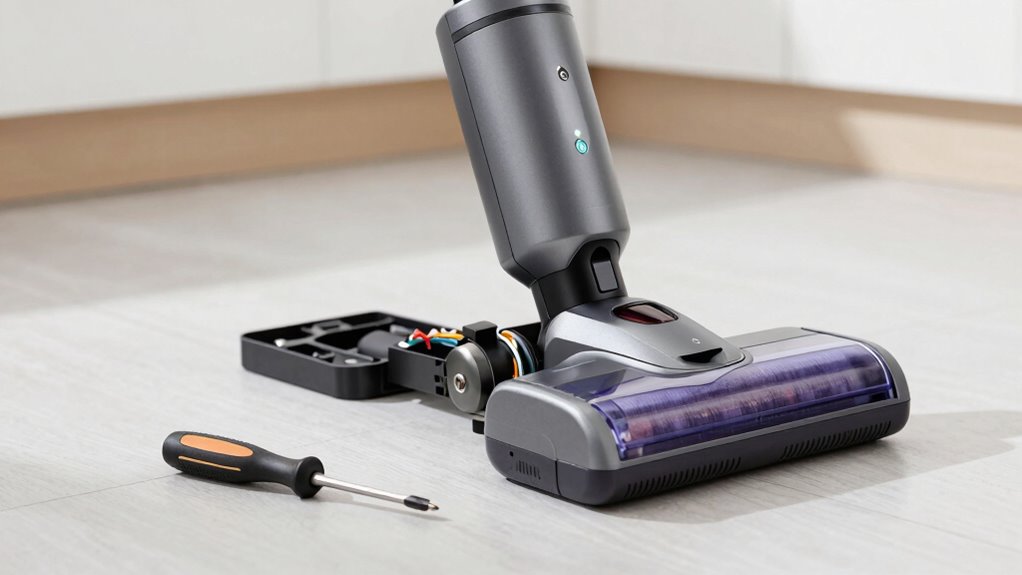
Before assuming the battery is faulty, it’s important to inspect the connections to make sure everything is secure. Start by checking the battery terminals for corrosion, dirt, or damage, and clean them if necessary. Loose or dirty terminals can prevent proper power flow. Next, examine the wiring connections between the battery and the vacuum’s internal components. Look for any loose, frayed, or disconnected wires that might interrupt the circuit. Ensure all connectors are firmly attached and free of debris. Sometimes, a simple reseating of the battery or reconnecting loose wires restores proper contact. Additionally, battery health can decline over time, so testing the battery with a multimeter may help determine if it needs replacement. Regularly inspecting connection integrity helps prevent issues before they affect your vacuum’s performance. Being aware of power supply issues can also save you time troubleshooting. Checking the internal wiring connections periodically can help identify potential problems early, ensuring your vacuum operates smoothly. Maintaining good electrical contact is crucial for consistent operation. Taking these steps helps confirm that the issue isn’t due to poor connections before considering other troubleshooting options.
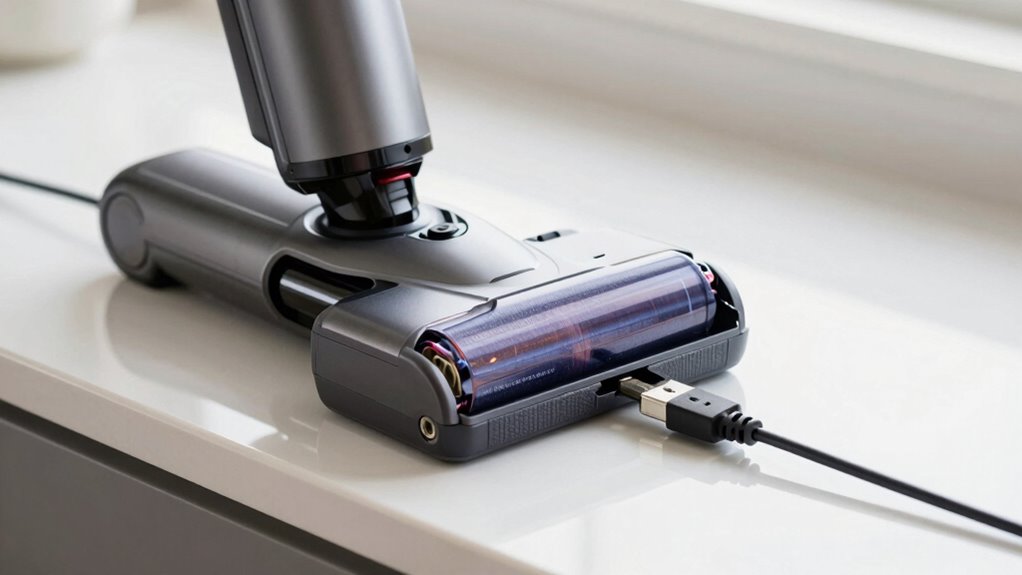
Examine Charging Port
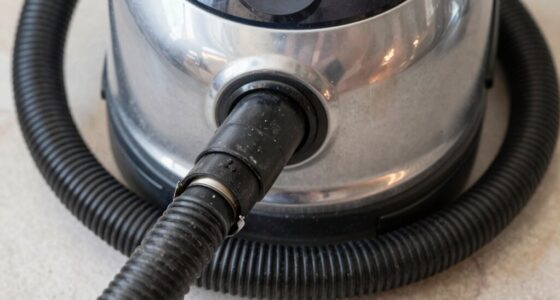
After verifying that the battery connections are secure, the next step is to examine the charging port. Start with a thorough charging port inspection to check for any dirt, debris, or corrosion that could interfere with charging. Use a soft brush or compressed air to carefully clean the port, ensuring no dust or lint blocks the connection. Look for bent or damaged pins inside the port, which can prevent proper contact. If the port appears dirty or corroded, gently clean it with a dry cloth or a small amount of isopropyl alcohol on a cotton swab. Proper port cleaning can restore a solid connection, helping your vacuum charge correctly and turn on reliably. Regular maintenance of the charging port can prevent future charging issues. Additionally, cleaning the port regularly can help maintain optimal contact and prevent buildup that may cause charging problems. Performing routine inspections can also identify early signs of wear or damage, ensuring your cordless vacuum remains functional. Remember that battery health can deteriorate over time, so monitoring its condition is also important to keep your vacuum working properly. Checking the charging station and power source can further ensure proper charging performance and prevent issues with your device.
How to Perform a Basic Reset on Your Cordless Vacuum

Start by checking if the power switch is fully engaged and functioning properly. Next, remove the battery, wait a few seconds, then reinstall it securely. This simple reset can often resolve issues and get your vacuum working again. If your vacuum still doesn’t turn on, ensure that the motor or internal components are not damaged, similar to how electric dirt bikes require proper maintenance to perform optimally. Additionally, inspecting the battery connection for corrosion or looseness can help ensure the power source is delivering adequate voltage. Performing a basic reset regularly can help maintain your vacuum’s performance and prolong its lifespan, especially considering the importance of toilet maintenance in keeping bathroom fixtures working properly.
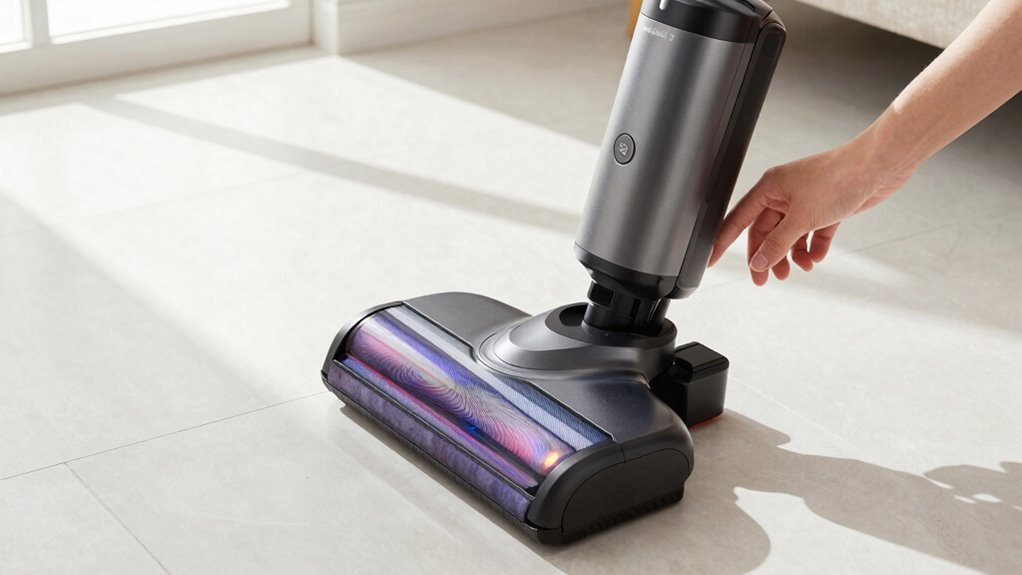
Check for Power Switch
If your cordless vacuum won’t turn on, the first thing to check is whether the power switch is engaged. Make sure the switch is in the “on” position, as it’s easy to overlook. Before handling the switch, follow safety precautions—unplug the device if possible to avoid accidental activation. Inspect the switch for any damage or debris that might prevent proper contact. Sometimes, dirt or dust can interfere with the switch’s function, so clean around it gently. Confirm that you’re pressing or toggling the switch correctly according to your model’s design. Taking these simple steps ensures that the power switch isn’t the problem, and it helps rule out a common issue before exploring other reset methods.
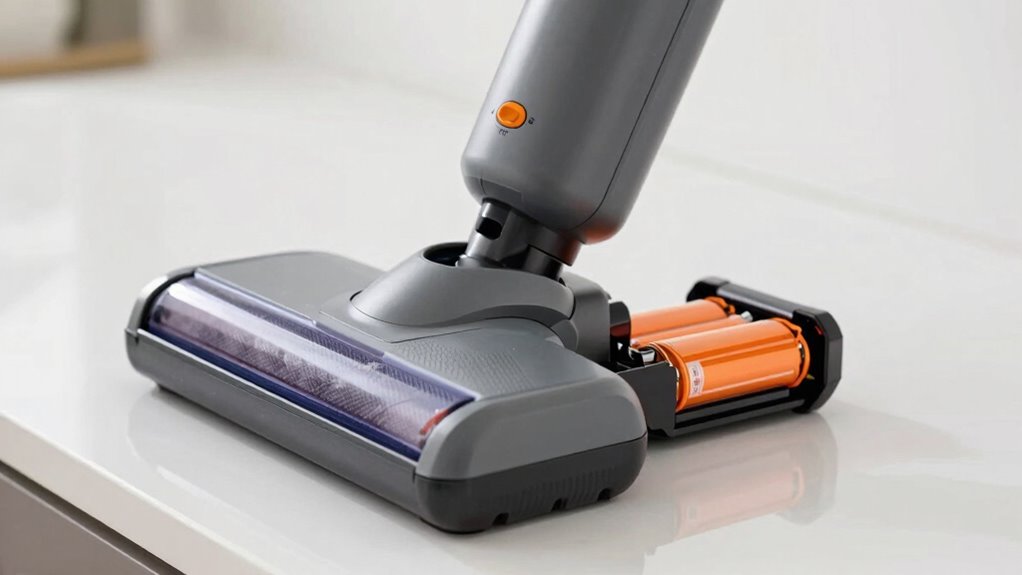
Remove and Reinstall Battery
Removing and reinstalling the battery is a straightforward way to reset your cordless vacuum. This simple step can often resolve power issues by performing a basic battery removal and power cycling. To do this:
- Turn off the vacuum and unplug or disconnect it from any charging station.
- Remove the battery from its compartment carefully.
- Wait for about 30 seconds to allow any residual charge to dissipate.
- Reinstall the battery firmly into its slot, ensuring it clicks into place.
This process helps reset the vacuum’s internal electronics and can fix minor glitches. After reassembling, turn on your vacuum to check if it powers up. If not, repeat the steps or try other reset methods.
How to Reset the Motor or Power Button Step-by-Step

Sometimes, resetting the motor or power button can resolve a cordless vacuum that won’t turn on. To do this, turn off the vacuum and unplug it from the charger. Locate the reset or power button, usually near the handle or motor. Press and hold the button for 10-15 seconds to perform a motor reset. Release the button and wait a few seconds. Press the power button again to see if it turns on.
| Step | Action | Tip |
|---|---|---|
| 1 | Power off and unplug | Prevent electrical issues |
| 2 | Hold reset button | For 10-15 seconds during button troubleshooting |
| 3 | Release and wait | Allow internal components to reset |
| 4 | Turn on vacuum | Confirm it powers on properly |
How to Check the Fuse or Circuit Breaker in Your Vacuum
When your cordless vacuum refuses to turn on, checking the fuse or circuit breaker is a crucial step. Start with a fuse inspection to see if the fuse has blown or is damaged. Then, locate your vacuum’s circuit breaker or fuse box. Follow these steps:
If your cordless vacuum won’t turn on, check the fuse or circuit breaker first.
- Unplug the vacuum and find the fuse or circuit breaker panel.
- Check the fuse for a broken filament or discoloration; replace if needed.
- Reset the circuit breaker by switching it off and on again.
- Test the vacuum after resetting the breaker and replacing the fuse if necessary.
These simple checks help determine if an electrical fault is stopping your vacuum from powering on. Ensuring the fuse or circuit breaker is intact can often resolve the issue.
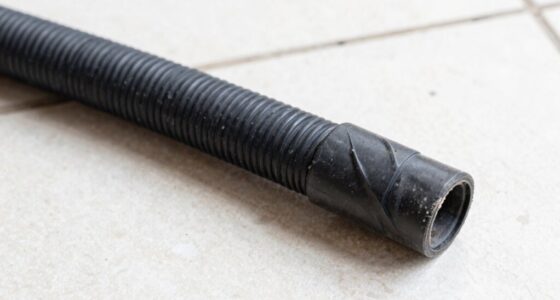
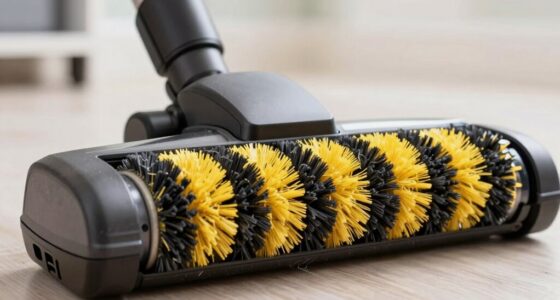
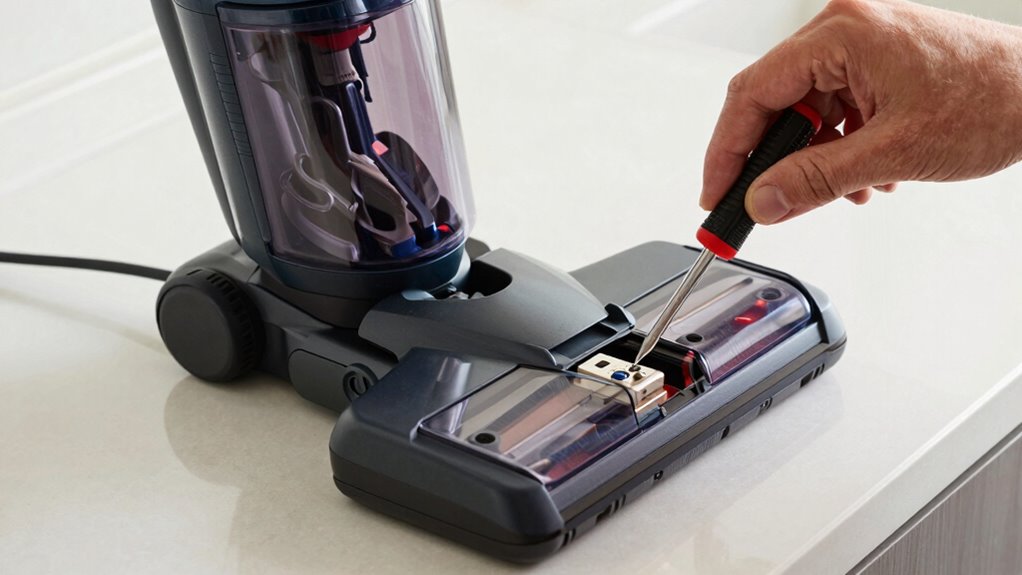
How to Clear Blockages and Improve Airflow in Your Vacuum

If your vacuum still won’t turn on after checking the fuse and circuit breaker, blockage removal could be the issue. Blockages can restrict airflow troubleshooting, making it impossible for your vacuum to operate correctly. Start by inspecting the hose, wand, and brush roll for obstructions. Clear any debris, hair, or dust buildup that could be blocking airflow. Use a long, flexible brush or a broomstick to dislodge stubborn blockages. Check the filters and clean or replace them if they’re clogged. Ensuring unobstructed airflow improves your vacuum’s performance and may resolve the startup problem. Regular blockage removal not only enhances airflow troubleshooting but also helps prevent future issues, keeping your vacuum running smoothly and efficiently.
How to Troubleshoot and Replace Your Battery If Needed
A faulty or depleted battery can prevent your cordless vacuum from turning on, so troubleshooting the battery is a critical step. First, check the battery health by observing if it holds a charge after a full recharge. If the vacuum still won’t turn on, consider these steps:
- Confirm the charger and port are clean and properly connected.
- Try charging the battery for at least 4 hours to rule out charging issues.
- Remove the battery and inspect for visible damage or corrosion.
- If the battery is removable and shows signs of wear, replace it with a compatible new one.
If these steps don’t resolve the problem, the battery may need replacement. Always choose a battery designed for your vacuum model to guarantee optimal performance.
When Should You Seek Professional Repair or Consider Replacement?
Sometimes, despite following all troubleshooting steps, your cordless vacuum still refuses to turn on or function properly. If you’ve checked the battery, maintained it properly, and followed storage tips, yet issues persist, it’s time to seek professional repair or consider replacement. Signs include persistent power failures, unusual battery swelling, or rapid power loss. Use this table to evaluate your situation:
| Issue | Solution | When to Seek Help |
|---|---|---|
| Battery no longer holds charge | Replace battery, check charging port | After troubleshooting, if unresolved |
| Vacuum won’t turn on after reset | Professional repair needed for internal faults | If battery maintenance is proper |
| Excessive wear or damage to parts | Replacement or repair of damaged components | When repair costs outweigh replacement |
If these issues persist, professional assistance guarantees safety and proper functioning.
Tips to Prevent Future Power Issues and Keep Your Vacuum Running Smoothly
To keep your cordless vacuum functioning reliably, regular maintenance and mindful usage are key. Proper battery maintenance ensures your vacuum stays powered longer and avoids unexpected shutdowns. Additionally, dust prevention is essential to keep internal components clean and prevent overheating. Here are four tips to help you maintain peak performance:
- Charge the battery fully and avoid letting it drain completely to extend its lifespan.
- Store your vacuum in a cool, dry place to prevent dust buildup and moisture damage.
- Regularly clean the filters and dust compartments to prevent dust from clogging the motor.
- Check for loose connections and clean contacts to ensure reliable power transfer.
Following these steps keeps your vacuum running smoothly and reduces the risk of future power issues.
Frequently Asked Questions
Can Temperature Affect My Cordless Vacuum’s Power?
Yes, temperature can affect your cordless vacuum’s power. Battery performance drops in extreme cold or heat due to temperature sensitivity, causing the vacuum to lose power or not turn on at all. When it’s too cold, the battery may not deliver enough charge, while excessive heat can damage the battery’s internal components. Keep your vacuum within recommended temperature ranges to guarantee peak performance and extend battery life.
Is There a Way to Update My Vacuum’s Firmware?
Did you know that over 60% of smart device owners update their firmware regularly? To update your cordless vacuum’s firmware, check the manufacturer’s app or website for instructions. Make sure your device’s firmware is compatible with your model before starting the update. Firmware updates often improve performance and fix bugs, so staying current can help guarantee your vacuum works efficiently. Always follow the manufacturer’s guidelines for a smooth update process.
How Long Should a Battery Last Before Replacement?
Your vacuum’s battery lifespan varies, but typically, you should consider replacement around 2-3 years of regular use. Pay attention to signs like reduced runtime or decreased suction power, which indicate it’s time for replacement. The best timing depends on usage frequency and storage conditions. To extend your battery’s life, avoid overcharging and store it in a cool, dry place. When performance drops, swapping out the battery ensures your vacuum continues to work effectively.
Are There Specific Cleaning Routines to Prevent Power Issues?
Did you know that regular battery maintenance can extend your vacuum’s lifespan by up to 30%? To prevent power issues, stick to a consistent cleaning schedule and guarantee the filter and brush roll are free of debris. Also, charge your vacuum fully before each use and avoid leaving it plugged in continuously. These simple routines help keep your cordless vacuum running smoothly and prevent unexpected power failures.
What Warranty Options Are Available for Repairs or Replacements?
You should check your warranty coverage for repair options or replacements. Most cordless vacuums come with a manufacturer’s warranty that covers certain repairs within a specific period. If your vacuum isn’t turning on, contact the manufacturer or retailer to explore repair options or a possible replacement under warranty. Keep your purchase receipt handy, and be prepared to describe the issue clearly to expedite the process.
Conclusion
If your cordless vacuum won’t turn on, trying these reset steps can save you time and frustration. For example, Jane’s vacuum kept shutting off until she performed a simple reset, restoring its power. Regular maintenance and quick resets can keep your vacuum running smoothly. If issues persist, don’t hesitate to seek professional help. Staying proactive guarantees your vacuum stays reliable, so you can enjoy effortless cleaning without surprises.