When you clean your kitchen floor with soap, residues can trap grease, creating a stubborn smear. Soap’s surfactants lift grease but often don’t fully rinse away heavy or deep oil buildup, leaving a sticky film behind. This greasy residue smears further when disturbed, especially on shiny or porous surfaces. Using stronger degreasers, proper rinsing, and choosing the right cleaning tools help remove the grease completely. If you want effective solutions, keep exploring the best ways to tackle stubborn grease.
Key Takeaways
- Soap residues can mix with grease, creating a slippery, smeared film if not thoroughly rinsed from the floor.
- Heavy or stubborn grease layers resist soap’s cleaning power, leading to smears instead of a clean surface.
- Surfactants in soap lift grease but may leave behind residues that smear if not properly rinsed or if used improperly.
- Using the wrong cleaning products or insufficient rinsing allows soap and grease residues to accumulate, causing smearing.
- Specialized degreasers, hot water, and proper rinsing techniques are more effective than soap alone for greasy kitchen floors.

Shark | Wet Dry Vacuum Cleaner | Vacuum and Mop Combo | HydroVac MessMaster | 3-in-1 Self-Cleaning + Powerful Suction | 2 Brushrolls & 2 Solutions Included | Hardwood Floor & Area Rug Cleaner | AW261
3-IN-1 CLEANING: SHARK HydroVac MessMaster vacuums, mops & self-cleans at the same time—deep cleaning sealed hard floors &...
As an affiliate, we earn on qualifying purchases.
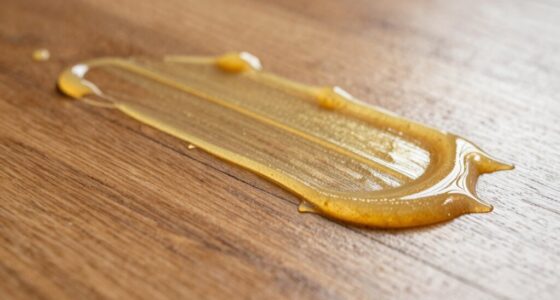
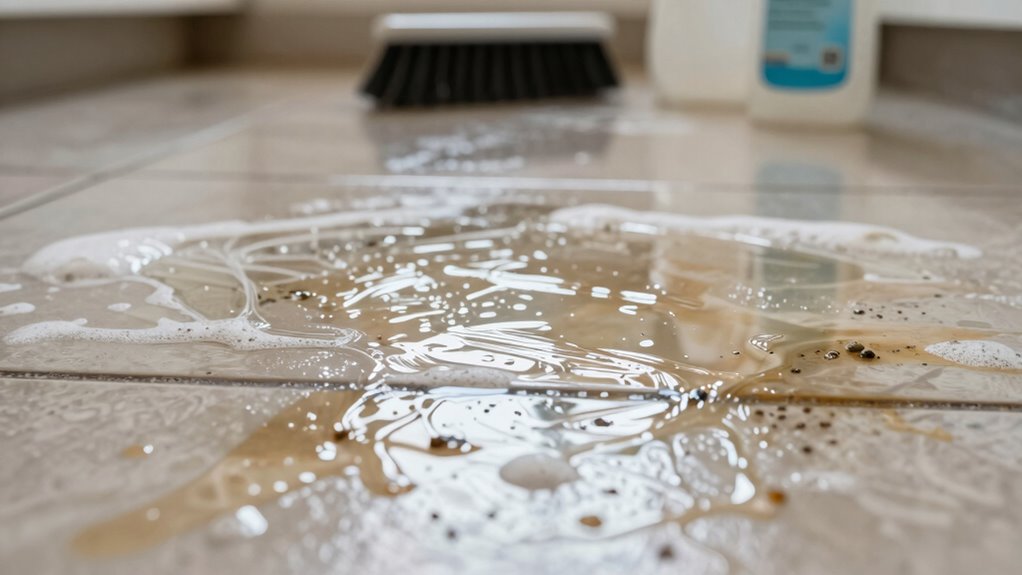
Why Does Grease Smudge When You Clean?
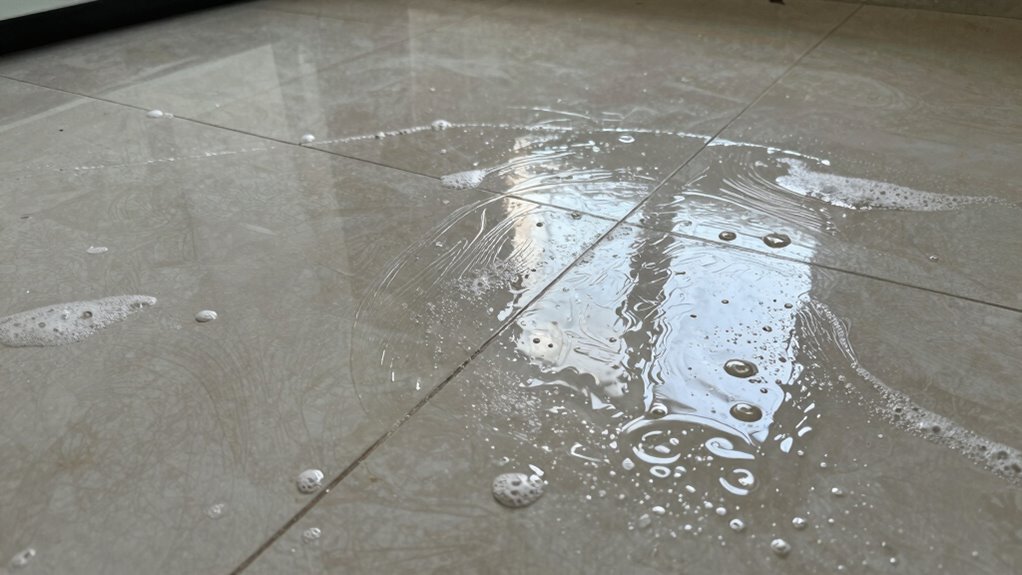
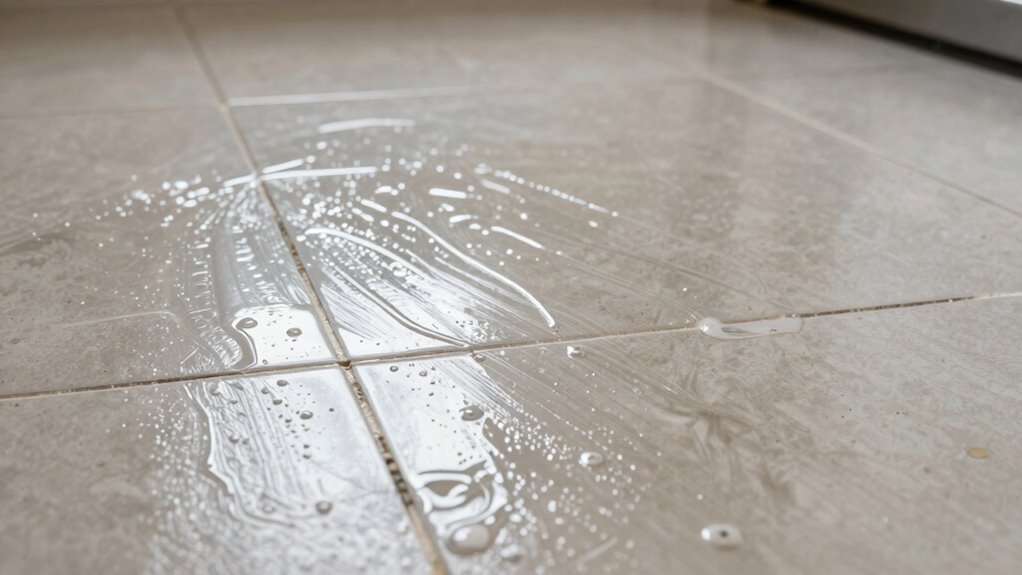
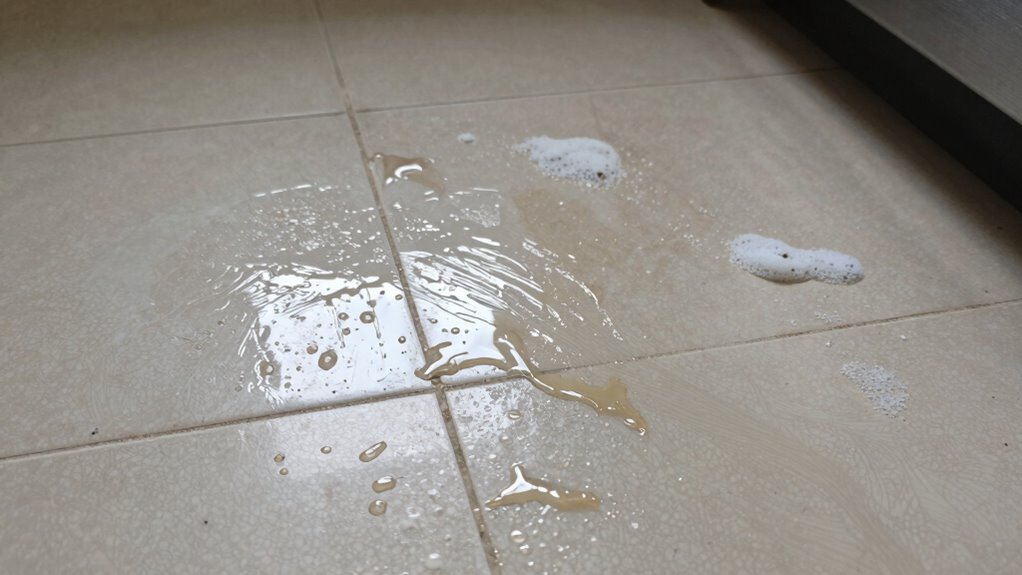
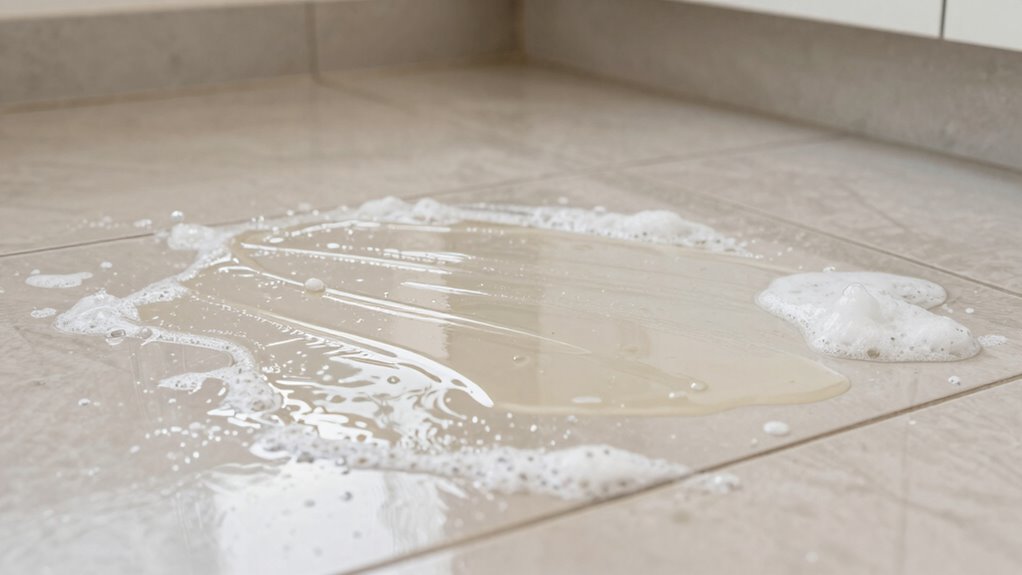
Have you ever noticed that when you try to wipe away grease from your kitchen floor, it often smudges instead of cleaning completely? That’s because of grease adhesion—the way grease sticks stubbornly to surfaces. Grege molecules are hydrophobic, meaning they repel water, which makes them cling tightly to the floor. Soap chemistry plays a vital role here. Soaps contain molecules called surfactants that have both hydrophobic and hydrophilic ends. When you use soap, the hydrophobic tail binds to the grease, while the hydrophilic head faces outward. However, if the soap isn’t strong enough or isn’t mixed properly, it won’t break the grease’s adhesion effectively. Instead, it smears the grease around, leaving behind a shiny, greasy film that’s hard to remove completely. Understanding surface tension can help optimize cleaning techniques to better break the grease’s grip. Additionally, the surface properties of the floor material influence how well grease and soap interact during cleaning. Proper cleaning techniques and the use of appropriate cleaning agents can further improve grease removal and prevent smearing. Recognizing how surface tension affects the interaction between soap and grease can lead to more effective cleaning outcomes.

DREAME G10 Pro Wet Dry Vacuum Cleaner, Vacuum Mop All in One with Auto Self-Cleaning, Floor Cleaner Machine for Hard Floor, 35 Mins Runtime, Edge Cleaning, Self-Propelled Vacuum Mop Combo
Cleaning All Types of Hard Floor: Extensively tested and refined, dreame G10 wet dry vacuum cleaner is perfectly...
As an affiliate, we earn on qualifying purchases.
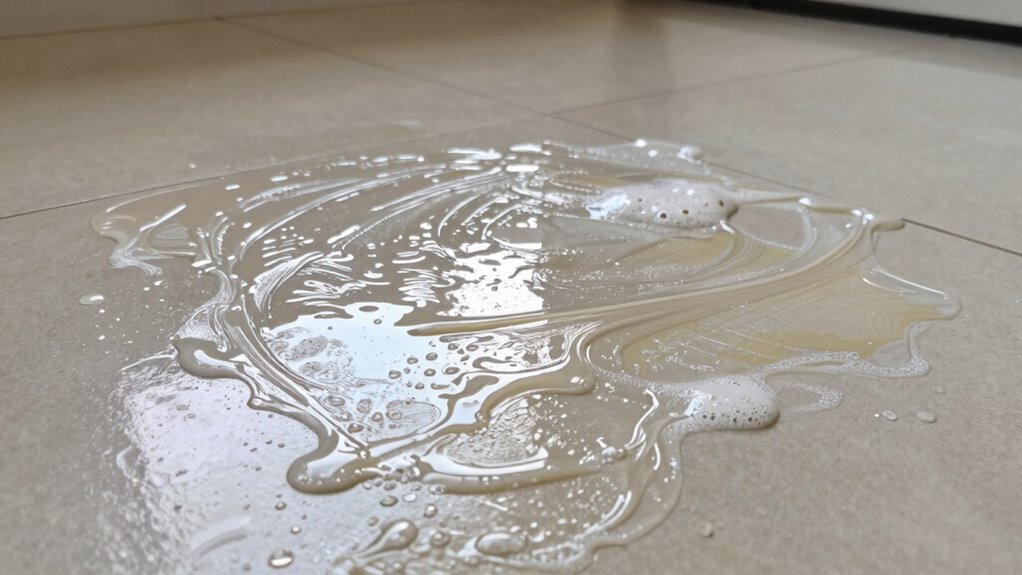
How Dish Soap and Other Cleaners Interact With Grease
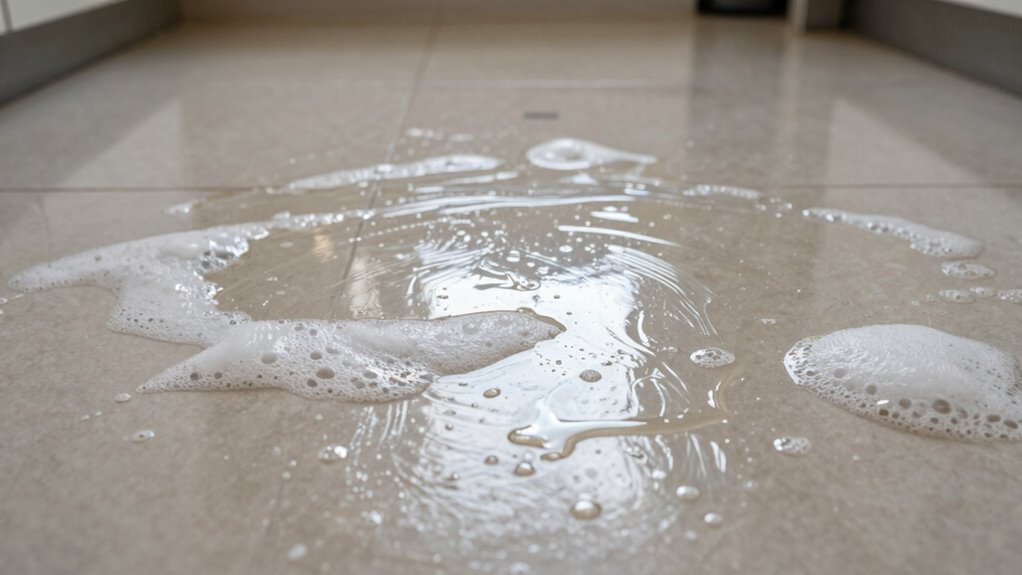
Dish soap and other cleaners work by breaking down the stubborn bonds between grease and surfaces through their surfactant molecules. These molecules surround oil particles, lifting them away from the floor and preventing oil buildup. When you scrub, surfactants reduce surface tension, allowing grease to emulsify into tiny droplets that wash away easily. However, if you don’t rinse thoroughly, residue formation can occur, leaving a thin film behind. This residue can attract more dirt and cause smearing when you try to clean again. Different cleaners contain various surfactants and solvents that target grease differently. Using the right formulation ensures effective removal of oil buildup and minimizes residue, making your cleaning more efficient and preventing that greasy, smeared look on your kitchen floors. Additionally, understanding the interaction of surfactants with surfaces can help you select the most effective cleaning products and techniques.

Tineco iFLOOR 2 Complete Cordless Wet Dry Vacuum Floor Cleaner and Mop, One-Step Cleaning for Hard Floors, Great for Sticky Messes and Pet Hair
CUT YOUR CLEANING TIME IN HALF – Vacuum and wash at the same time. The cordless floor washer...
As an affiliate, we earn on qualifying purchases.
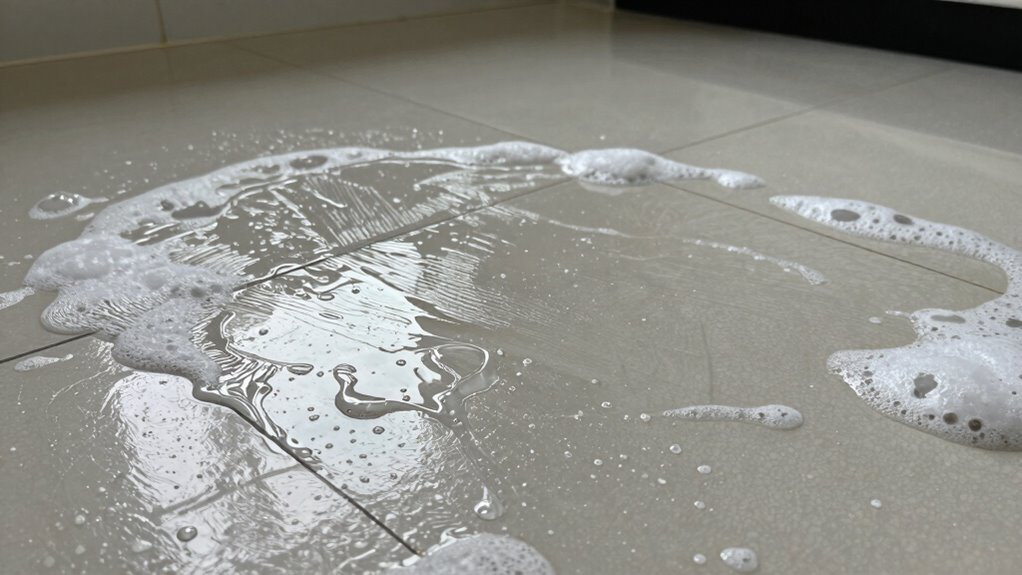
Why Dish Soap Often Fails to Remove Grease Films
Despite its reputation as a go-to grease remover, dish soap often struggles to eliminate stubborn grease films on kitchen floors. Over time, oil buildup from cooking and spills creates a thick, resistant layer that soap alone can’t fully break down. When you use dish soap, it may loosen some grease, but it often leaves behind soap residue that mixes with the oil, making the film worse. Instead of fully cleaning, this residue can smear or spread the grease around. The soap’s surfactants aren’t always strong enough to penetrate deep oil layers, especially if you don’t rinse thoroughly. As a result, greasy films endure, requiring stronger or more specialized cleaners to truly remove the buildup. Dish soap simply isn’t always enough for heavy grease on floors.
Tineco iFLOOR 5 Breeze Complete Wet Dry Vacuum Cordless Floor Washer, One-Step Cleaning for Hard Floors, Edge Clean, Auto Self-Cleaning, Lightweight & Cordless Design
Vacuum and Mop in One Step - Clean up wet or dry messes and easily tackle tough and...
As an affiliate, we earn on qualifying purchases.
Best Products to Remove Grease From Your Kitchen Floor

When regular dish soap falls short in tackling tough grease on your kitchen floors, turning to specialized cleaning products can make a noticeable difference. Look for degreasers designed for heavy-duty use—they break down grease more effectively than standard soaps. After cleaning, consider floor polishing to restore shine and create a smoother surface that resists future buildup. Applying a sealant is also highly beneficial; it forms a protective layer that repels grease and makes cleaning easier next time. Commercial degreasing sprays or concentrated cleaners with surfactants are excellent options. Make sure to follow manufacturer instructions for application and drying times. Incorporating these products and techniques ensures your kitchen floor stays cleaner longer, with less effort needed for maintenance. Additionally, understanding the importance of proper cleaning techniques can help prevent the smearing of soap and grease buildup over time. Using appropriate cleaning methods can also prevent the spread of grease and soap smears during routine maintenance. To further improve cleaning efficiency, consider using tools with non-abrasive scrubbers that won’t damage the floor’s surface. For optimal results, it’s also helpful to understand the role of ventilation in reducing grease residues that settle on surfaces.
How to Deep Clean Grease From Your Kitchen Floor
Deep cleaning grease from your kitchen floor requires a focused approach to break down stubborn buildup. Start by removing any kitchen mats, as they can trap grease and dirt, making cleaning less effective. Sweep or vacuum the floor thoroughly to clear loose debris. Use a degreasing solution or a mix of hot water and dish soap to scrub the surface with a stiff brush or mop, paying special attention to areas near grease traps. Grease traps can leak or overflow, leaving behind thick residues that need extra attention. After scrubbing, rinse the floor with clean water to remove loosened grease and soap residue. For stubborn spots, a paste of baking soda and water can help lift grease without damaging your flooring. Additionally, employing innovative cleaning technologies can enhance the efficiency of grease removal and ensure a more thorough clean. Incorporating advanced cleaning methods can further improve results and reduce residual grease buildup. Using specialized degreasers tailored for kitchen floors can also make the cleaning process more effective and less labor-intensive. Employing appropriate cleaning tools designed for grease removal can further streamline the process and achieve better results.
DIY Solutions for Breaking Down Grease Residues
To effectively break down grease residues on your kitchen floor, you can try simple DIY solutions that use common household ingredients. Start with a mixture of hot water and a few drops of dish soap to tackle grease buildup and soap residue. For tougher stains, add a cup of baking soda to create a gentle abrasive that lifts grease without damaging your floor. Vinegar is also effective; mix equal parts vinegar and water to cut through grease and dissolve soap residue. For stubborn spots, apply a paste of baking soda and vinegar, then scrub gently with a soft brush or cloth. Incorporating proper cleaning techniques helps ensure the longevity and cleanliness of your flooring. Regular cleaning with the right cleaning solutions is essential for preventing future grease buildup and maintaining your kitchen’s hygiene. Using connected home fitness devices can also remind you to maintain regular cleaning routines, contributing to a healthier environment. Regular maintenance and preventive measures can further reduce grease accumulation and keep your kitchen floors looking their best. Additionally, choosing the right flooring material can make cleaning easier and more effective.
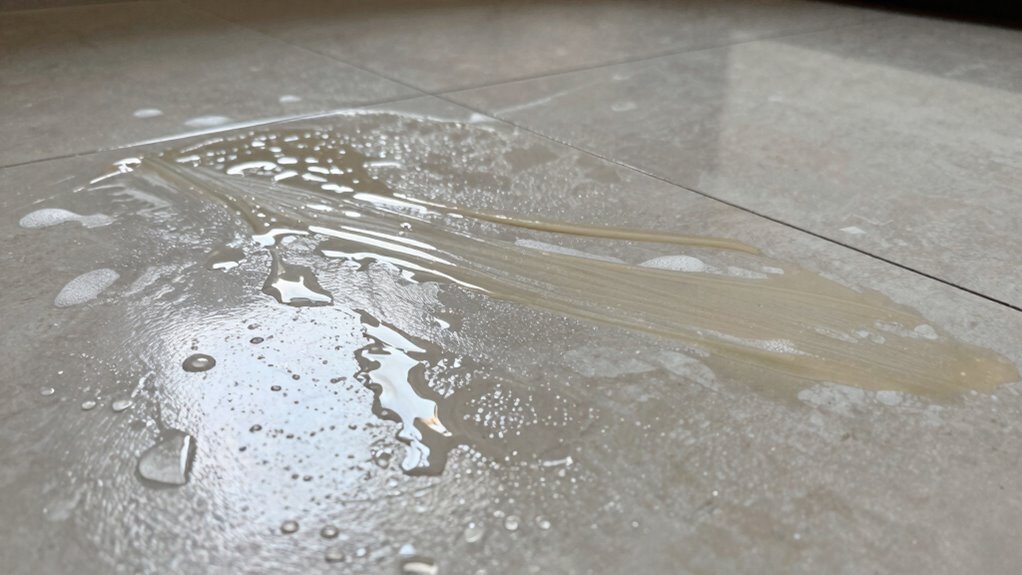
Common Mistakes That Spread Grease When Cleaning
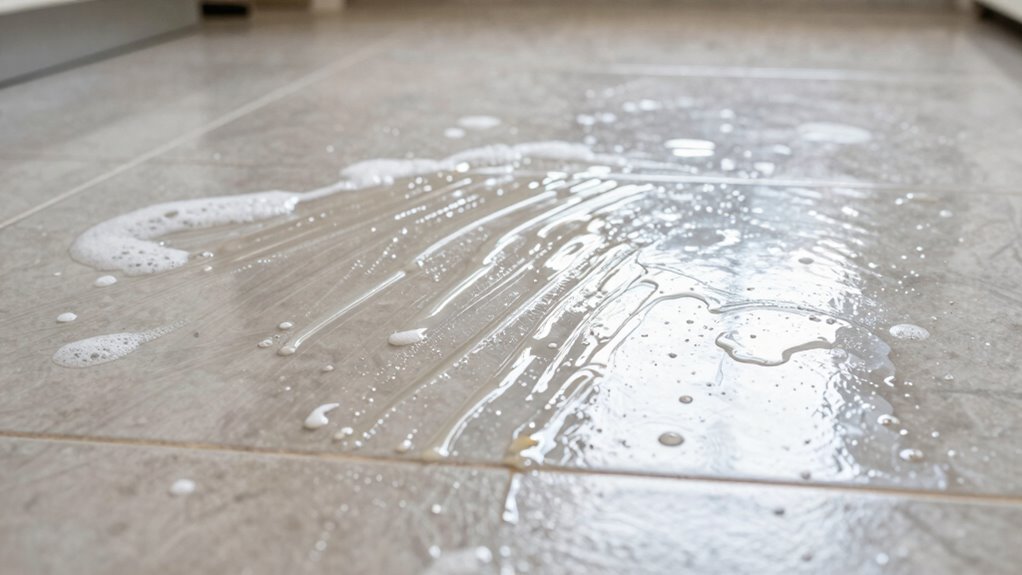
Using harsh cleaning agents can break down grease but might also spread it further if you’re not careful. Overlooking proper rinsing leaves residue that attracts more dirt and grease. Pay attention to your cleaning methods to avoid making the problem worse. Additionally, selecting appropriate cleaning products designed specifically for grease removal can help prevent smearing and residue buildup. Incorporating proper cleaning techniques can further enhance the effectiveness of your efforts.
Using Harsh Cleaning Agents
When you rely on harsh cleaning agents to tackle grease, you risk making the problem worse. Harsh chemicals can break down grease temporarily but often leave behind a smeary film that attracts more dirt and grease over time. These strong cleaners may also damage your floor’s surface, creating tiny scratches that trap grease even more. Instead, consider eco-friendly options like vinegar or baking soda, which cut through grease without leaving a smear. Using gentle, natural cleaners prevents the spread of grease and helps maintain your floor’s integrity. Remember, aggressive chemicals might seem effective at first, but they usually cause more harm than good in the long run. Opt for safer, eco-friendly solutions to keep your floors clean without worsening the greasy film.
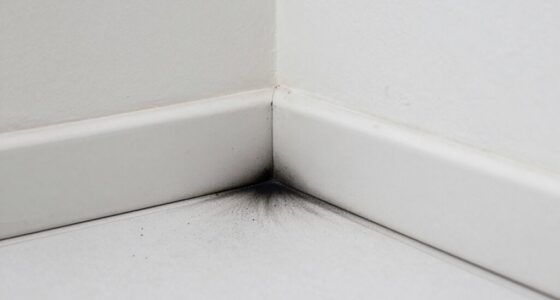
Overlooking Proper Rinsing
Failing to rinse thoroughly after cleaning allows leftover cleaning residue and loosened grease to remain on the floor, which can quickly attract new dirt and grease buildup. If you don’t rinse properly, soap residues can smear when you mop again, especially on glossy or porous floor materials like tile or hardwood. This mistake often occurs when you neglect to change the water frequently or rush through mopping, leaving behind soap that traps grease. Over time, this creates a sticky film that attracts more grime. To avoid this, increase your mopping frequency and ensure you rinse the floor well with clean water after cleaning. Proper rinsing is essential to prevent grease from spreading and to keep your kitchen floor spotless. Additionally, understanding cleaning techniques can help you choose the most effective methods to remove grease without leaving soap smears. Using the right rinsing method can make a significant difference in preventing soap smears and maintaining a clean, shiny floor. Incorporating appropriate cleaning supplies can also enhance the effectiveness of your rinsing process and reduce residue buildup. Paying attention to water quality can further improve your rinsing results, as hard water can leave mineral deposits that contribute to smearing.
Tips for Maintaining a Sparkling, Grease-Free Kitchen Floor
Keeping your kitchen floor spotless and free of grease starts with regular, targeted cleaning. Use a quality mop suited to your floor type, such as microfiber or sponge, to pick up grease effectively. Incorporate periodic floor waxing to protect surfaces and enhance shine, making future cleaning easier. To maintain cleanliness, choose the right cleaning solutions and avoid soap smears that can trap grease. Here’s a helpful comparison:
| Mop Material | Best for | Durability |
|---|---|---|
| Microfiber | Grease removal | High |
| Sponge | Heavy spills | Moderate |
| Cotton | Light cleaning | Low |
| Microfiber & Sponge | Versatile cleaning | Very high |
| Cotton & Microfiber | Routine maintenance | Moderate |
Stick to these tips for a grease-free, sparkling kitchen floor.
When to Call a Professional for Persistent Grease Issues
Persistent grease buildup can be a sign that your regular cleaning methods aren’t enough, and at some point, it’s best to bring in a professional. If stubborn stains or greasy film persist despite your efforts, professional intervention may be necessary. Consider calling a specialist if:
- The grease refuses to come off after multiple cleaning attempts.
- You notice persistent stains that seem embedded in the flooring.
- Your usual cleaning products and techniques aren’t making a difference.
A professional cleaner has the tools and expertise to tackle tough grease and stubborn stains effectively. They can identify underlying issues and apply specialized solutions that regular cleaning can’t achieve. Knowing when to seek expert help will save you time and ensure your kitchen floor is truly clean and safe.
Choosing the Right Cleaning Routine for Your Floor Type
To effectively clean your kitchen floor, you need to match your cleaner to its specific material. Always test a small, hidden area first to see how your floor reacts to the cleaning solution. This way, you can guarantee you’re using the right routine without risking damage.
Match Cleaner To Floor
Choosing the right cleaner for your kitchen floor depends on its material and finish. For sealed floors, use gentle cleaners that won’t strip the sealant, and opt for soft mop materials like microfiber to avoid scratches. For unsealed or porous surfaces, a more robust cleaner might be necessary to tackle grease without damaging the material. Keep these tips in mind:
- Match your cleaner to the floor’s finish—avoid harsh chemicals on delicate surfaces.
- Use appropriate mop materials—microfiber for gentle cleaning, or sponge mops for tougher grime.
- Test a small area first to ensure the cleaner doesn’t damage the floor or strip the sealant.
Choosing the proper cleaner helps maintain your floor’s appearance and longevity while effectively removing grease and smears.
Test Cleaning Solutions
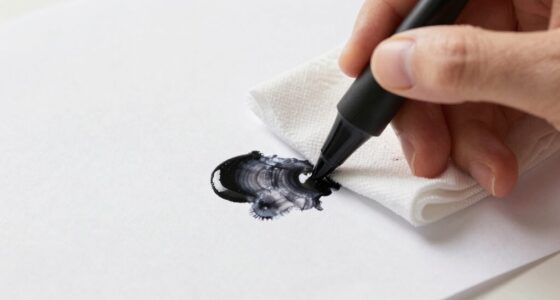
Before applying a cleaning solution to your kitchen floor, it’s essential to test it in a small, inconspicuous area first. This step helps prevent damage and guarantees the solution won’t worsen the grease smear. For testing, use simple cleaning tools like a soft cloth or sponge and natural remedies such as diluted vinegar or baking soda. These options are gentle yet effective on many floor types. Apply a small amount of the solution, wait a few minutes, and observe for any discoloration or streaking. If the test area looks good, proceed with confidence. If not, try a different natural remedy or a commercial cleaner suited to your floor type. Testing saves you time and effort, ensuring you choose the safest, most effective routine.
Frequently Asked Questions
Can Natural Cleaning Remedies Effectively Remove Grease Films?
Yes, natural cleaning remedies can effectively remove grease films. You can try homemade solutions like a mixture of vinegar and water or baking soda paste to cut through grease. Enzyme cleaners are also excellent for breaking down stubborn grease and grime. Regularly using these natural cleaners can help keep your kitchen floors shiny and grease-free without the harsh chemicals found in commercial products.
How Often Should I Deep Clean My Kitchen Floor to Prevent Grease Buildup?
You should deep clean your kitchen floor at least once a week to prevent grease buildup. Maintaining a consistent mopping frequency helps with stain prevention and keeps grease from accumulating. If you cook often or notice grease spots, consider mopping more frequently, like every 3-4 days. Regular cleaning prevents grease from setting in, reducing the need for intensive scrubbing later and keeping your kitchen fresh and clean.
Are There Eco-Friendly Products That Work Better on Greasy Floors?
You’ll be amazed at how effective biodegradable detergents and plant-based solutions are on greasy floors. These eco-friendly products cut through grease like magic, leaving your floor sparkling without harmful chemicals. Switching to these natural cleaners not only protects your family and the environment but also gives you peace of mind. Say goodbye to greasy messes and hello to a cleaner, healthier kitchen — all with environmentally conscious choices that truly work.
What Are Signs That My Cleaning Method Is Spreading Grease Further?
If your cleaning method is spreading grease further, you’ll notice residue smearing and stain expansion. This happens when you don’t remove the grease thoroughly or use the wrong cleaning products. Instead, switch to a degreasing cleaner and wipe in a single direction. Avoid scrubbing excessively, as it can push grease around. Regularly rinsing the floor with clean water also prevents residue smearing and helps contain the stain.
How Does Floor Material Affect the Choice of Grease Removal Techniques?
When choosing grease removal techniques, you need to take into account your floor surface and cleaning compatibility. Different materials, like tile, vinyl, or hardwood, react differently to cleaning agents, so what works on one might damage another. Hard surfaces like tile tolerate stronger cleaners, while delicate floors need gentler methods. Understanding your floor material helps you avoid making a mountain out of a molehill and ensures effective, damage-free cleaning.
Conclusion
By choosing the right cleaning products and techniques, you can banish that stubborn grease film once and for all. Don’t let frustration take over—imagine stepping onto a gleaming, spotless floor each morning, free of smears and grime. With a little effort and the right approach, your kitchen will look and feel fresh, inviting you to cook and gather without worries. You’ve got this, and your spotless floor is just a clean away.